Are you ready to add a touch of handmade charm to your home décor? Then look no further! This tutorial will guide you through creating beautiful, functional crochet coasters featuring a delicate scalloped edge. Perfect for protecting your furniture from hot drinks and adding a pop of personality to your coffee table, these coasters are surprisingly easy to make, even for beginner crocheters. The simple yet elegant scalloped edge adds a touch of sophistication, making them ideal for gifting or personal use. You'll be amazed at how quickly you can whip up a set!
This pattern utilizes basic crochet stitches, making it accessible to anyone with even a little crochet experience. We'll cover everything from choosing the right yarn to finishing off your stunning coasters. Get ready to unleash your creativity and learn a new skill as you follow the step-by-step instructions below and discover the joy of crafting these charming coasters.
Preparation and Safety Guidelines
- Stylecraft Special DK yarn
- 4mm crochet hook
- Scissors
- Darning needle
- Use sharp scissors to cut your yarn. Dull scissors can snag the yarn and create loose ends, affecting the finished look of your coaster.
- Always check your tension throughout the project. Inconsistent tension can lead to an uneven and misshapen coaster.
- When using a hook size different from the pattern's recommendation, be prepared for variations in size and stitch definition. Test a small swatch first to assess the outcome.
Step-by-Step Instructions
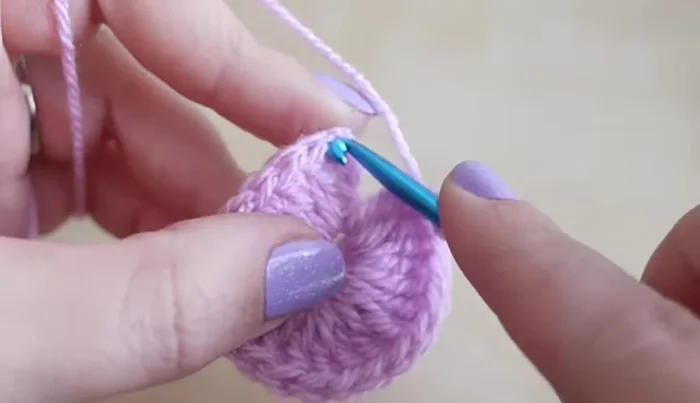
Foundation Ring
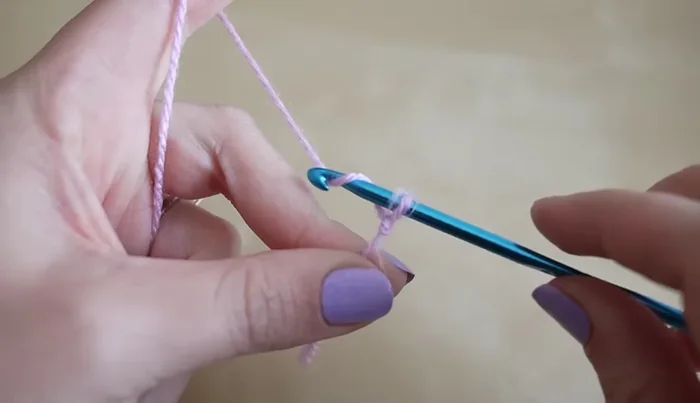
- Make a slip knot.
- Chain six.
- Join with a slip stitch to form a circle.

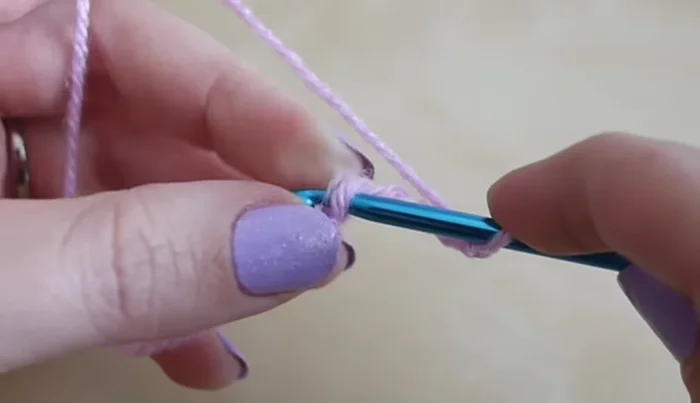
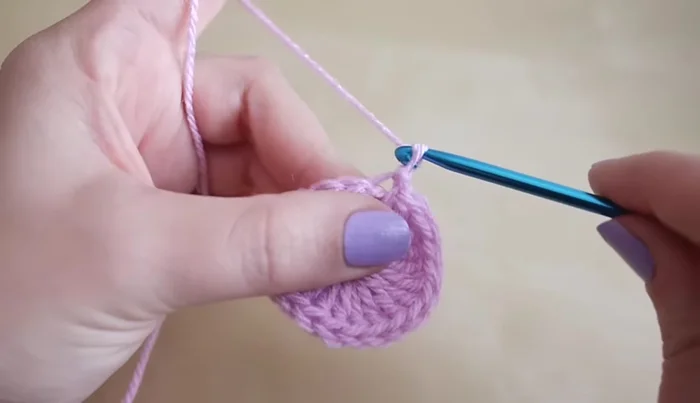
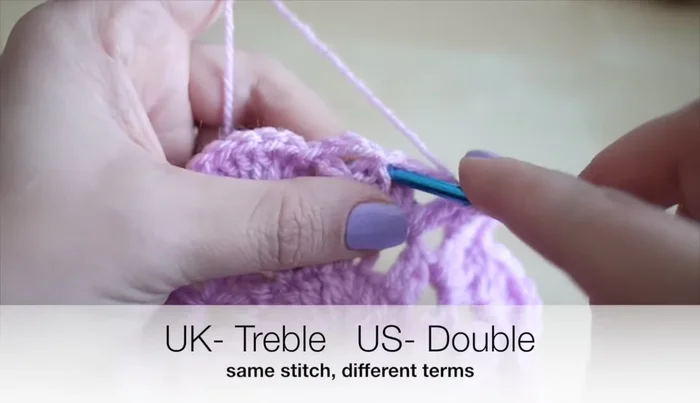
Foundation Ring First Round: Treble Crochet Base
- Chain three (counts as a treble).
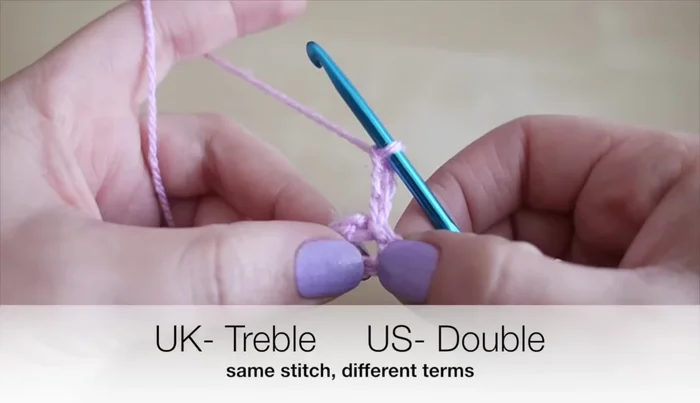
- Work 19 treble crochets (UK)/double crochets (US) around the circle.
- Join with a slip stitch to the top of the third chain from the beginning chain three.
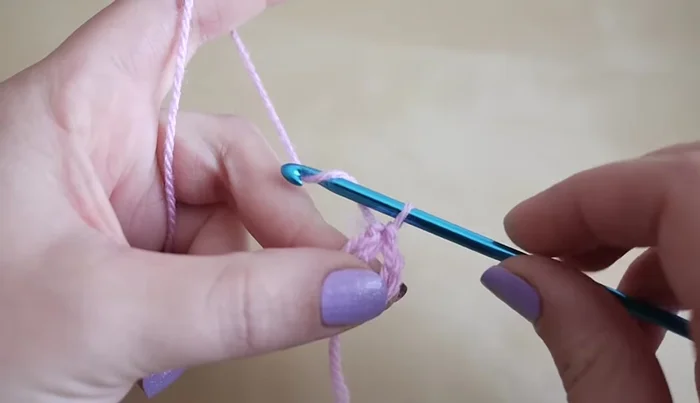
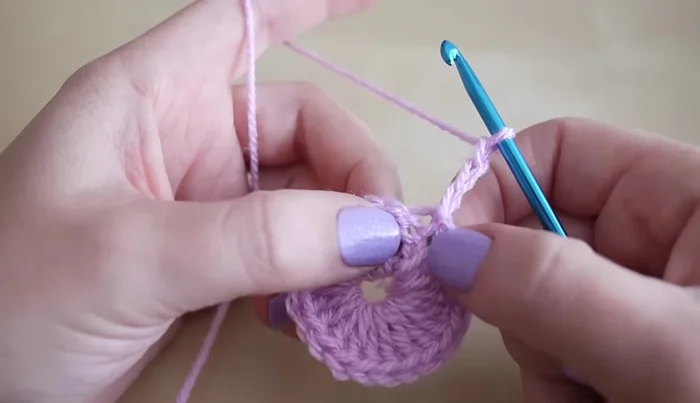
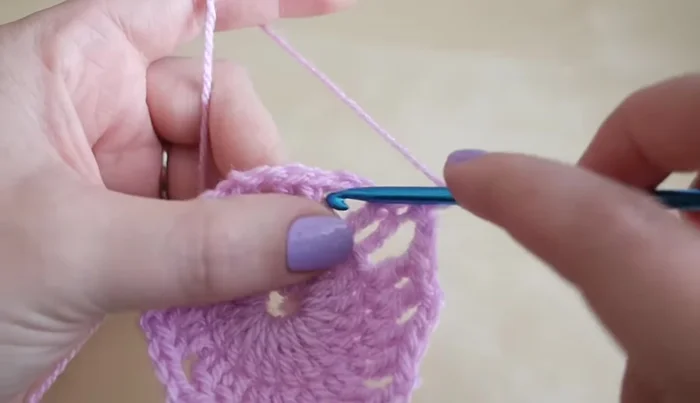
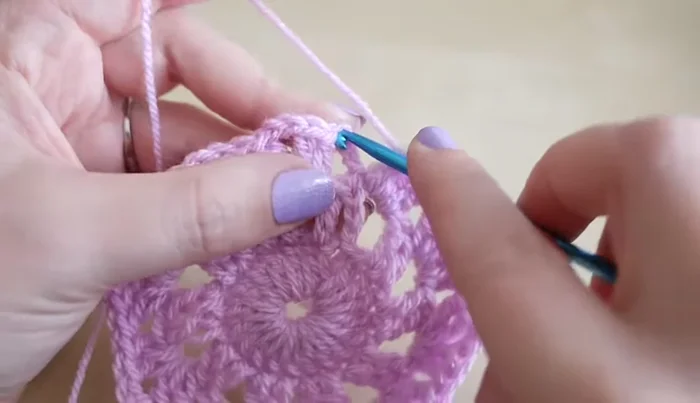
First Round: Treble Crochet Base Second Round: Double Treble Crochet Increase
- Chain three (counts as a treble).
- Work two treble crochets in each stitch around, chaining two between each set of two trebles.
- Join with a slip stitch to the top of the third chain from the beginning chain three.
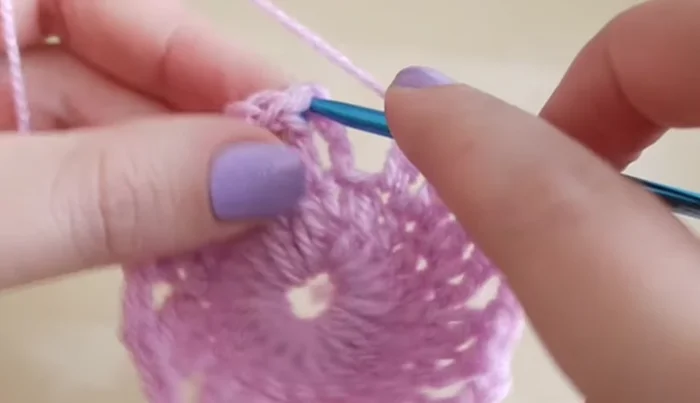
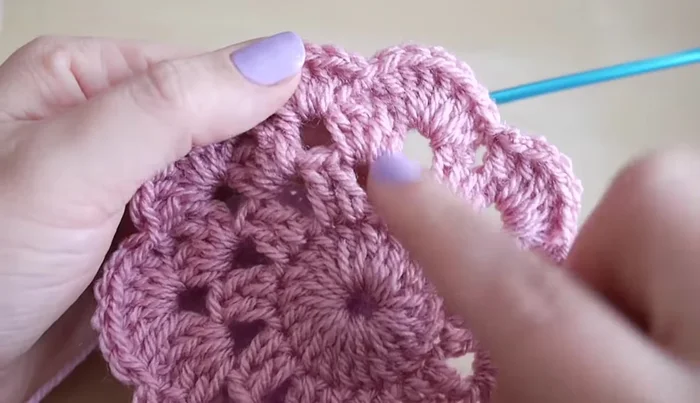
Second Round: Double Treble Crochet Increase Third Round: Scalloped Edge - Increase and Chain Spaces
- Chain three (counts as a treble).
- Work two treble crochets in each chain-two space around, working two trebles together in each space, *chain two, two trebles in next space* repeat from *. In the last space work one treble crochet to join.
- Join with a slip stitch to the top of the third chain from the beginning chain three.
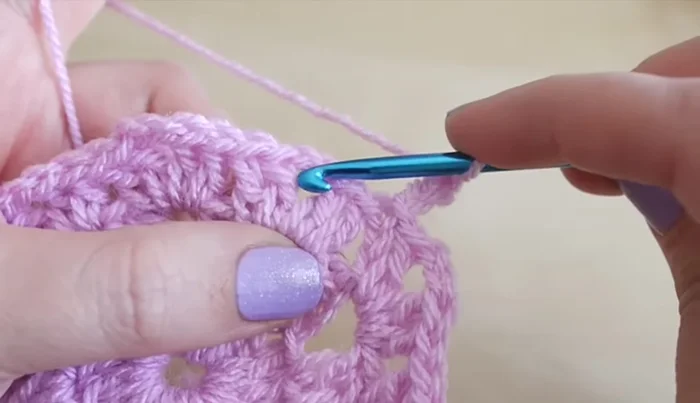
Third Round: Scalloped Edge - Increase and Chain Spaces Fourth Round: Scalloped Edge - Treble Crochet Clusters
- Chain three.
- Work six treble crochets in the next chain-two space. Slip stitch to the next chain-two space.
- Repeat step 14 around until the last space.
- Work five treble crochets in the last space. Slip stitch to the top of the beginning chain three.
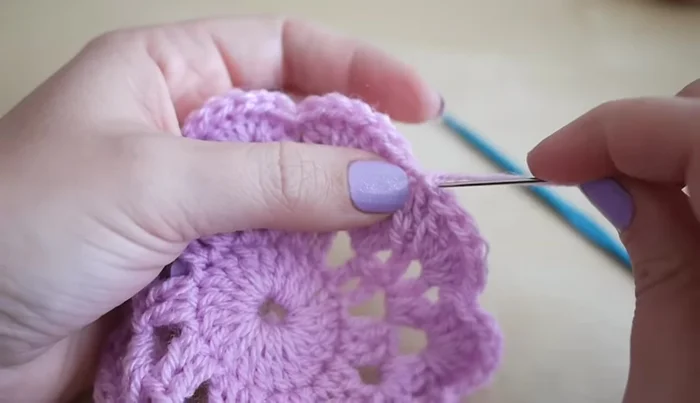
Fourth Round: Scalloped Edge - Treble Crochet Clusters Finishing
- Fasten off and weave in ends.
Finishing

Read more: Easy Color Block Crochet Blanket Tutorial for Beginners
Tips
- Use a yarn weight that is not too thick to ensure the coaster is sturdy.