Are you dreaming of a cozy, handmade blanket to snuggle up with on chilly evenings? Learning to crochet can seem daunting, but crafting a perfectly round blanket is surprisingly achievable, even for beginners! This satisfying project offers a wonderful opportunity to explore the versatility of crochet and create a beautiful, unique piece that will become a cherished heirloom. Forget the frustration of uneven edges and frustrating increases – this tutorial focuses on simple techniques to ensure your round blanket is consistently perfect from the center outwards.
This step-by-step guide will walk you through every stage of the process, from creating the initial magic ring to finishing off with a neat edge. We’ll cover essential techniques like increasing stitches effectively to maintain a round shape, choosing appropriate yarn, and even offer tips on customizing your blanket's size and color. Let's get started and crochet the perfectly round blanket of your dreams!
Preparation and Safety Guidelines
- Yarn
- Crochet Hook
- Use sharp scissors to cut yarn to avoid snagging or fraying. Keep your fingers clear of the hook while working to prevent accidental pricks.
- Ensure your tension remains consistent throughout the project to maintain a uniform round shape. Loose tension can lead to holes, and tight tension can result in a stiff, misshapen blanket.
- Always check your stitch count at the end of each round to catch any mistakes early. Correcting errors later can be time-consuming and frustrating.
Step-by-Step Instructions
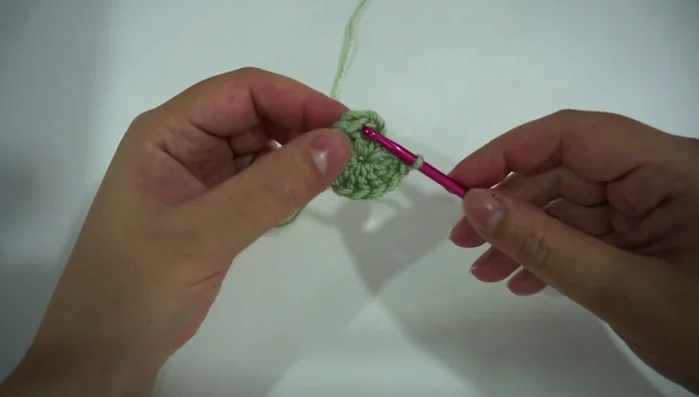
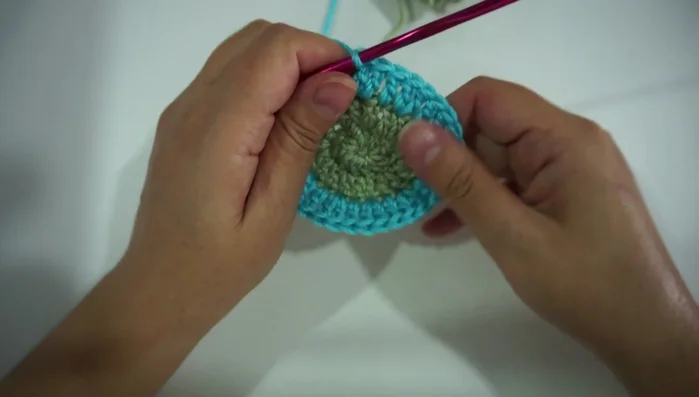
Starting the Foundation
- Start with a chain of four, then ten double crochet in the first stitch from the hook.
- Join with a slip stitch to the top double crochet.

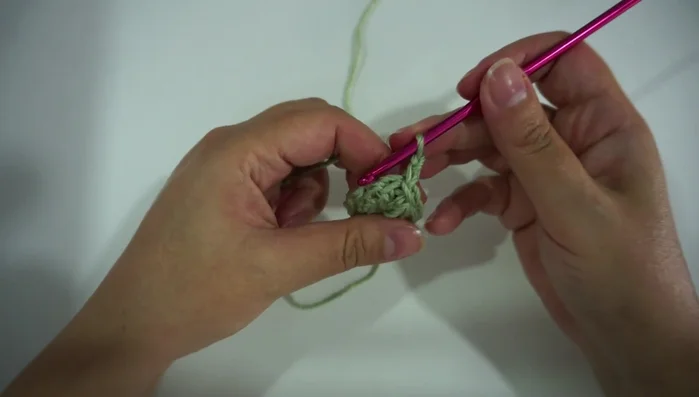
Starting the Foundation Creating the First Increase Round
- Chain two, two double crochet in the first stitch, two double crochet in every stitch till the end of the round. Slip stitch to the top first double crochet.
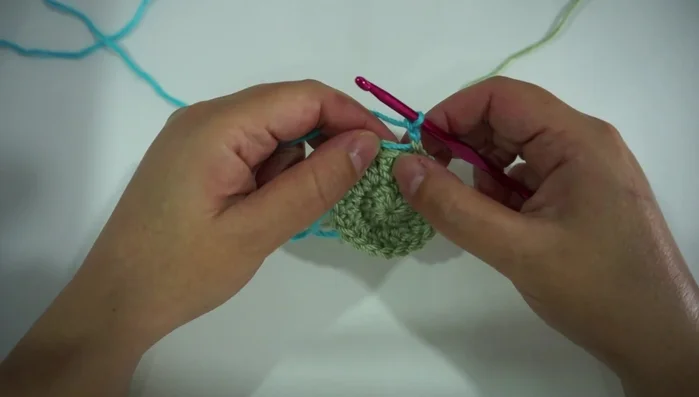
Creating the First Increase Round Establishing the Increase Pattern
- Chain two, two double crochet in the first stitch, one double crochet in the next stitch. Alternate two, one, two, one until the end of the round. Join.
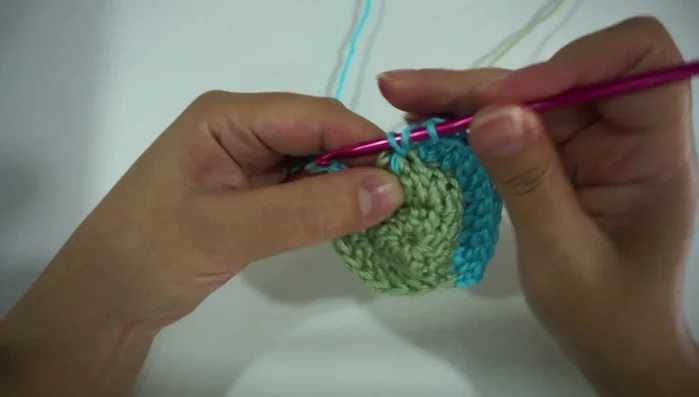
Establishing the Increase Pattern Continuing the Increase Pattern
- Increase the single double crochet (one double crochet in a stitch) in each round. The pattern will be a repeating sequence of increasing numbers of double crochets, e.g., round four: two double crochet in one stitch, one double crochet in the next two stitches (two, one, one).
Maintaining Round Shape in Later Rounds
- One double crochet in every stitch to maintain a perfectly round shape and prevent a sliced look.
Maintaining Round Shape in Later Rounds Finishing the Blanket
- Fasten off.
Finishing the Blanket
Read more: Easy Color Block Crochet Blanket Tutorial for Beginners
Tips
- Check the written pattern for more detailed instructions.
- Use a separating color (e.g., guacamole green) between rows of different colors to create visual separation.