Are you tired of crocheted beanies that bunch up awkwardly at the crown, leaving you with a less-than-perfect fit? Many ribbed beanie patterns result in frustratingly uneven or ill-fitting hats, but this tutorial will show you how to create a beautifully snug and perfectly shaped ribbed beanie every single time. Say goodbye to those frustrating gaps and awkward bulges and hello to a flawlessly fitted, stylish winter accessory that's as comfortable as it is chic. This no-bunch ribbed beanie is the perfect project for both beginners and experienced crocheters alike, offering a satisfyingly simple pattern with surprisingly impressive results.
This detailed guide will walk you through each step, from casting on and establishing your foundation to creating the perfect crown decrease. We'll cover techniques to ensure even tension and eliminate common fitting problems, resulting in a beanie that's truly a perfect fit. Ready to learn how to crochet the most comfortable and stylish ribbed beanie of your life? Let's get started with our step-by-step instructions!
Preparation and Safety Guidelines
- Red Heart Super Saver yarn (Cafe Latte color)
- 5mm crochet hook
- Scissors
- Yarn needle
- Use a hook size appropriate for your chosen yarn. Too large a hook will result in a loose, floppy beanie; too small will create a tight, uncomfortable one. Check your yarn label for recommended hook sizes.
- Gauge swatching is crucial for a perfect fit. Before starting the beanie, crochet a small swatch and measure it to ensure your tension matches the pattern's gauge. This will prevent your beanie from being too big or too small.
- Securely fasten off your yarn at the end of each round to prevent unraveling. Weave in all loose ends carefully to avoid them poking through and causing discomfort.
Step-by-Step Instructions
Foundation Chain
- Chain the desired length (approx. 28 cm or 46 chains). This length should be from eyebrows to crown of head, plus folded brim length.
Initial Row
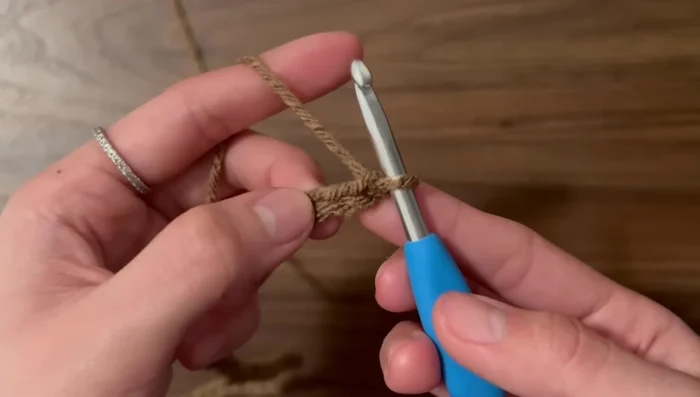
- Make a slip knot.
- Half double crochet (hdc) in the second chain from the hook, working across until five chains remain.
- Slip stitch (sl st) in the remaining five chains.

Initial Row Main Body
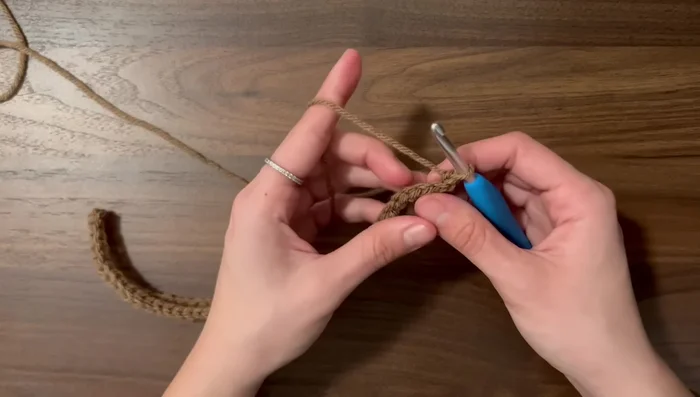
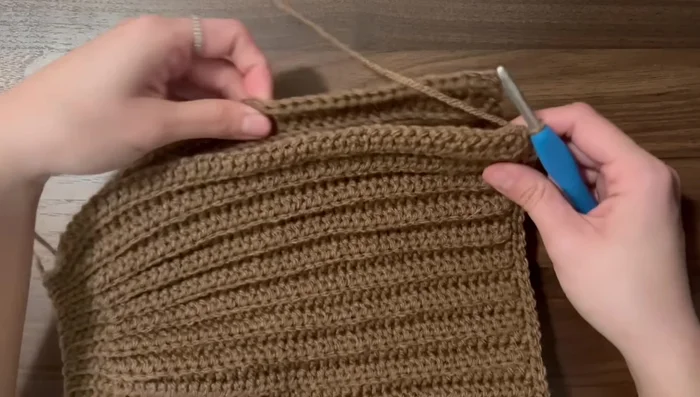
- Chain one, turn. Work sl st in the back loops only of the previous row's sl sts, then hdc in the back loops only of the previous row's hdcs. Repeat this pattern for subsequent rows.
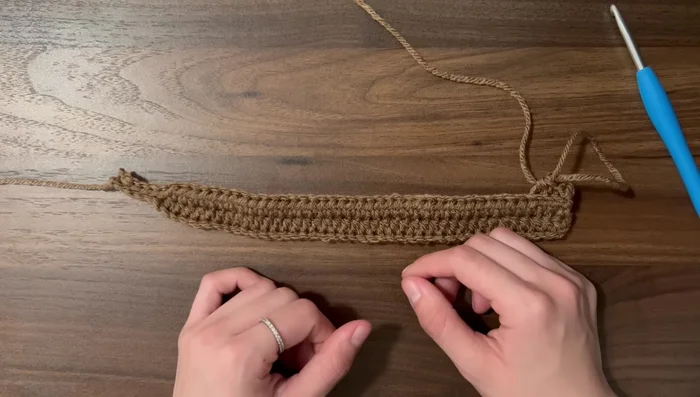
- Continue rows until the hdc side fits snugly around your head (about 54 rows in this example).
Main Body Optional Brim Alignment
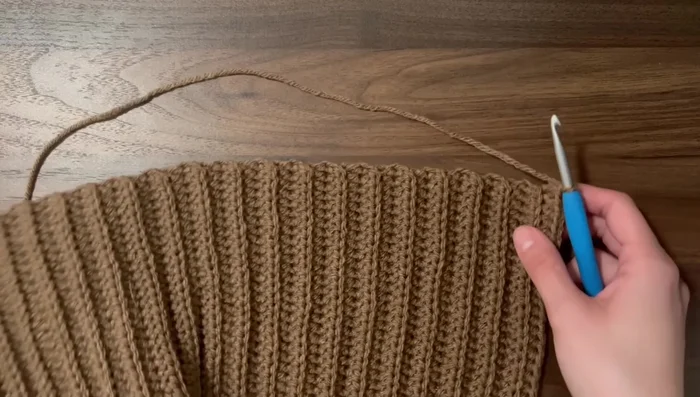
- Align the brim by sl st along the bottom edge, maintaining a straight line (approx 3 sl st per 2 rows).
Optional Brim Alignment Seaming
- Slip stitch the ends together to form the hat, working in the back loops only.
Seaming Finishing
- Fasten off, leaving a long tail for weaving in.
- Weave in the yarn ends along the top edge, skipping approximately every other row to close the opening. Secure with a double knot and trim excess yarn.
- Weave in all loose ends on the inside of the beanie.
Finishing

Read more: Easy Color Block Crochet Blanket Tutorial for Beginners
Tips
- Work in the back loops only for a neater, more defined rib.
- Don't miss the last stitch of each row to prevent slanting.
- Adjust the number of rows to achieve your desired fit.
- Use a double knot to secure the yarn ends.