Spring has sprung, and what better way to celebrate the season's vibrant colors than with a handmade crochet scarf? This beginner-friendly pattern for a Spring Green & Gold Delight rib scarf is the perfect project for those new to crochet, offering a satisfyingly simple stitch and a stunning, wearable result. The rich spring green yarn, punctuated by delicate gold accents, creates a cheerful accessory perfect for adding a touch of springtime elegance to any outfit. This project requires minimal materials and time investment, making it ideal for crafters of all experience levels who are looking for a quick and rewarding project.
Forget complicated stitches and confusing patterns! This easy-to-follow guide will walk you through each step, from casting on to finishing your beautiful, textured scarf. Get ready to learn the basics of the crochet rib stitch while creating a charming piece you'll be proud to wear or gift. Prepare your yarn and hook – let's begin!
Preparation and Safety Guidelines
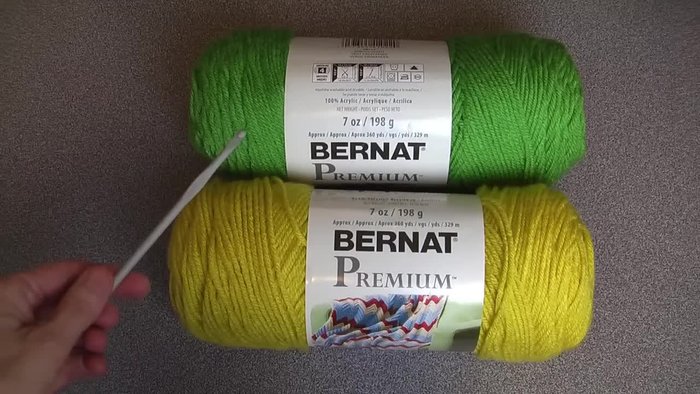
- Spring green and gold Bernard premium colored yarn
- Size 5 mm crochet hook
- Scissors
- Needle
- Use sharp scissors to avoid accidental cuts. Always keep your scissors pointed away from yourself and others while cutting yarn.
- If using metal crochet hooks, be mindful of sharp points and avoid poking yourself or others. Keep hooks out of reach of children.
- Ensure your workspace is well-lit and clutter-free to prevent accidents. Take breaks if you experience hand or eye strain.
Step-by-Step Instructions
Starting the Scarf
- Make a slip knot.
- Chain 25, then chain 3 for the turn.

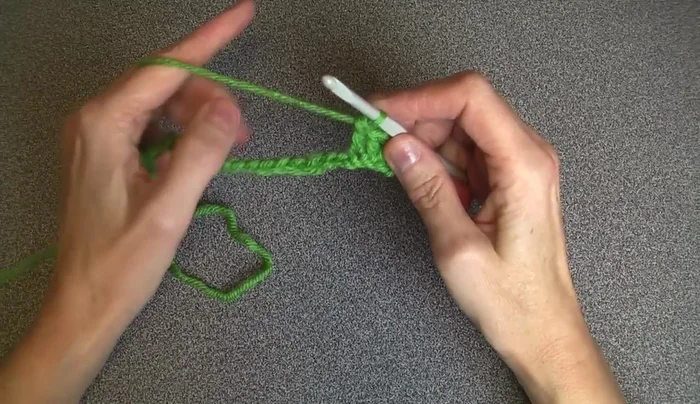
Starting the Scarf Creating the First Row of Double Crochet
- Double crochet in the fourth chain from the hook (don't count the loop on the hook).
- Continue double crocheting across the row.
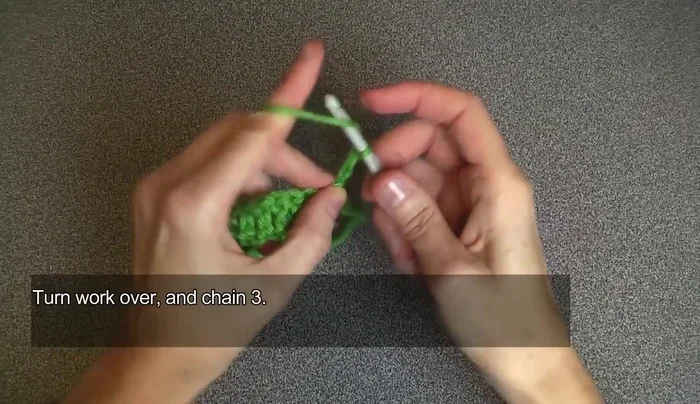
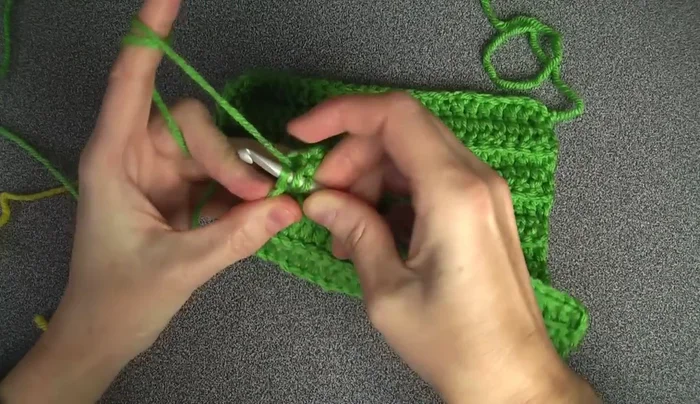
Creating the First Row of Double Crochet Establishing the Rib Stitch Pattern (Green)
- Turn the work, chain 3.
- Double crochet in the second V-stitch of the previous row. (Work into the outside loop of the V-stitch, skipping the first V-stitch of each row)
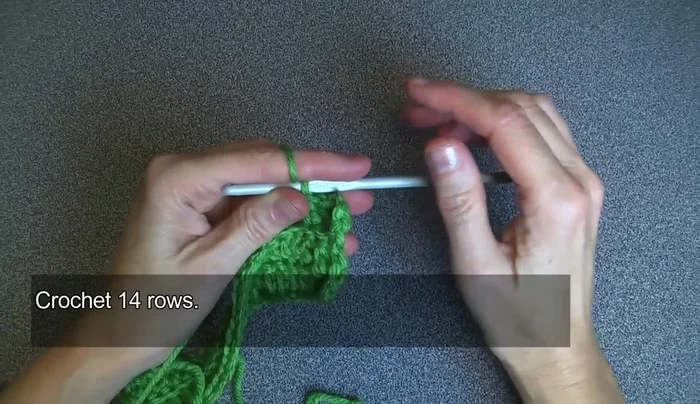
- Repeat steps 5 and 6 for a total of 14 rows of green yarn.
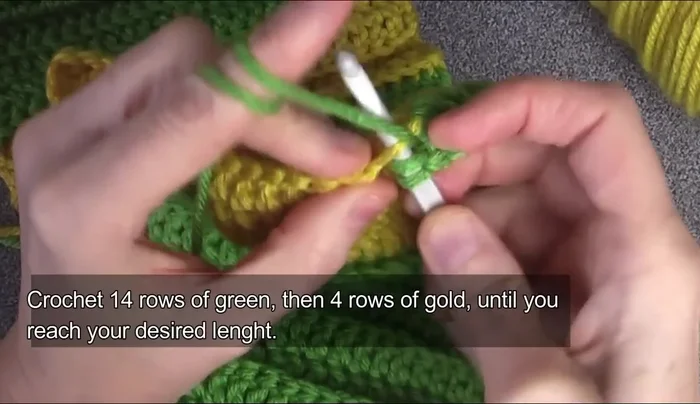
Establishing the Rib Stitch Pattern (Green) Color Change to Gold
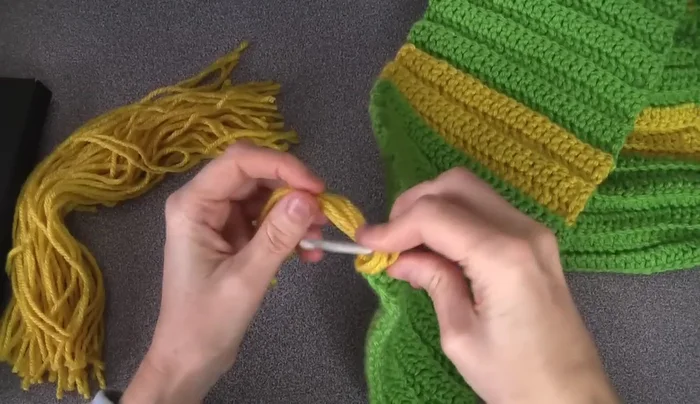
- Change to gold yarn. Do not finish the last double crochet of the 14th row, leaving two loops on the hook. Attach the gold yarn and complete the stitch.
Color Change to Gold Creating the Gold Rib Stitch Rows
- Chain 3, double crochet in the second V-stitch of the gold yarn. Repeat for 4 rows of gold yarn.
Repeating Pattern for Desired Length
- Repeat steps 7 and 9 until desired scarf length is reached (6 panels of green, 5 panels of gold in this example).
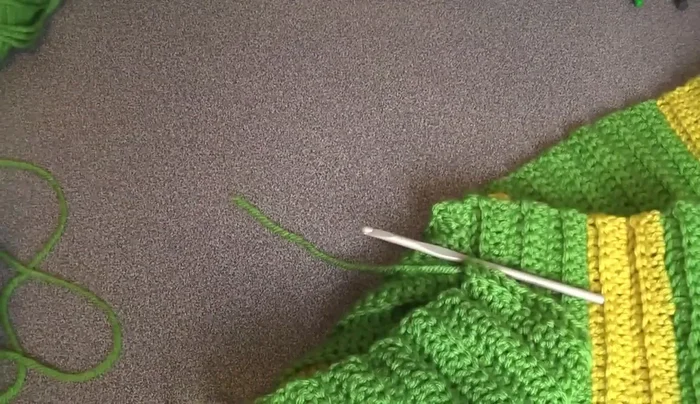
Repeating Pattern for Desired Length Finishing the Scarf
- Fasten off the yarn, leaving tails for weaving in.
- Weave in the loose ends.
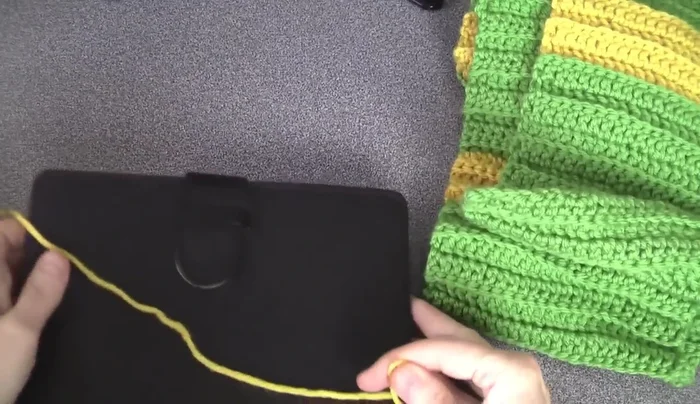
Finishing the Scarf Adding Fringe
- Wrap yarn around a book (approximately 75 times). Cut the yarn, creating strands. Create three strands per fringe piece.
- Attach fringe to the scarf by inserting the crochet hook through the chain spaces between the V-stitches. Insert the folded fringe strands onto the hook and pull through.
- Trim fringe for an even look.
Adding Fringe

Read more: Easy Color Block Crochet Blanket Tutorial for Beginners
Tips
- Always hold your tail end for traction.
- To change colors smoothly, don't finish the last stitch of one color, leave two loops on the hook, attach the new color and complete the stitch.
- To securely fasten off yarn, tie a double knot before weaving in the ends.
- Use a crochet hook or needle to easily weave in loose ends. Tuck them into the ridges to make them invisible.
- For even fringe, make sure strands are of equal length before attaching.