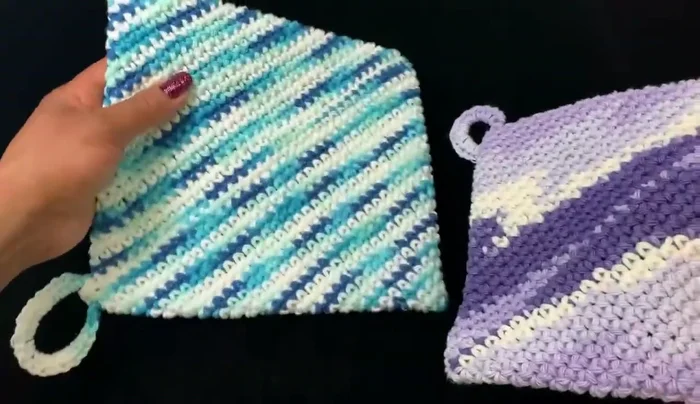
Are you ready to add a touch of whimsical charm to your kitchen while simultaneously flexing your crochet skills? This tutorial will guide you through creating a delightful magic square potholder, a project perfect for beginners eager to expand their crochet repertoire. Forget complicated patterns and intricate stitches; this design utilizes simple squares joined together to create a visually stunning and surprisingly functional piece. The vibrant colors and geometric pattern make it a charming addition to any kitchen décor, and it's surprisingly quick to make, meaning you'll be enjoying your new potholder in no time!
This easy-to-follow tutorial breaks down the process into manageable steps, perfect for even the newest crocheters. Whether you're a complete beginner or looking for a fun and simple project, you'll find this magic square potholder a satisfying and rewarding craft. Let's dive into the step-by-step instructions and create your very own magical kitchen accessory!
Preparation and Safety Guidelines
- crochet hook (size 5 recommended)
- cotton yarn
- stitch markers
- needle for sewing
- Always use a hook size appropriate for your yarn weight. Using the wrong size can lead to a loose or tight potholder that doesn't function well or looks uneven.
- Handle hot items carefully when using your crocheted potholder. Even with multiple layers of yarn, prolonged exposure to extreme heat can damage or even ignite the potholder.
- Be mindful of your yarn choice. Opt for heat-resistant materials designed for use near heat sources, like 100% cotton. Avoid using synthetic yarns that could melt or become hazardous near heat.
Step-by-Step Instructions
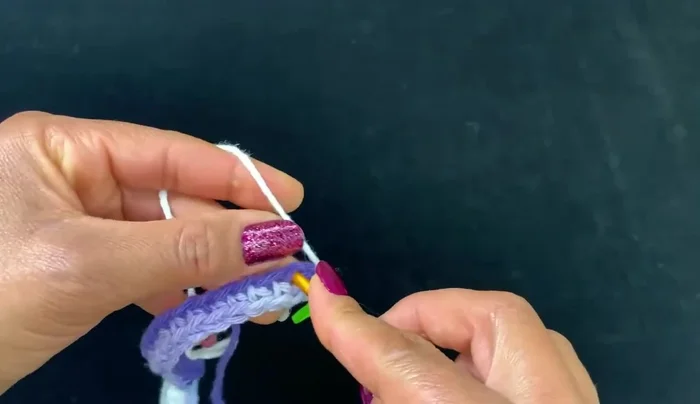
Foundation Chain
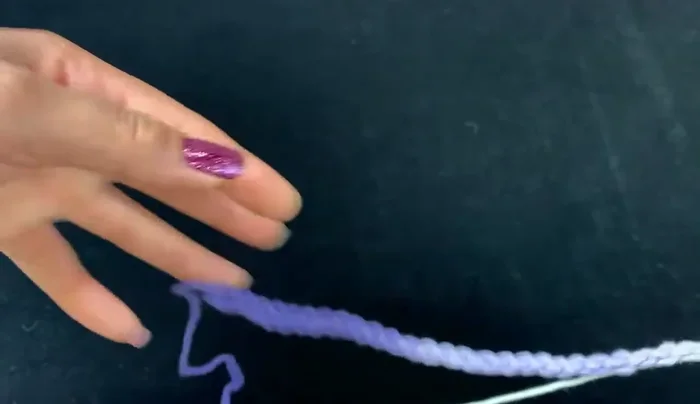
- Chain a multiple of 10 (30 for smaller, 40 for larger potholder).

Foundation Chain First Row: Establishing the Base
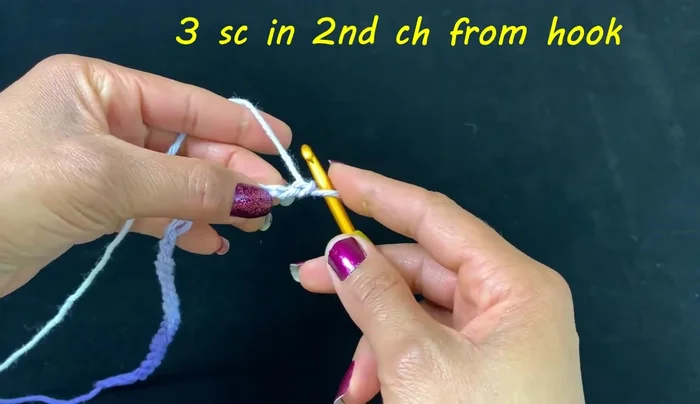
- Single crochet in the back hump of the second chain from the hook. Make three single crochet in this stitch.
- Single crochet in each chain across, making three single crochet in the last chain.
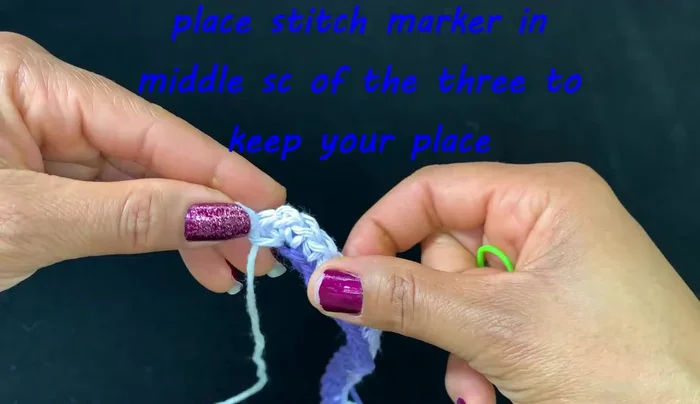
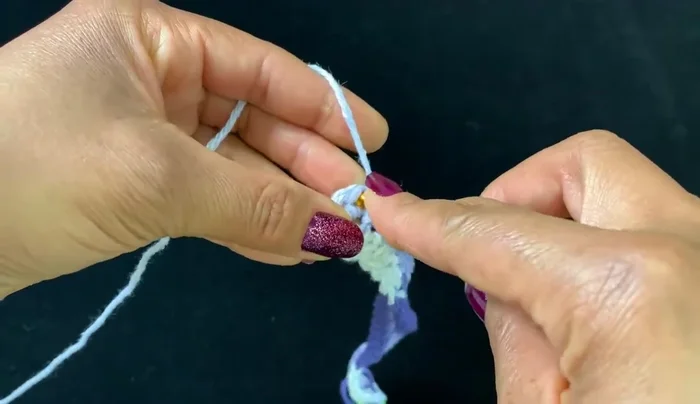
- Place a stitch marker in the middle chain/crochet.
First Row: Establishing the Base Second Row and Subsequent Rows: Creating the Square
- Single crochet in the next chain using the bottom side of the chain. Continue single crocheting across to the stitch marker.
- Continue round two (single crochet) until the edges meet in the middle, forming a pocket.
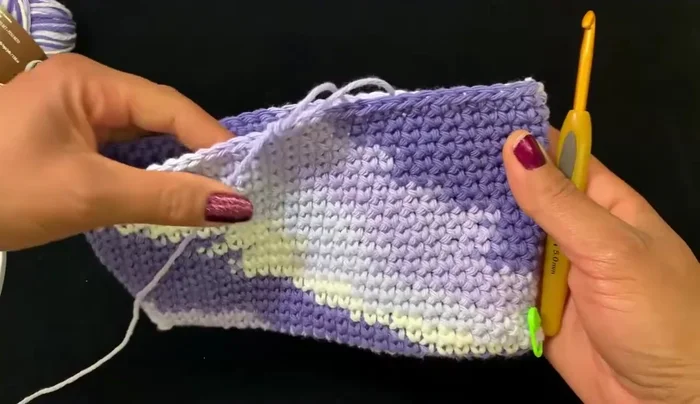
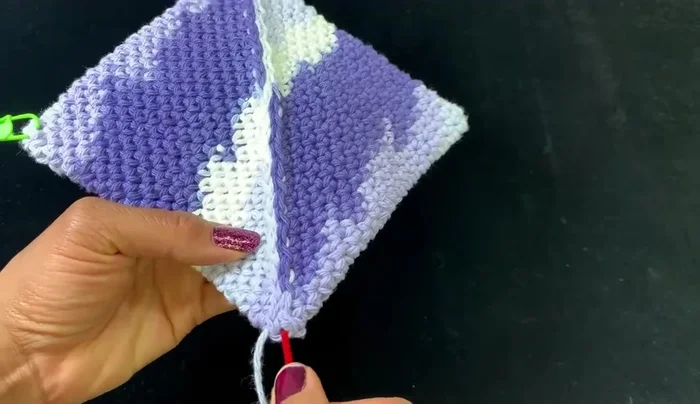
Second Row and Subsequent Rows: Creating the Square Forming the Square Potholder
- Fold the crocheted piece in half to form a square. Leave enough yarn for sewing.
- Sew the edges together using a whip stitch or similar method for a clean, invisible seam.
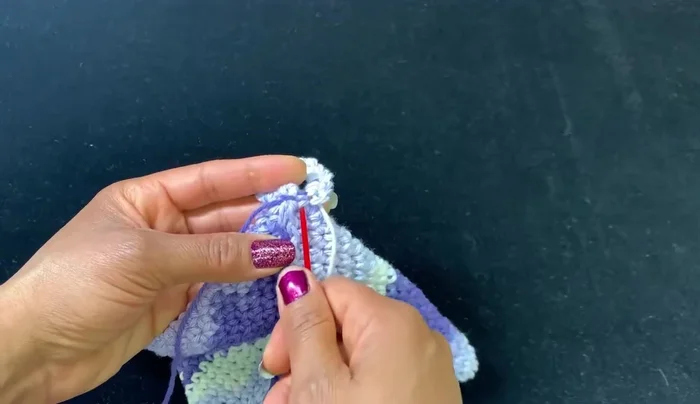
- Weave in the yarn tails.
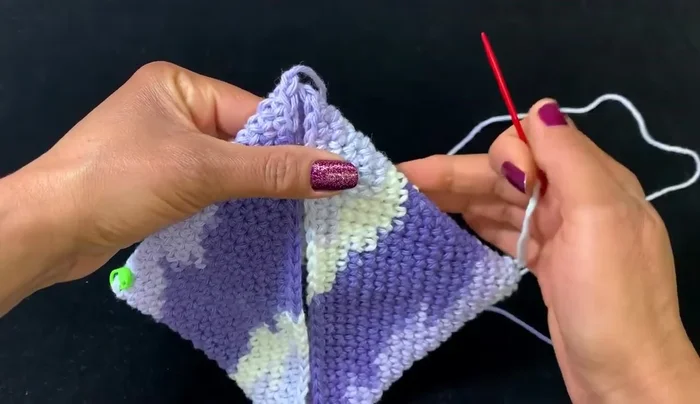
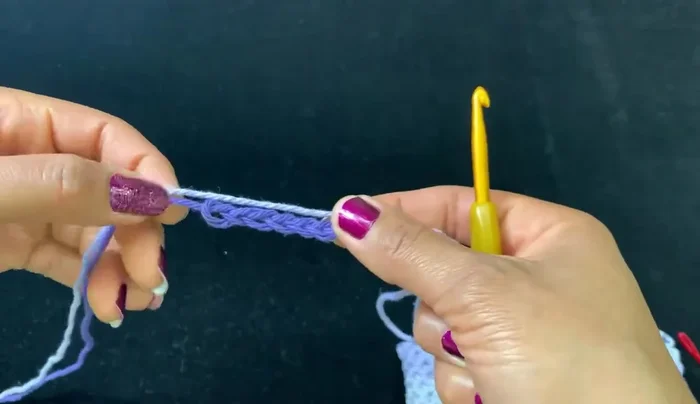
Forming the Square Potholder Creating and Attaching the Hanging Ring
- Make a chain of eight for the ring, leaving a 6-inch tail.
- Sew the ring to one corner of the square.
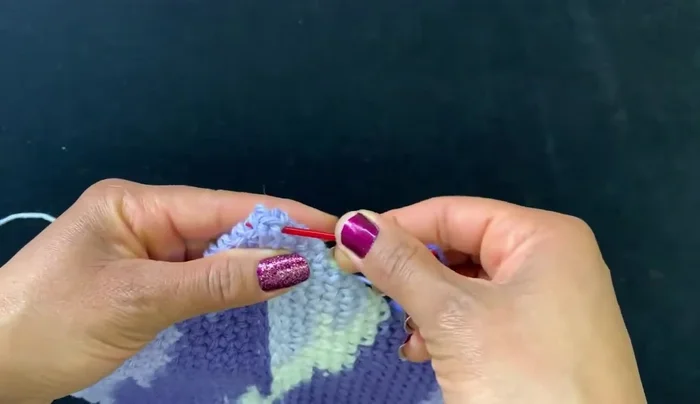
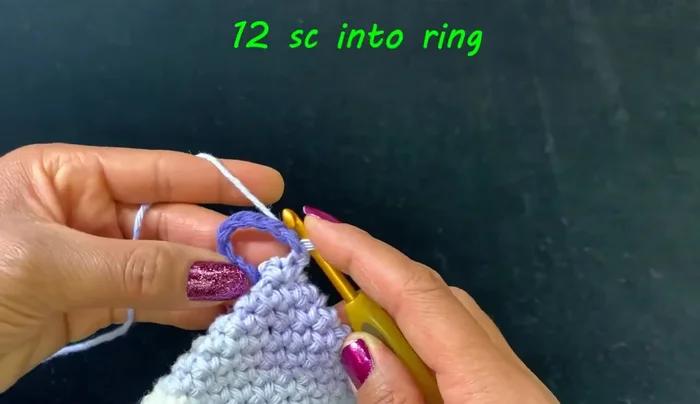
- Single crochet 12 stitches into the ring.
- Flip the item over and secure the ring by weaving the yarn tail through several loops.
Creating and Attaching the Hanging Ring
Read more: Easy Color Block Crochet Blanket Tutorial for Beginners
Tips
- Use cotton yarn for better heat resistance.
- Adjust the chain length (multiples of 10) to create different sized potholders.
- Use a whip stitch for an invisible seam when sewing the square together.