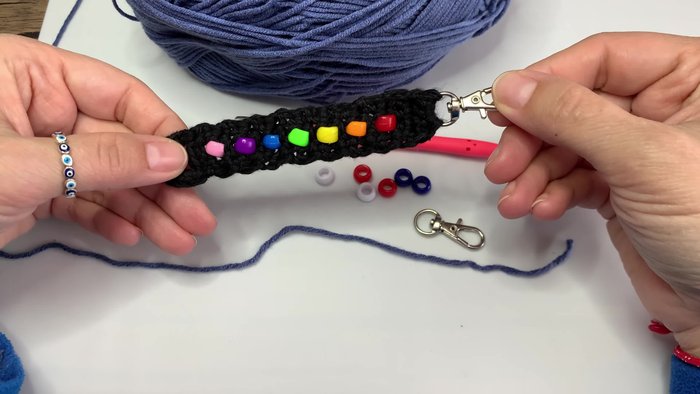
Are you looking for a fun and easy craft project that doubles as a stress-relieving fidget toy? Look no further! This tutorial will guide you through creating your very own adorable pony bead keychain using simple crochet techniques. Perfect for beginners, this project requires minimal supplies and offers a satisfying sense of accomplishment once complete. The vibrant colors of the pony beads allow for endless customization, letting you create a keychain that perfectly reflects your personality and style. Imagine the possibilities – from bright and cheerful rainbow designs to sophisticated monochrome palettes, the only limit is your imagination!
This charming little keychain is surprisingly simple to make, even if you're new to crocheting. Ready to get started and transform those pony beads into a delightful, personalized fidget? Let's dive into the step-by-step process outlined below!
Preparation and Safety Guidelines
- Pony beads
- Yarn
- Crochet hook
- Keychain ring
- Scissors
- Adult supervision is required, especially for young children, throughout the entire crafting process. Small beads pose a choking hazard.
- Ensure the crochet hook and beads are appropriately sized to avoid accidental swallowing or injury. Use a hook size that is comfortable and appropriate for the bead size.
- Wash hands thoroughly before and after handling beads and crafting materials to maintain hygiene.
Step-by-Step Instructions
Prepare Materials
- Gather your pony beads and yarn. Choose your desired colors and quantities.

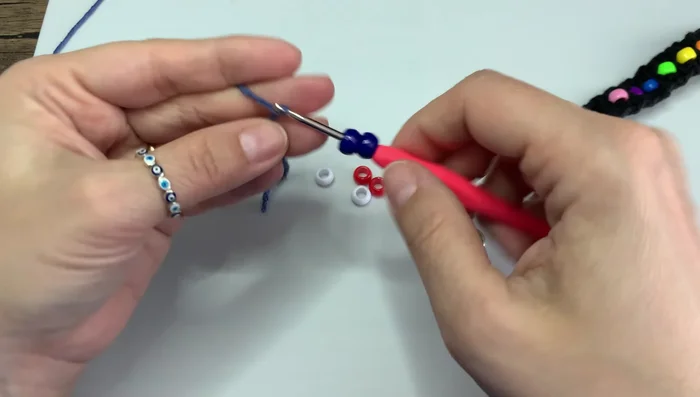
Prepare Materials String the Beads
- String the beads onto the yarn in any order you like.
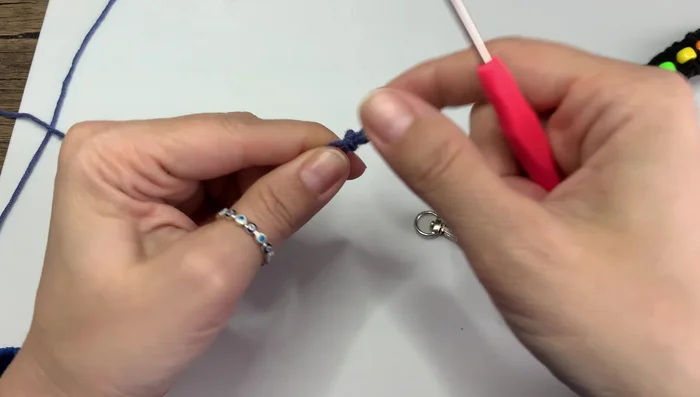
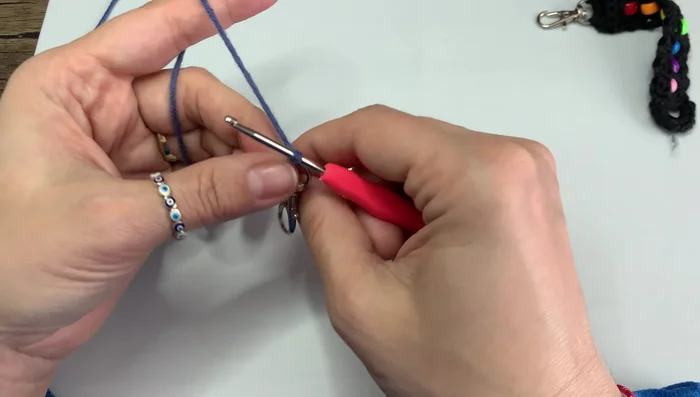
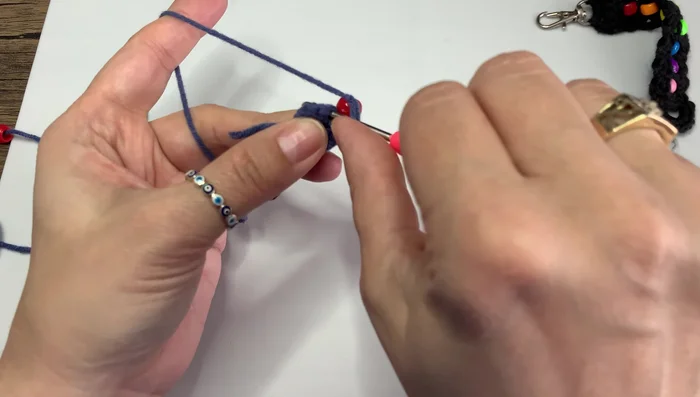
- Make a slip knot to secure the beads.
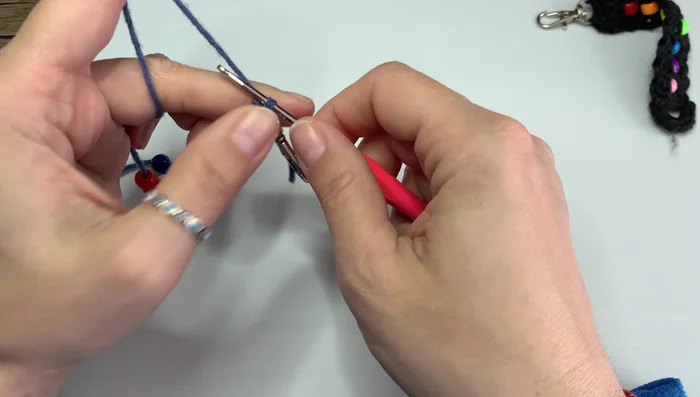
String the Beads Attach Keychain Ring
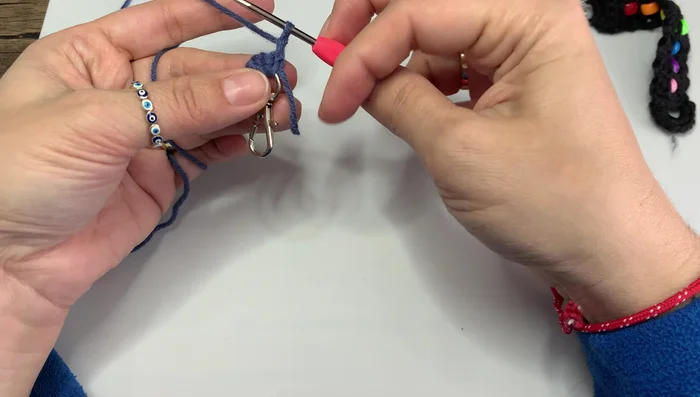
- Attach the keychain ring to the yarn.
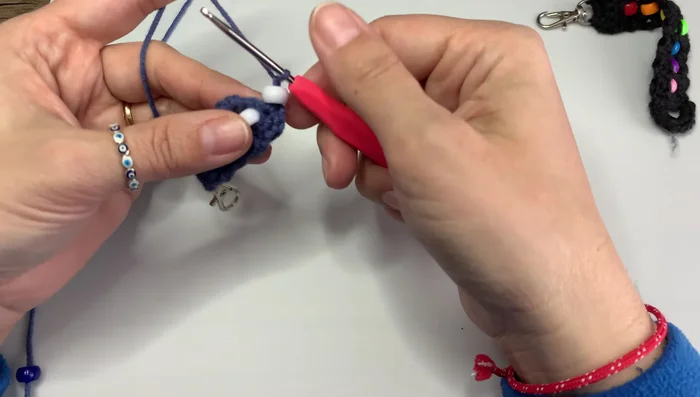
Attach Keychain Ring Create Keychain Base
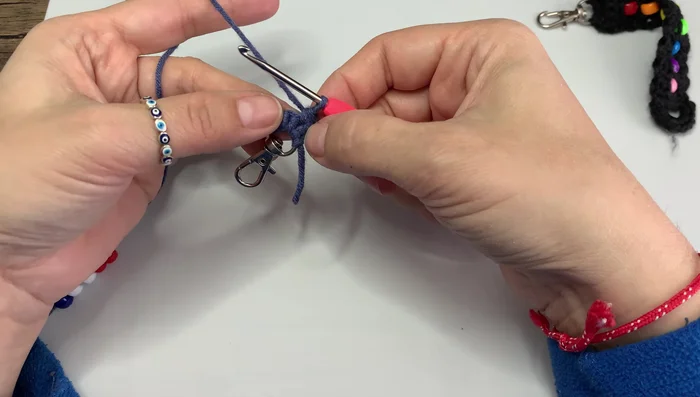
- Chain two, then single crochet four stitches to create the base of your keychain.
Create Keychain Base First Bead Row
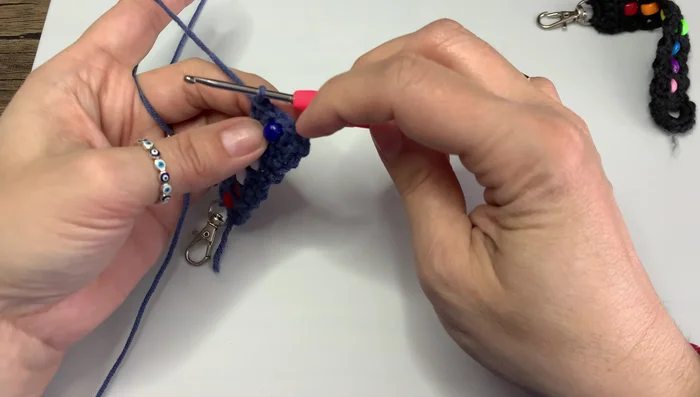
- Chain two and turn your work.
- Continue single crocheting four stitches, ensuring you maintain five stitches in total per row. Remember to count your first chain as a stitch.
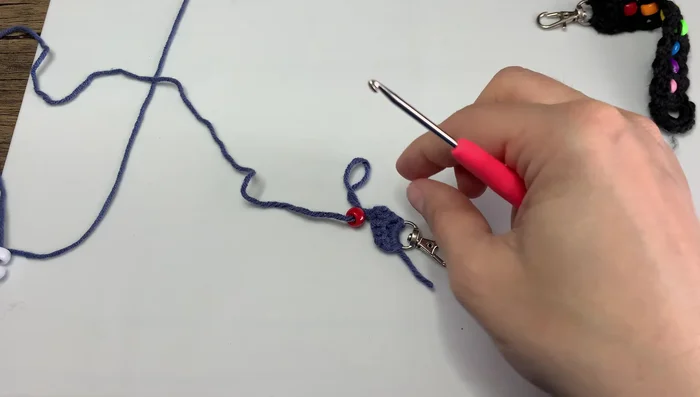
- Insert the first bead into the work.
- Crochet around the bead, working under the V-shape of the stitches.
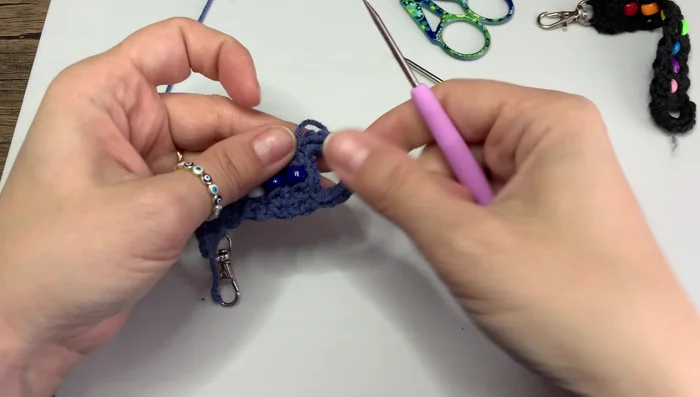
First Bead Row Add Beads and Crochet
- Repeat steps 7-9, adding beads between each row of single crochet.
- Continue adding beads and crocheting until you reach the desired length of your keychain.
Add Beads and Crochet Finish and Secure
- Once finished, chain seven stitches, then join to the beginning of the keychain with a slip stitch. Make ten single crochets around the top of the loop to secure the ring.
- Weave in the loose ends to secure the keychain.
Finish and Secure
Read more: Easy Color Block Crochet Blanket Tutorial for Beginners
Tips
- You can use any color combination and number of beads you want to personalize your keychain.
- Make sure the slip knot is tight to prevent beads from falling off.
- Count your stitches carefully to maintain the shape of your keychain.