Looking for a fun and rewarding crochet project that's perfect for beginners? Look no further! This easy crochet keychain tassel tutorial will guide you through creating a charming and personalized accessory in no time. Forget complicated stitches and intricate patterns; this project focuses on simple, repetitive techniques that are ideal for building confidence and mastering basic crochet skills. You'll be amazed at how quickly you can whip up these adorable tassels, and the possibilities for customization are endless – choose your favorite yarn colors and embellishments to create a truly unique keychain.
Ready to add a touch of handmade charm to your keys? This step-by-step tutorial will walk you through every stage of the process, from creating the foundation chain to assembling the finished tassel and attaching the keychain ring. Whether you're a complete beginner or looking for a quick and satisfying project to add to your crafting repertoire, this tutorial is for you. Let's get started and create some adorable, personalized keychains!
Preparation and Safety Guidelines
- 100 cotton yarn
- 2.5 mm crochet hook
- scissors
- yarn needle
- stitch marker (optional)
- earbuds cover or similar sized object (optional)
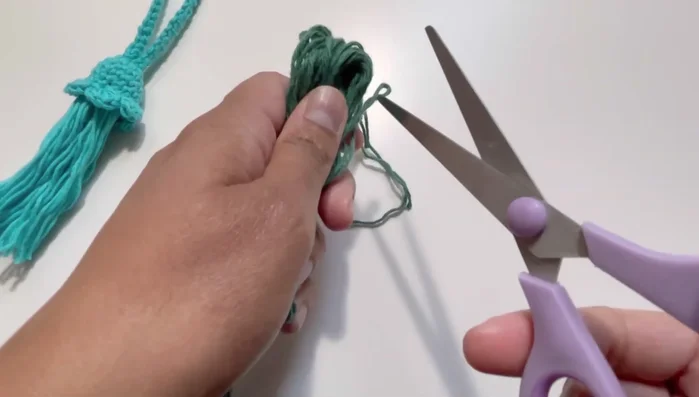
- Always use sharp scissors to cut yarn; dull scissors can cause frayed ends and make your tassel look messy.
- Be mindful of the hook size you choose. Using a hook too large will result in a loose and floppy tassel, while a hook too small may make it difficult to work with.
- When working with small parts like keychains and rings, supervise young children to prevent accidental ingestion or choking hazards.
Step-by-Step Instructions
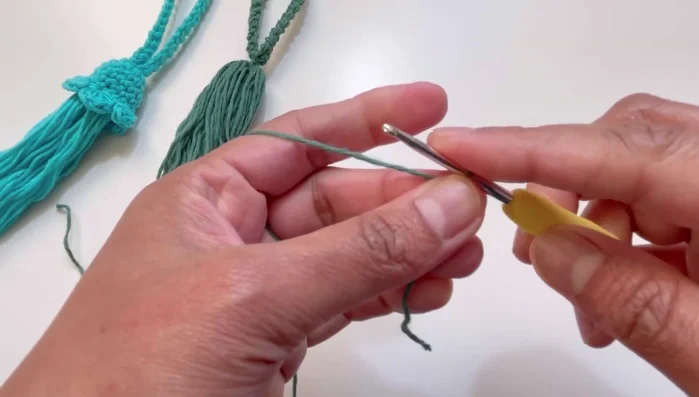
Create the Keychain Base
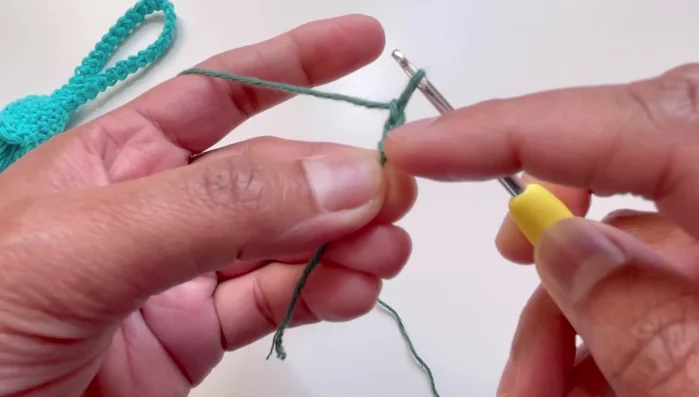
- Start with a slip knot and chain 2.
- Insert hook into the second chain from the hook, yarn over, and pull through to create a single crochet.
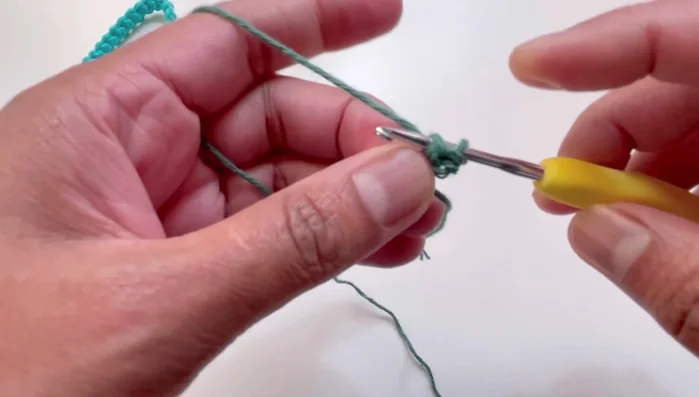
- Turn your work, insert hook into the loop, yarn over, and pull through. Repeat this process, working on the two strands of yarn created.
- Continue repeating steps 2 and 3 until you reach your desired length (approximately 60 rounds).

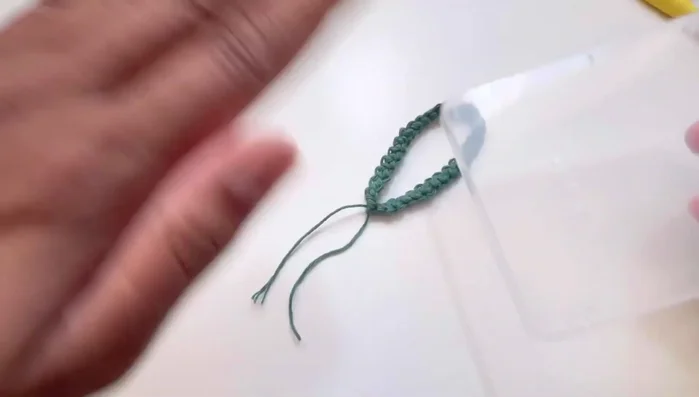
Create the Keychain Base - Fasten off, leaving a tail for attaching the tassel.
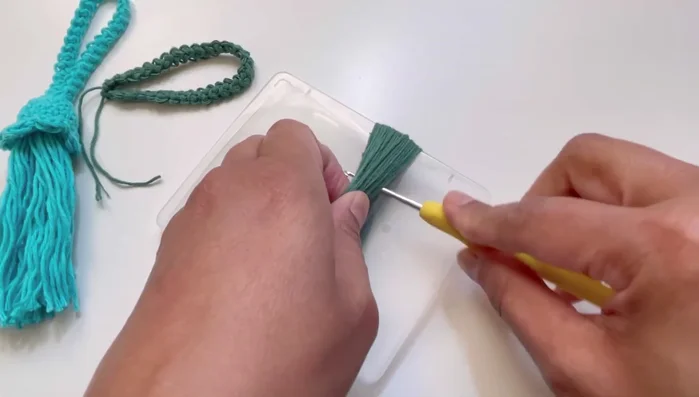
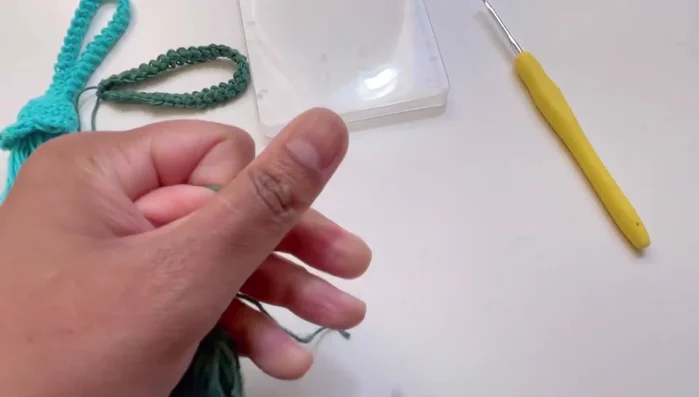
Make the Tassel
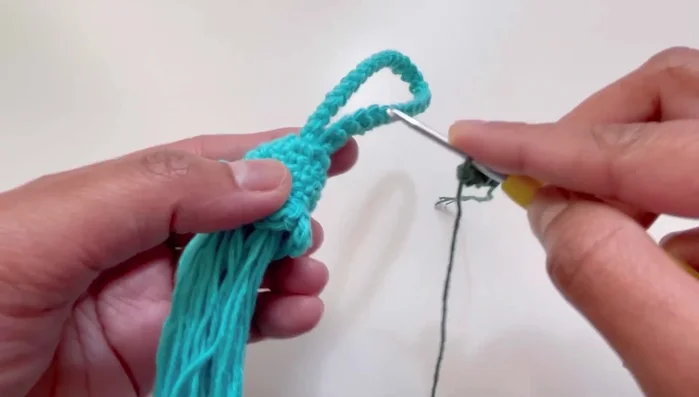
- Wrap yarn around an object (earbuds cover, fingers, etc.) approximately 23-40 times. Cut the yarn, leaving a tail.
- Insert the hook near the wrapped yarn, gather the yarn loops, and secure with a separate piece of yarn. Tie several knots to secure.
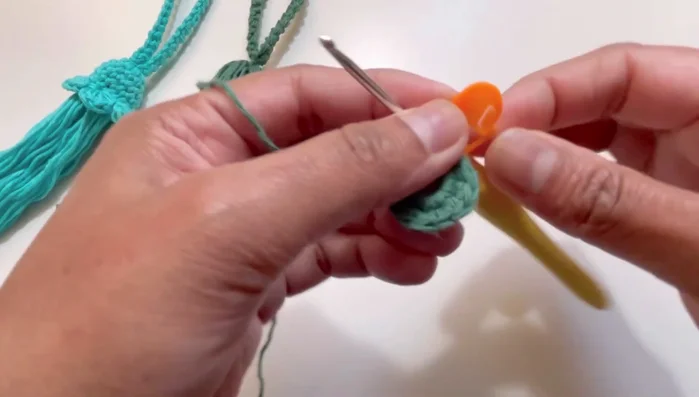
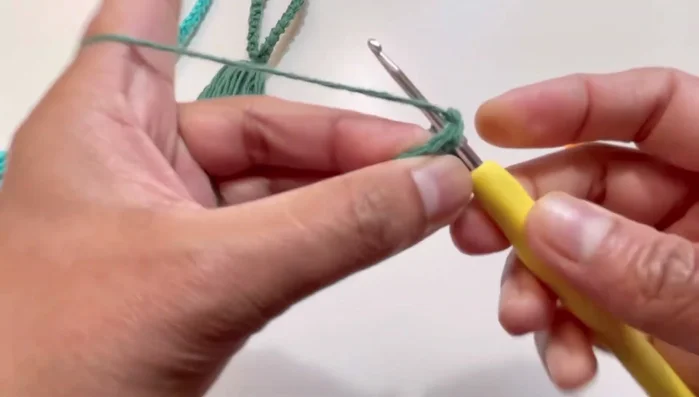
Make the Tassel Create the Tassel Cap
- Make a magic ring with a slip knot and chain 6. Join with a slip stitch.
- Single crochet 8 stitches into the ring.
- *1 single crochet, 2 single crochets in the next stitch*; repeat from * to * around (12 stitches total).
- 1 single crochet in each stitch around (12 stitches total).
Create the Tassel Cap - *1 slip stitch, chain 1, 3 half double crochet in the same stitch, chain 1, skip the next stitch*; repeat from * to * around. Join with a slip stitch to the first stitch. Fasten off.
Create the Tassel Cap Assemble and Finish
- Attach the tassel to the keychain loop using the loose ends of the yarn and the needle, weaving in the ends.
- Weave in the ends and trim the tassel to your desired length.
Assemble and Finish
Read more: Easy Color Block Crochet Blanket Tutorial for Beginners
Tips
- Use a stitch marker to keep track of your rounds in the cap.
- You can adjust the number of rounds for both the keychain and the tassel to achieve your desired size and length.
- Any small cylindrical object can be used to make the tassel; it does not have to be an earbuds cover.