Crochet hatbands are a fantastic way to add a touch of handmade charm and warmth to your winter wardrobe, or a splash of color to a summer hat. They're surprisingly quick and easy to make, even for beginner crocheters, and offer endless possibilities for customization – from chunky textures and vibrant colors to delicate lace patterns. This tutorial focuses on creating a simple, yet stylish hatband, perfect for showcasing different finishing techniques. You'll discover how to adapt your project based on the desired look and feel of your finished piece.
We'll explore three distinct methods for finishing your crochet hatband: a simple seam, a neat slip stitch join, and a decorative braided edge. Each method offers a unique aesthetic and level of difficulty, allowing you to choose the best option for your skills and style preferences. Ready to get started? Let's dive into the step-by-step instructions for creating your own beautiful crochet hatband.
Preparation and Safety Guidelines
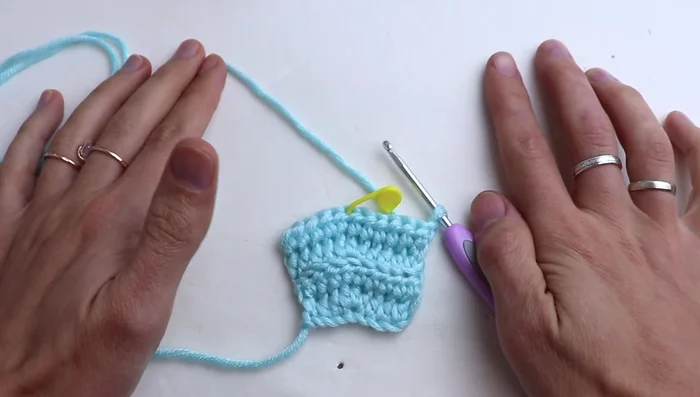
- 3.5 mm crochet hook
- Yarn (medium weight recommended)
- 20 mm button (optional)
- Magnetic snap (optional)
- Always use sharp scissors to cut your yarn to avoid fraying and ensure a clean finish. Dull scissors can snag and damage your work.
- Securely fasten off your yarn ends to prevent them from unraveling and maintain the hatband's integrity. Weave in the ends carefully using a yarn needle.
- Before starting, ensure you have enough yarn to complete the hatband based on your chosen pattern and desired length. It's frustrating to run out halfway through.
Step-by-Step Instructions
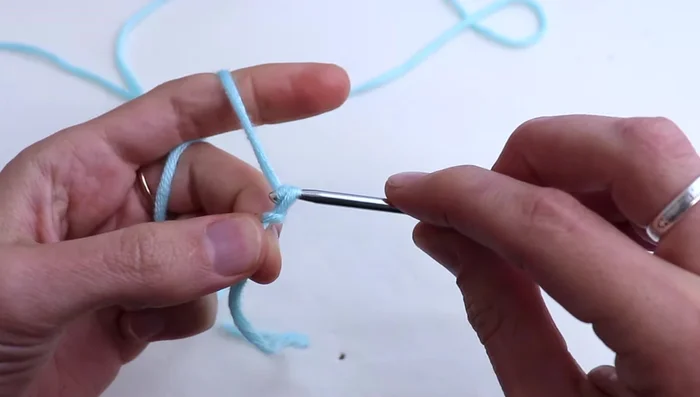
Foundation Chain
- Chain 8 (or any other odd number + 1).

Foundation Chain Initial Row
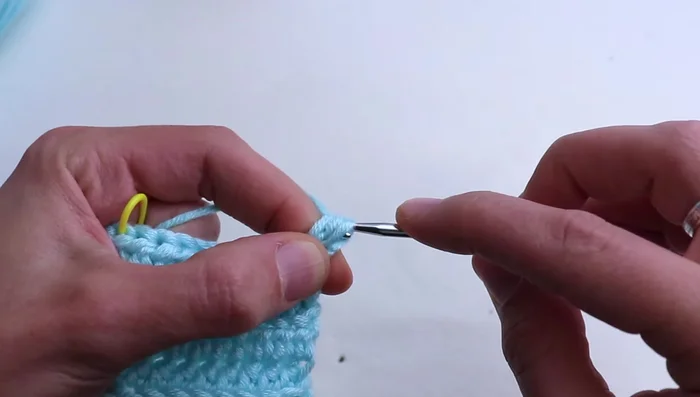
- Work 1 half double crochet (hdc) in the 2nd chain from the hook, then 1 hdc in each of the next 2 chains. Work 3 hdc in the central stitch, then 1 hdc in each of the next 3 chains. Place a stitch marker in the central 3 hdc.
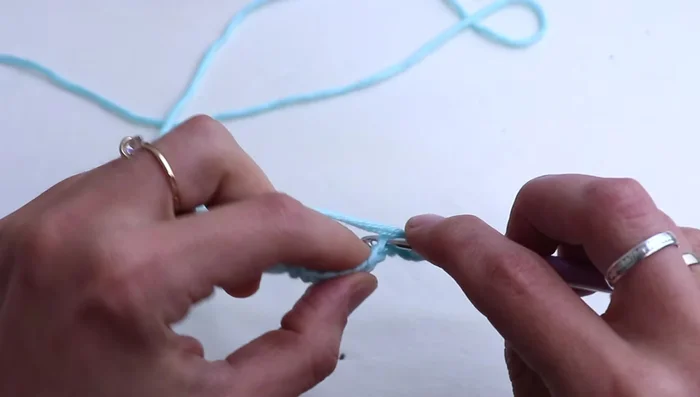
Initial Row First Section: Increasing
- Work 1 hdc in each stitch through the back loop only.
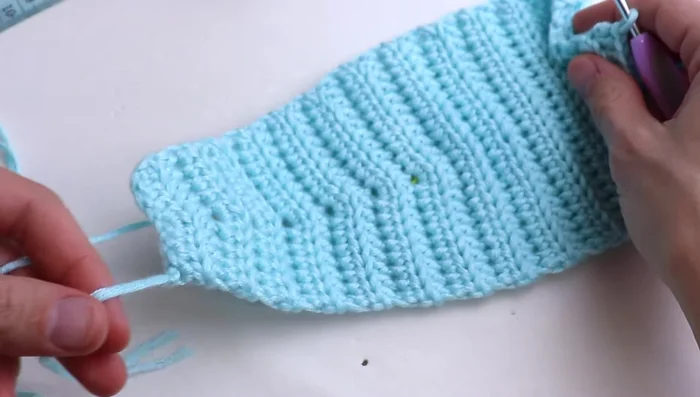
- In rows where the tail is on the left and the work is on the right, increase by working 1 hdc in the first 4 stitches, 3 hdc in the central stitch (with the marker), and then 1 hdc in the next 4 stitches.
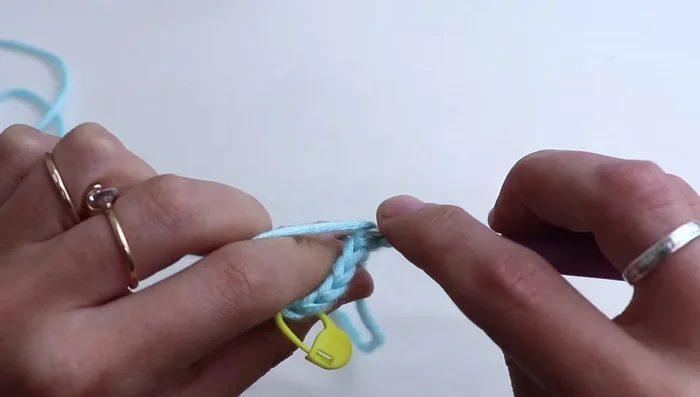
- Continue increasing until the first section is 14cm long (adjust based on your calculations).
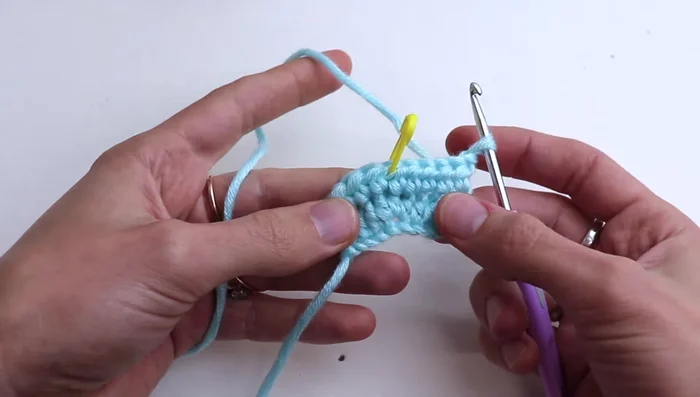
First Section: Increasing Central Section
- Work back and forth without increases, maintaining the number of stitches from the previous row.
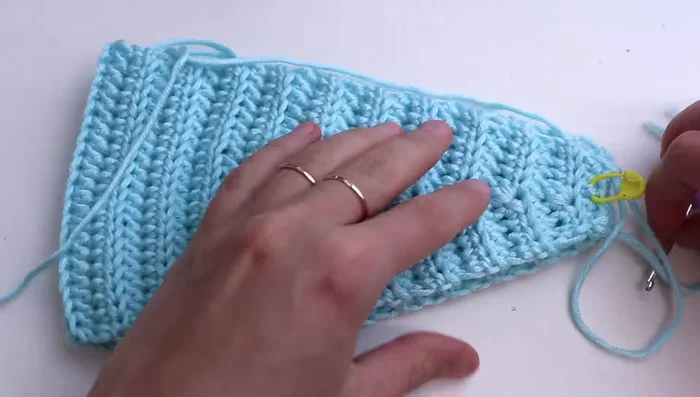
Central Section Third Section: Decreasing
- Work decreases to reduce stitch count back to original number. Decrease by working 3 hdc together in the same stitch.
Third Section: Decreasing Finishing
- Crochet several rows without increases or decreases to create a clean edge. Choose your preferred finishing method (seaming, buttonhole and button, or magnetic snap).
Finishing
Read more: Easy Color Block Crochet Blanket Tutorial for Beginners
Tips
- Use a stitch marker to keep track of the central stitch, especially in the increase and decrease rows.
- Calculate headband length: Head circumference / 2 * 1.5, then divide that number by 3 for the length of each section.
- For a winter hatband, use a thicker yarn.
- The central section can be slightly longer (15cm) than the side sections (14cm).