Crochet granny squares: the iconic, versatile, and endlessly charming foundation for countless projects! Whether you dream of cozy blankets, vibrant bags, or even quirky home décor, mastering the granny square is a crucial first step in your crochet journey. This classic motif, with its simple repetitive pattern, is perfectly suited for beginners, offering a satisfying sense of accomplishment as you watch your creation grow stitch by stitch. Forget complicated instructions and frustrating knots; this tutorial focuses on clear, concise explanations and helpful visuals.
This beginner-friendly guide will walk you through each step of creating your first perfect granny square, from the initial magic ring to the final finishing touches. Get ready to unravel the joy of crochet as we delve into an easy-to-follow, step-by-step process that will have you hooked in no time! Let's begin crafting your very first granny square!
Preparation and Safety Guidelines
- yarn
- crochet hook
- Always use sharp scissors to cut your yarn. Dull scissors can snag the yarn, causing fraying and difficulty working.
- Keep your tension consistent throughout the project. Inconsistent tension will result in an uneven granny square.
- If you're using a hook size different from the pattern, your square's size will vary. Adjust accordingly, perhaps by using a different yarn weight to compensate.
Step-by-Step Instructions
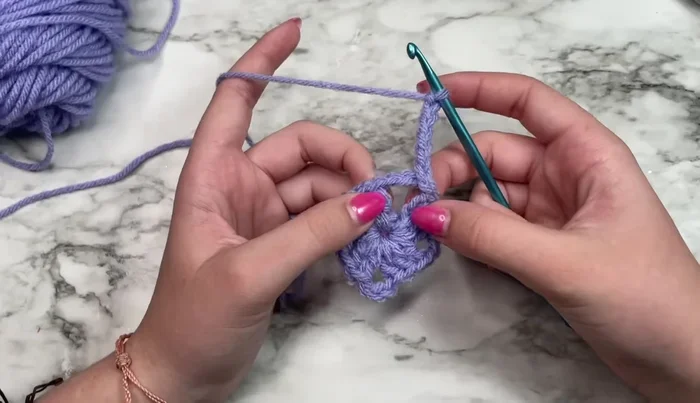
Making the Foundation Ring
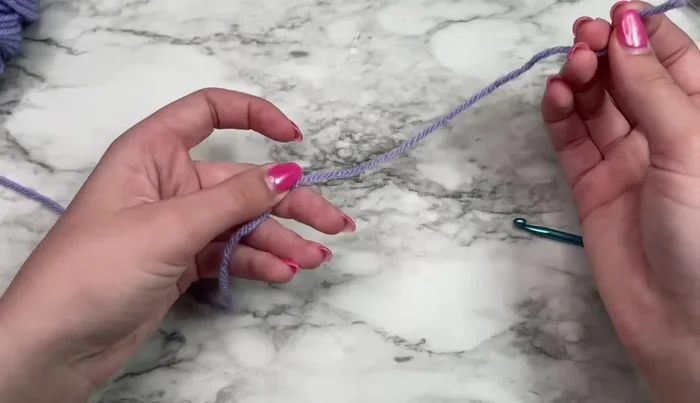
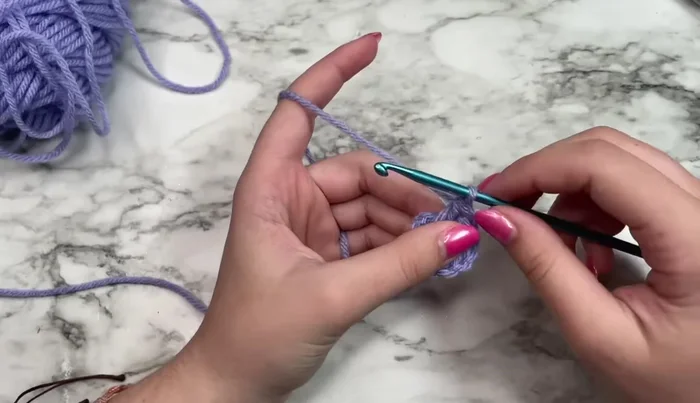
- Make a slip knot.
- Chain four.
- Slip stitch into the first chain to form a ring.

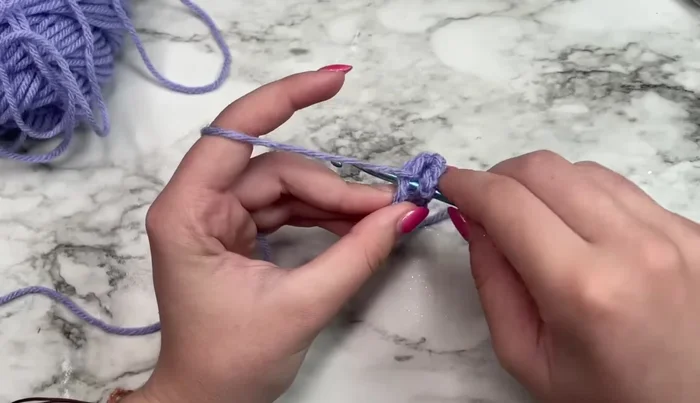
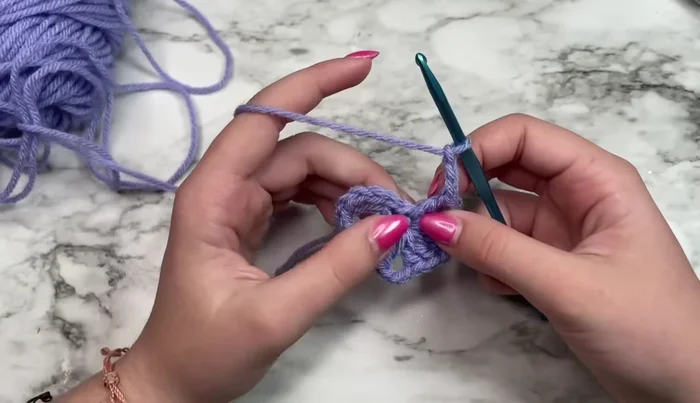
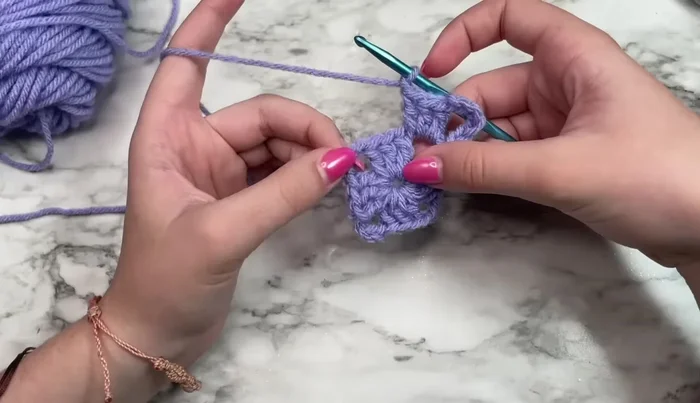
Making the Foundation Ring First Round: Creating the Corners
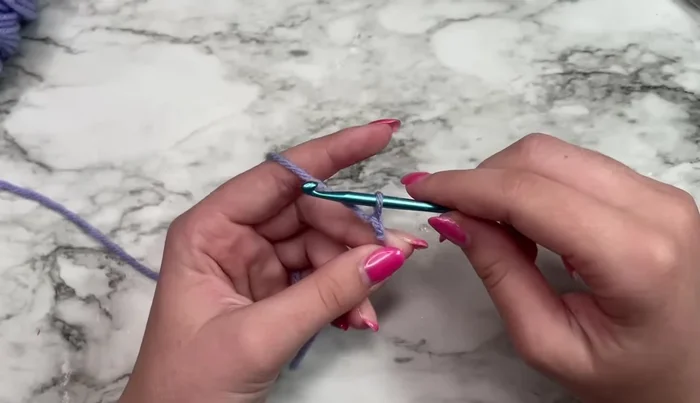
- Chain six.
- Work three double crochets in the ring.
- Chain three.
- Work three double crochets in the ring.
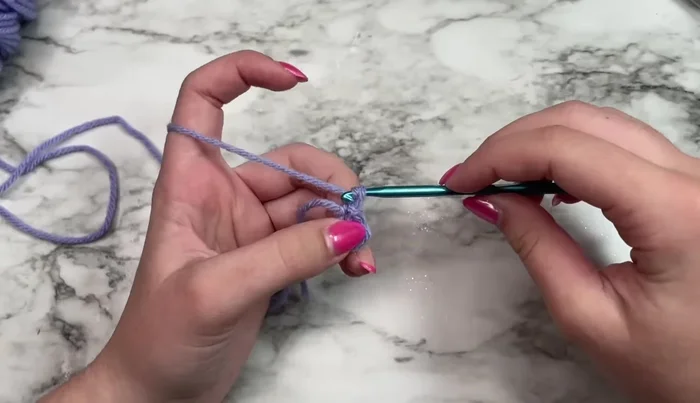
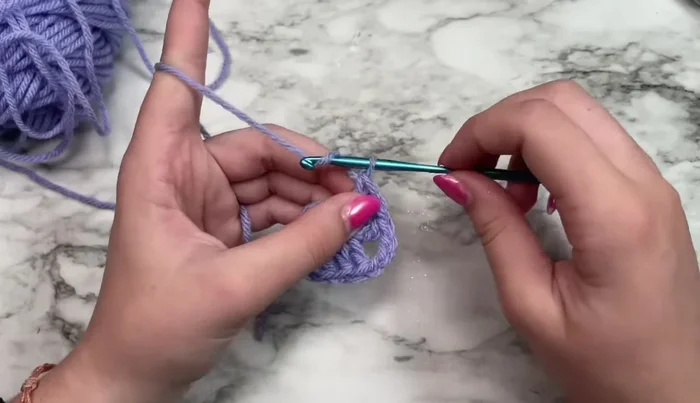
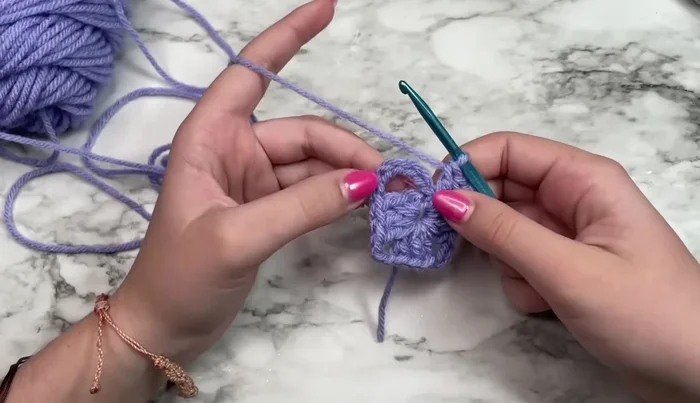
First Round: Creating the Corners - Repeat steps 6 and 7 three times.
- Chain three.
- Work two double crochets in the ring.
- Slip stitch into the third chain of the initial chain-six to join the round.
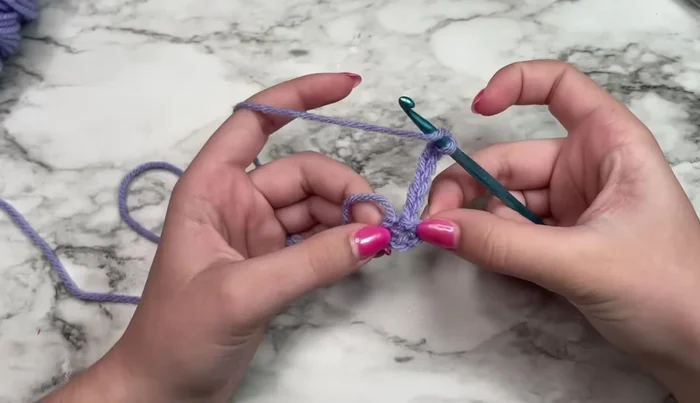
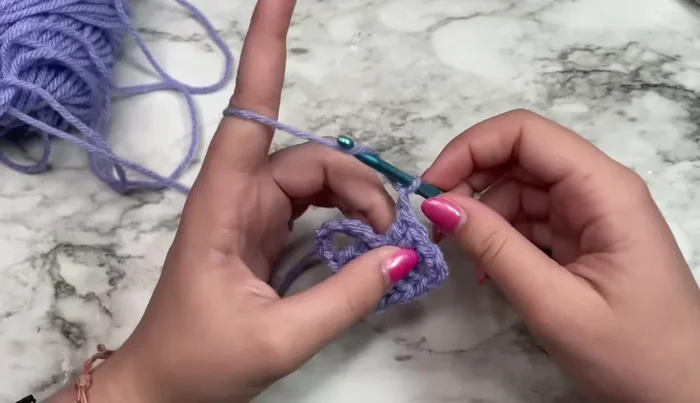
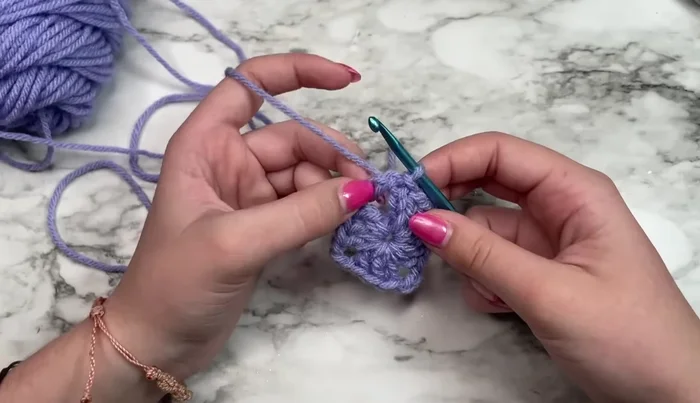
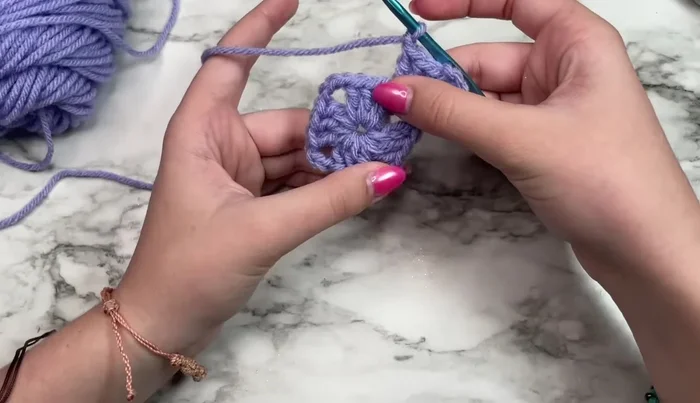
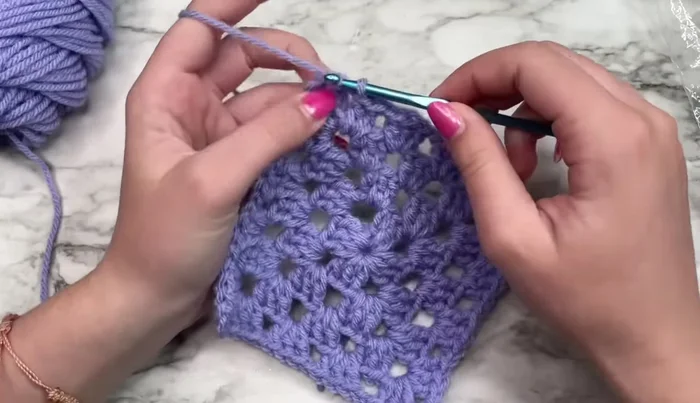
First Round: Creating the Corners Second Round and Subsequent Rounds: Expanding the Square
- Slip stitch into the next chain space.
- Chain six.
- Work three double crochets in the chain space.
- Chain one.
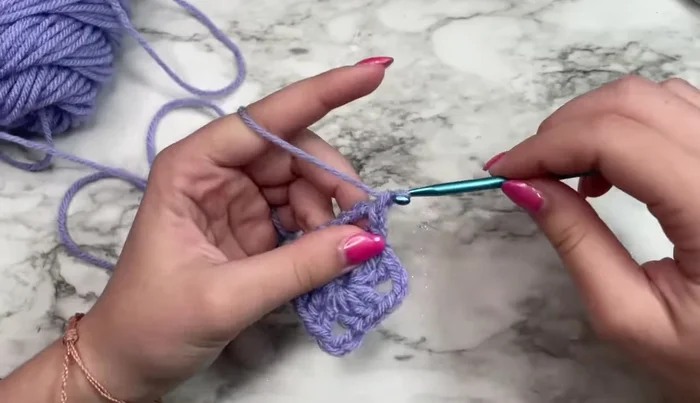
Second Round and Subsequent Rounds: Expanding the Square - Work two clusters (three double crochets each, separated by three chains) in each corner space.
- Work one cluster in each middle space.
- Repeat steps 12-17 for subsequent rounds, adding rows as desired.
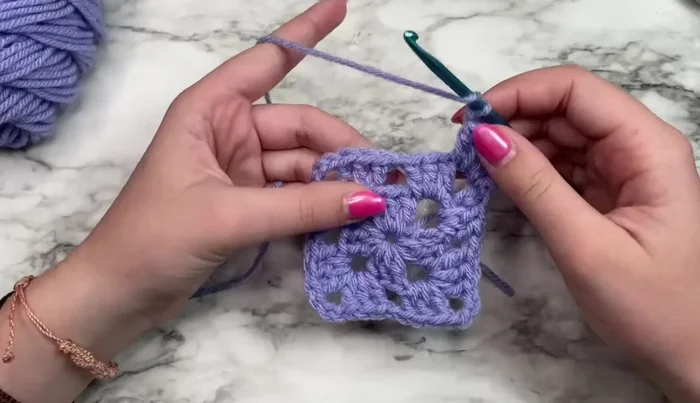
Second Round and Subsequent Rounds: Expanding the Square Finishing the Granny Square
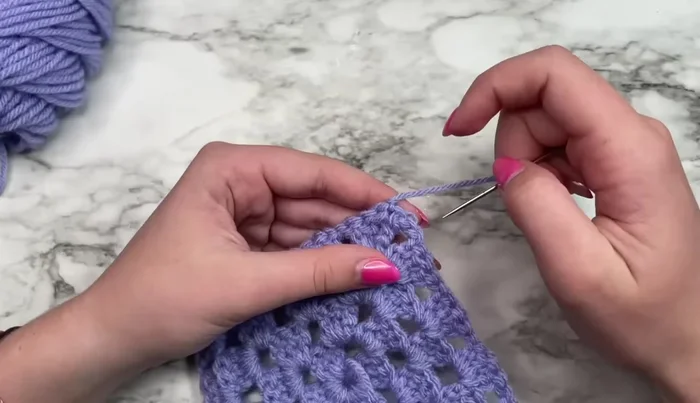
- Slip stitch to join the final round and fasten off.
- Weave in the ends.
Finishing the Granny Square


Read more: Easy Color Block Crochet Blanket Tutorial for Beginners
Tips
- Change yarn color for each round for a visually appealing effect.
- Granny squares can be used in various projects.