Deck your halls with handmade cheer this Christmas! Forget mass-produced decorations; this year, add a touch of unique charm with a delightful crocheted Christmas tree ornament. This quick and easy tutorial will guide you through creating a charming, flat ornament perfect for adorning your tree or gifting to loved ones. Whether you're a seasoned crocheter looking for a fun, festive project, or a beginner eager to try something new, this pattern is designed to be accessible and enjoyable. You'll be amazed at how quickly you can whip up these festive little trees!
Prepare to be captivated by the simplicity and elegance of this design. Using basic crochet stitches and readily available materials, you'll craft a beautiful ornament in a surprisingly short amount of time. From choosing your yarn to adding the final touches, we'll walk you through each step with clear instructions and helpful images. Let's dive into the step-by-step process and create your own miniature crocheted Christmas tree!
Preparation and Safety Guidelines
- Number four medium worsted weight yarn (green and brown)
- Five millimeter crochet hook
- Use sharp scissors to cut yarn; keep fingers away from the blades.
- Always supervise children around crochet hooks and small parts.
- If using a glue gun, be extremely careful to avoid burns. Always let glue cool before handling the ornament.
Step-by-Step Instructions
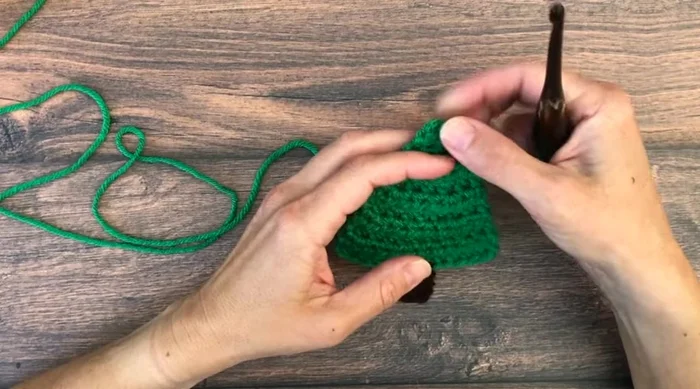
Starting the Tree
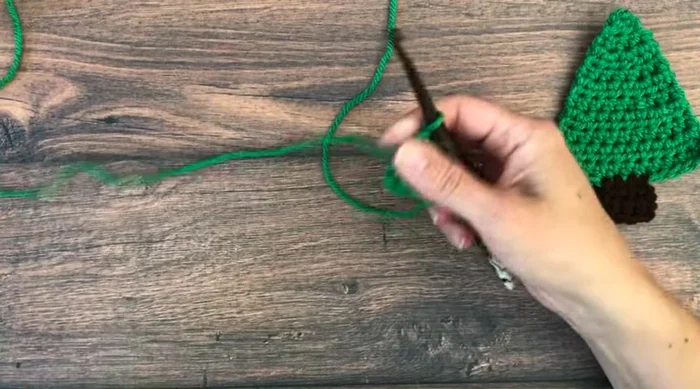
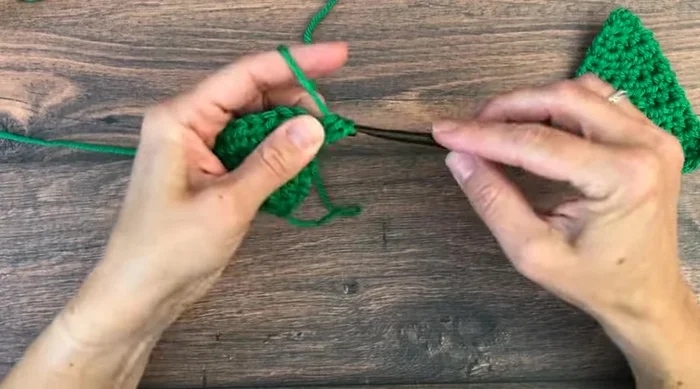
- Start with a chain two using green yarn. Leave a long tail if you want to make a hanging loop.
- In the first chain, place two half double crochets.
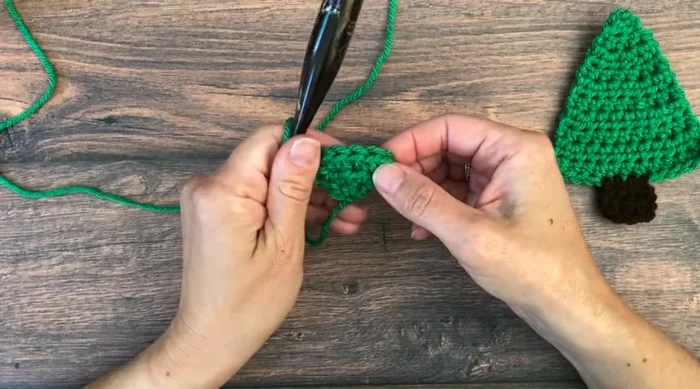
- Turn your work and chain one (doesn't count as a stitch). Place two half double crochets in the same stitch.
- Place two half double crochets in the next stitch.

Starting the Tree - Chain one, half double crochet in first stitch, two half double crochets in the next stitch, two half double crochets in the following stitch, one half double crochet in the last stitch (total 4 stitches).
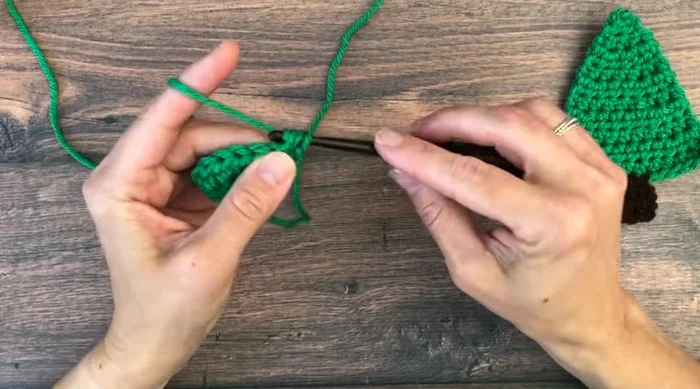
Starting the Tree Building the Tree Body
- Chain one, half double crochet in each stitch across (total 6 stitches).
- Chain one, half double crochet in each stitch across (total 6 stitches).
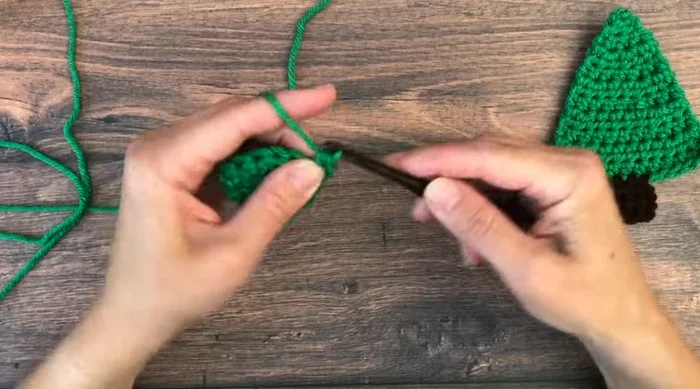
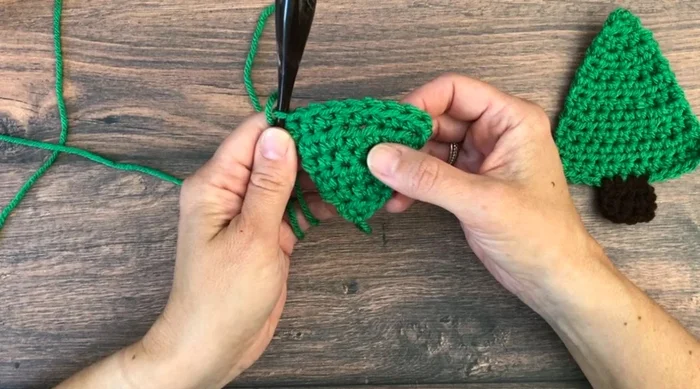
- Chain one, half double crochet in the first stitch, increase (two half double crochets) in the second stitch, half double crochet in each stitch until two stitches remain, one half double crochet in each of the last two stitches (total 8 stitches).
- Chain one, half double crochet in each stitch across (total 8 stitches).
Building the Tree Body - Repeat Rows 5 and 6 four more times to reach 12 stitches. (This builds the tree shape)
Building the Tree Body Final Increase and Shaping
- Chain one, half double crochet in first stitch, increase in next stitch, half double crochet in each stitch until two stitches remain, final increase in the second to last stitch, one half double crochet in the last stitch (total 12 stitches).
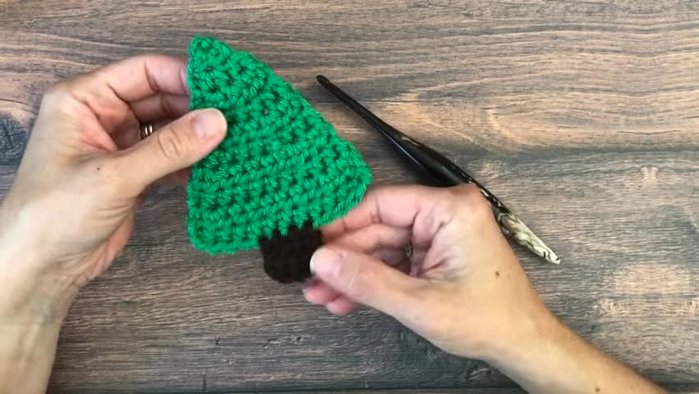
Final Increase and Shaping Creating the Trunk
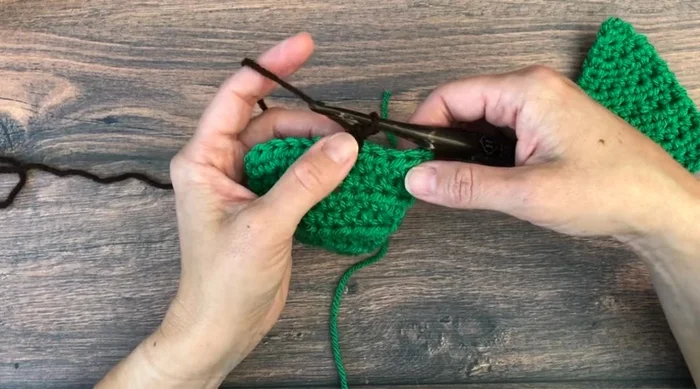
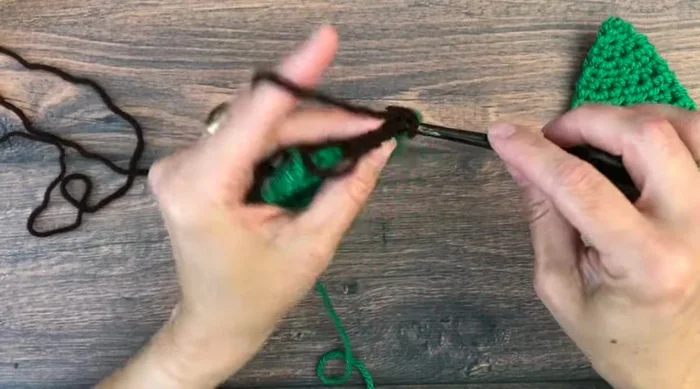
- Join brown yarn in the fifth stitch using a slip knot join method to create the tree trunk.
- Work one half double crochet in each of the next three stitches for the trunk.
- Turn, chain one, and half double crochet in each of the next three stitches to complete the trunk.
Creating the Trunk Finishing Touches
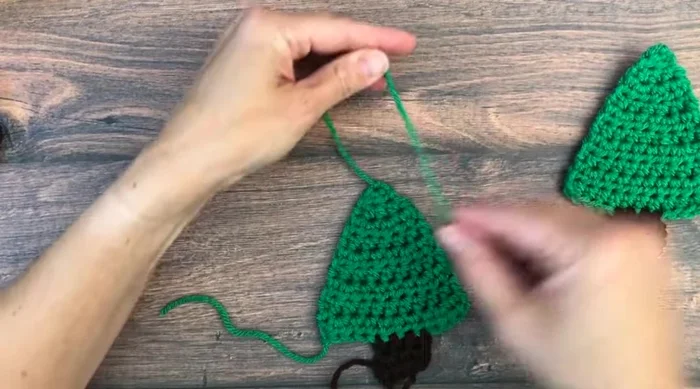
- Fasten off and weave in ends. Tie off a loop for hanging if desired.
Finishing Touches


Read more: Easy Color Block Crochet Blanket Tutorial for Beginners
Tips
- Use leftover yarn for a scrappy project. Change colors for stripes or other variations.
- A slip knot join method prevents bulkiness when attaching the brown yarn for the trunk.