Add a touch of rustic charm to your farmhouse kitchen or dining table with this easy-to-make crochet table runner! This delightful project features a simple yet elegant twisted border that adds a unique and sophisticated texture, perfect for elevating your home décor. Whether you're a seasoned crocheter looking for a quick and satisfying project or a beginner eager to try a new technique, this pattern is designed to be accessible and enjoyable. The twisted border is surprisingly easy to master, creating a beautiful visual interest that surpasses its simplicity.
This tutorial provides clear, concise instructions and helpful images to guide you through each step of creating your own charming crochet farmhouse table runner. Ready to add some handmade coziness to your home? Let's get started with the step-by-step process detailed below!
Preparation and Safety Guidelines
- Medium 4 weight cotton yarn (Dishy yarn recommended)
- 5mm (H) crochet hook
- Yarn needle
- Scissors
- Use sharp scissors to prevent fraying and ensure clean cuts when snipping yarn. Dull scissors can damage your yarn and make it difficult to work with.
- Always be mindful of your hook size. Using a hook that's too large or too small can significantly affect the tension of your stitches and the overall look of your table runner. Refer to your chosen pattern's recommendations.
- If working with a light-colored yarn, be aware that your fingers may leave oils on the yarn, potentially causing discoloration. Try to handle the yarn as little as possible, especially in the beginning.
Step-by-Step Instructions
Foundation Chain
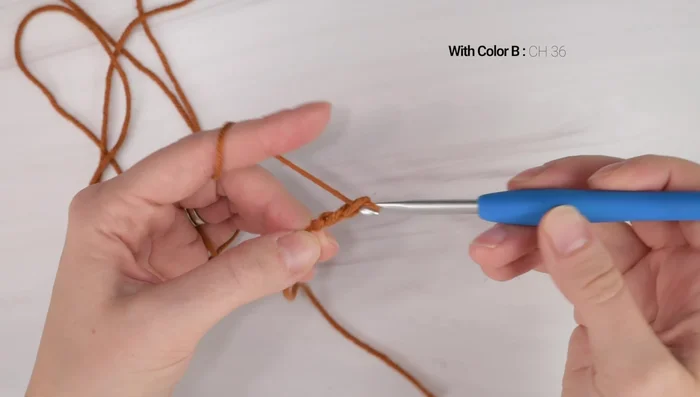
- Chain 36 (or any even number for desired width).

Foundation Chain Creating the Table Runner Body
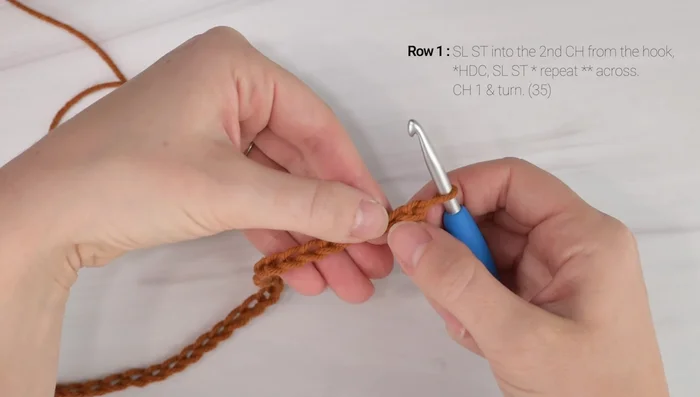
- Work slip stitch in 2nd chain from hook, then *half double crochet in next chain, slip stitch in next chain*. Repeat *-* across, ending with a slip stitch.
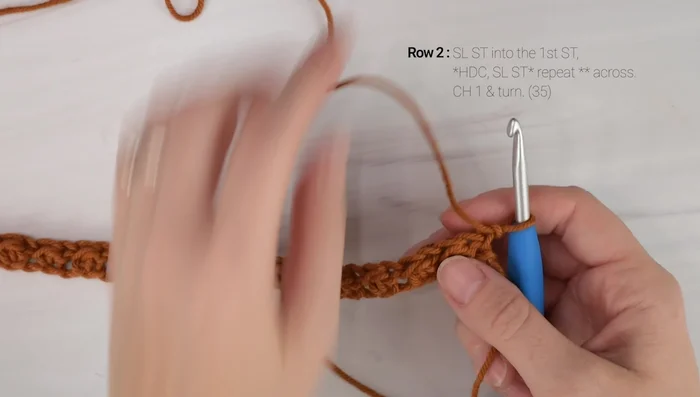
- Slip stitch into first stitch (chain 1 doesn't count as a stitch), *half double crochet in next stitch, slip stitch in next stitch*. Repeat *-* across, ending with a slip stitch. Chain 1 and turn.
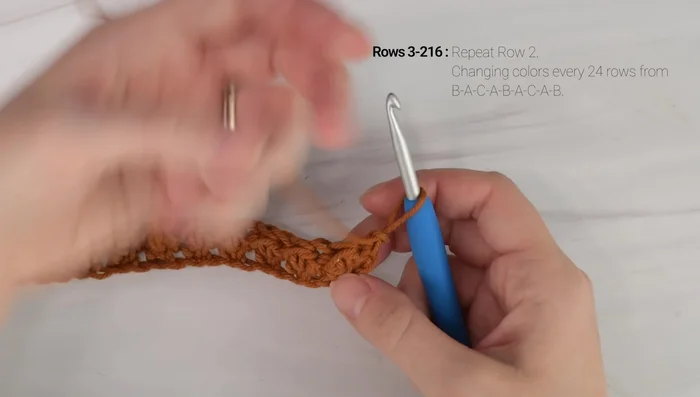
- Change colors every 24 rows (or as desired). To change colors, on the last slip stitch of a row, insert your hook, drop the current color, pick up the new color, and pull through.
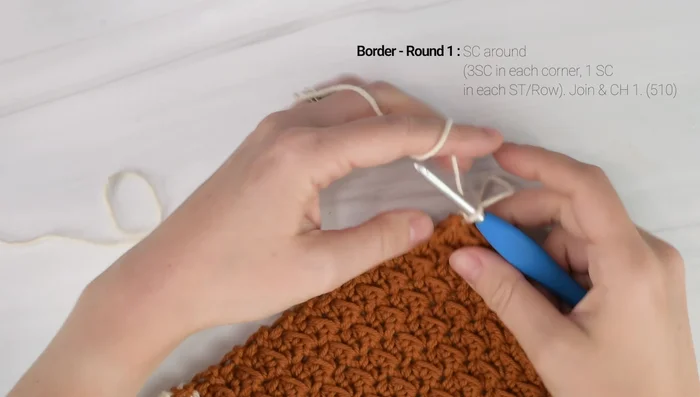
Creating the Table Runner Body Border - Round 1
- Single crochet around. Work 3 single crochets in each corner, 1 single crochet in each stitch along the sides and bottom/top.
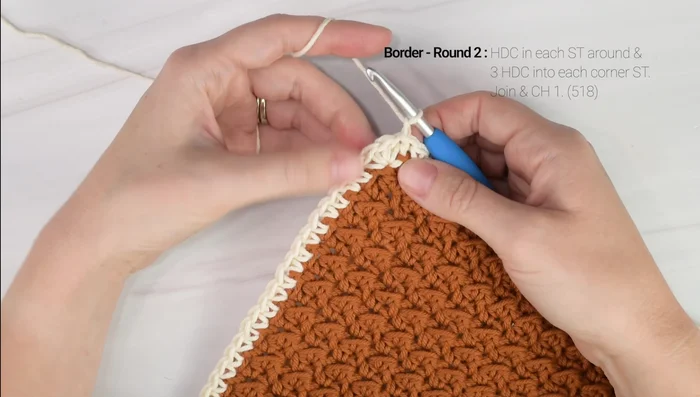
Border - Round 1 Border - Round 2
- Half double crochet around. Work 3 half double crochets in each corner.
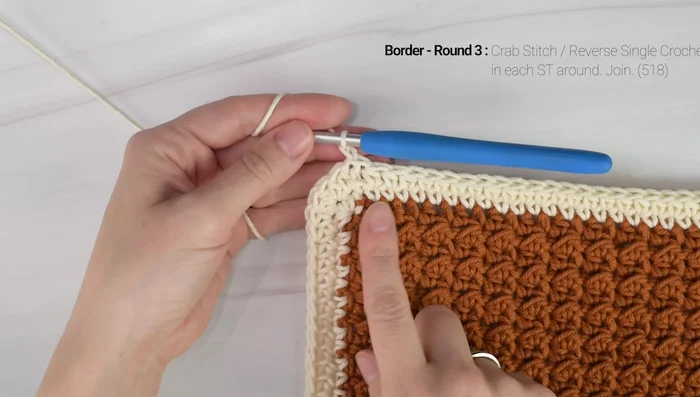
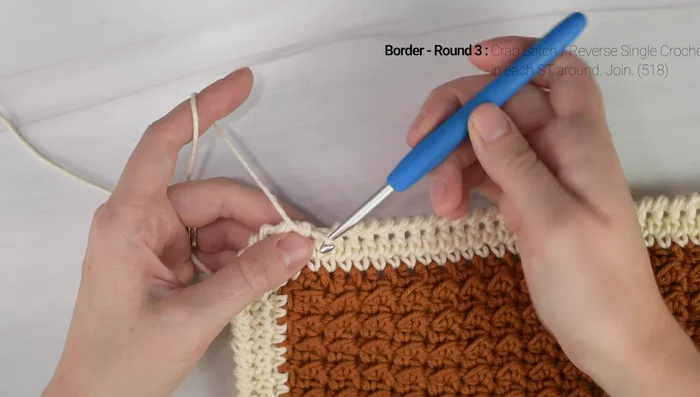
Border - Round 2 Border - Round 3
- Crab stitch (reverse single crochet) around. Work 1 crab stitch in each stitch, working to the right.
Border - Round 3 Finishing
- Join with a slip stitch, fasten off, and weave in ends.
Finishing
Read more: Easy Color Block Crochet Blanket Tutorial for Beginners
Tips
- Keep slip stitches loose for easier working.
- When working rows 2 and beyond, work into the top two loops of the half double crochet stitches, not the third loop in the front.
- Weave in ends as you go or at the end.