Looking for a stylish and effortlessly chic accessory that's also surprisingly quick to make? Then look no further! This tutorial will guide you through creating a beautiful crochet head scarf using the stunning Coliseum stitch. Perfect for beginners and experienced crocheters alike, this pattern is designed for speed and simplicity without sacrificing elegance. Imagine yourself wrapped in a cozy, handmade head covering, adding a touch of sophistication to any outfit, all while enjoying a relaxing crafting session. The Coliseum stitch, with its textured and visually appealing design, adds a unique flair that's sure to turn heads.
This head scarf project is ideal for using up those leftover yarn scraps, making it both thrifty and creative. You'll be amazed at how quickly this pattern comes together, and the finished result is far more impressive than its simple execution suggests. Ready to get started on your own gorgeous Coliseum stitch head scarf? Let's dive into the step-by-step instructions below!
Preparation and Safety Guidelines
- Size H/5 mm crochet hook
- Scissors
- Yarn needle
- Karen Cotton Cakes yarn (or any medium weight yarn)
- Use a hook size appropriate for your chosen yarn. Using the wrong size can result in a too-tight or too-loose fabric, affecting comfort and drape.
- Always check your tension regularly throughout the project. Inconsistent tension leads to an uneven finished product.
- Ensure you have enough yarn before starting. Running out mid-project can be frustrating and might result in color inconsistencies if you need to join a new ball.
Step-by-Step Instructions
Foundation Chain
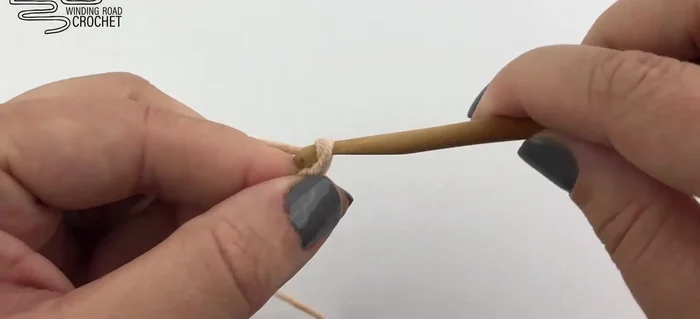
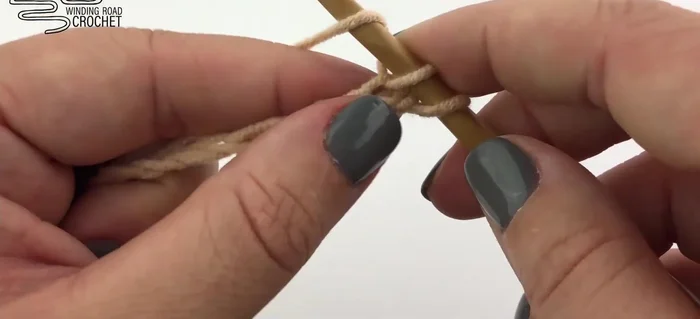
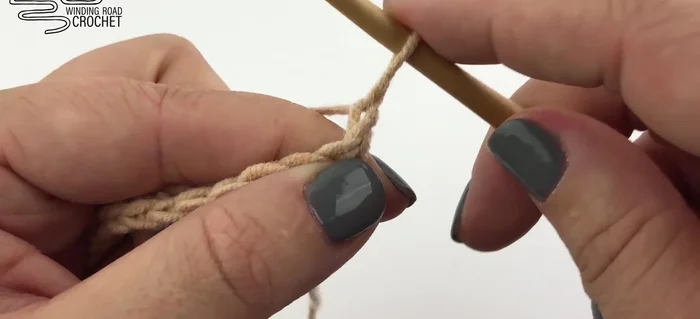
- Make a slip knot and insert your hook. Chain 142 (child) or 182 (adult).

Foundation Chain First Row (Single Crochet)
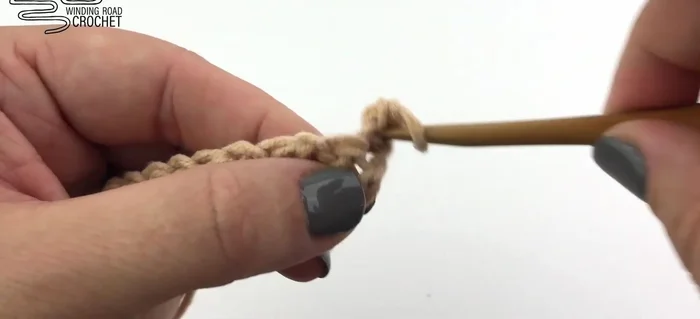
- Turn your work and single crochet in the second chain from the hook. Work two single crochet into the first chain and single crochet in each stitch across, increasing by two single crochet in the last chain.
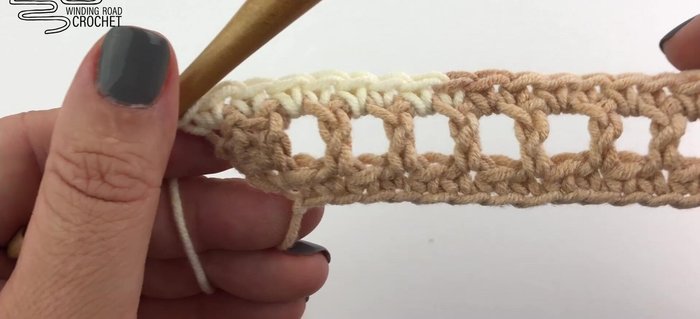
First Row (Single Crochet) Coliseum Stitch Row (Double Crochet)
- Chain one and turn. Work two double crochet into the first stitch. Chain one, skip a stitch, double crochet into the next stitch. Repeat until two stitches remain. Chain one, skip the next stitch and work two double crochet into the last stitch.
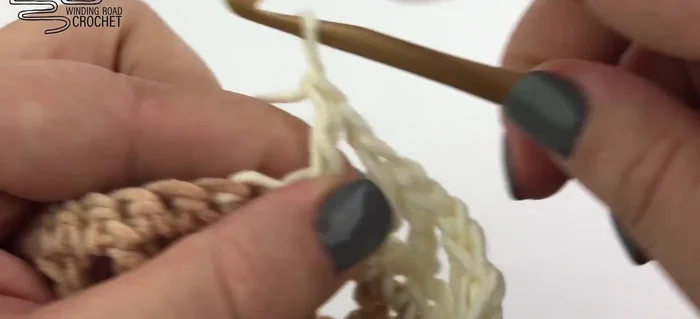
Coliseum Stitch Row (Double Crochet) Single Crochet Row
- Chain one and turn. Work two single crochet into the first stitch, then single crochet into every stitch and chain-one space across, increasing by two single crochet in the last stitch.
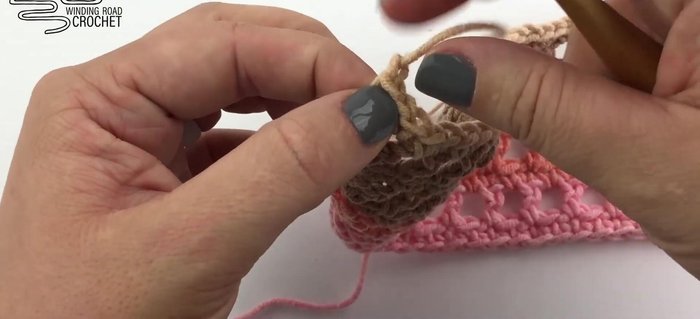
Single Crochet Row Repeat Coliseum and Single Crochet Rows
- Repeat steps 3 and 4 until you have a total of nine rows (or any odd number of rows).
Repeat Coliseum and Single Crochet Rows Final Single Crochet Row
- Finish with a solid single crochet row.
Final Single Crochet Row Finishing
- Fasten off, weave in the ends.
Finishing
Read more: Easy Color Block Crochet Blanket Tutorial for Beginners
Tips
- You can work into the front or back loops, whichever is comfortable.
- Chain one for your turning chain and gently pull up on the loop to create a longer loop.
- Weave in your yarn ends back and forth three times to secure them for washing.