Christmas is just around the corner, and what better way to add a touch of handmade charm to your holiday décor than with a cozy, crocheted Christmas stocking? This year, ditch the store-bought versions and create a unique, personalized stocking that will become a cherished family heirloom. Whether you're a seasoned crocheter looking for a fun project or a beginner eager to try something new, this pattern is designed to be accessible and enjoyable. The satisfying texture of yarn and the simple elegance of a crocheted stocking make it a truly rewarding craft.
This easy-to-follow guide provides a comprehensive, step-by-step crochet pattern for creating a beautiful Christmas stocking, perfect for filling with treats and small gifts. Forget complicated instructions and confusing jargon; we'll walk you through each stage, from the initial chain stitch to the final finishing touches, ensuring a successful and stress-free crafting experience. Let's get started on your charming, handmade Christmas stocking!
Preparation and Safety Guidelines
- Size 5 bulky yarn (approx. 250 grams)
- K/6.5 mm crochet hook
- Use sharp scissors to cut yarn; dull scissors can cause snags and uneven edges.
- Always fasten off securely at the end of each round or row to prevent unraveling. A secure knot is crucial, especially for items that will be handled often.
- If working with small parts (like a crocheted hanger loop), ensure they are securely attached and are not a choking hazard, especially if the stocking is intended for a child.
Step-by-Step Instructions
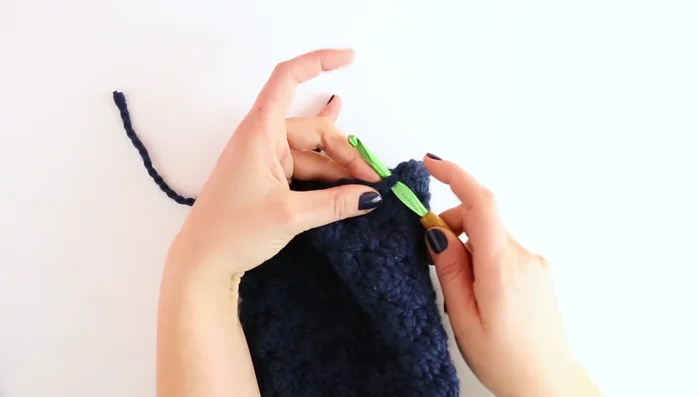
Creating the Stocking Toe
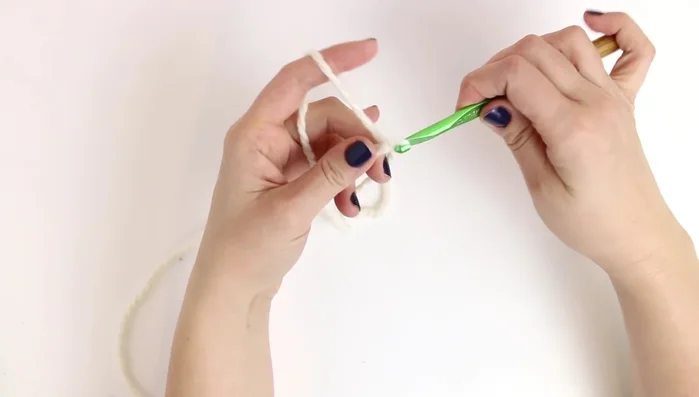
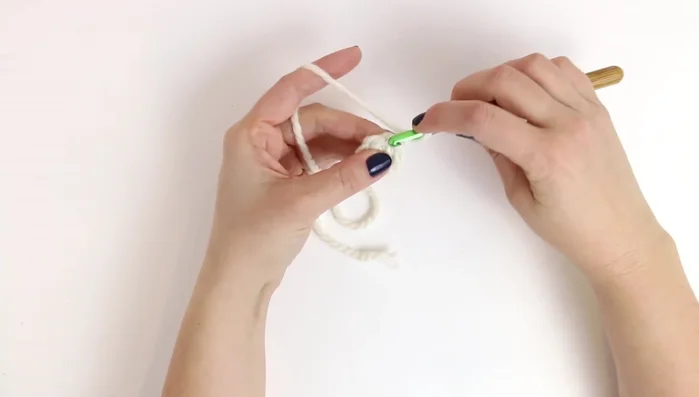
- Begin the stocking at the toe with a magic loop. Insert hook, chain 1, and single crochet 7 stitches into the loop.
- Chain 1, single crochet in the same stitch, then 2 single crochet in each stitch around (14 total stitches). Slip stitch to join.
- Chain 1, single crochet in the same stitch, then *1 single crochet, 2 single crochet in the next stitch*. Repeat from * to * around (21 total stitches). Slip stitch to join.
- Chain 1, single crochet in the same stitch, then *1 single crochet, 1 single crochet, 2 single crochet in the next stitch*. Repeat from * to * around (28 total stitches). Slip stitch to join.

Creating the Stocking Toe - Chain 1, single crochet in the same stitch, then *1 single crochet, 1 single crochet, 1 single crochet, 2 single crochet in the next stitch*. Repeat from * to * around (35 total stitches). Slip stitch to join.
- Chain 1, single crochet in the same stitch, then *1 single crochet, 1 single crochet, 1 single crochet, 1 single crochet, 2 single crochet in the next stitch*. Repeat from * to * around (42 total stitches). Slip stitch to join. Change color if using two-tone.
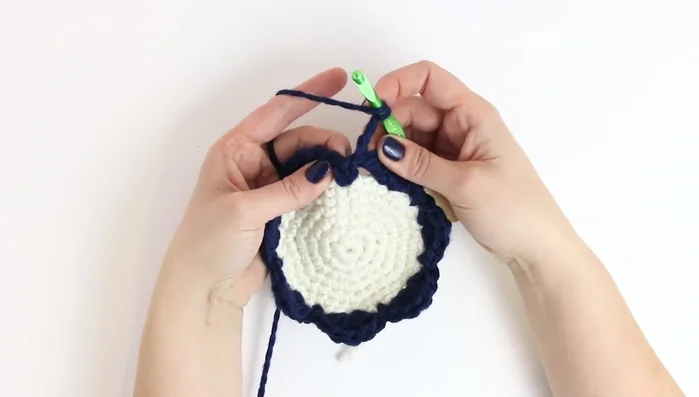
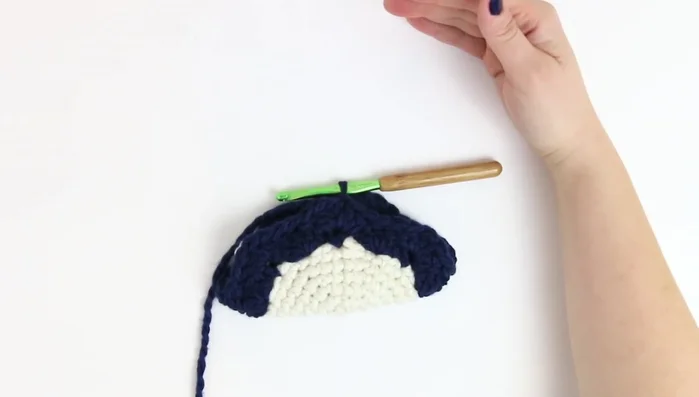
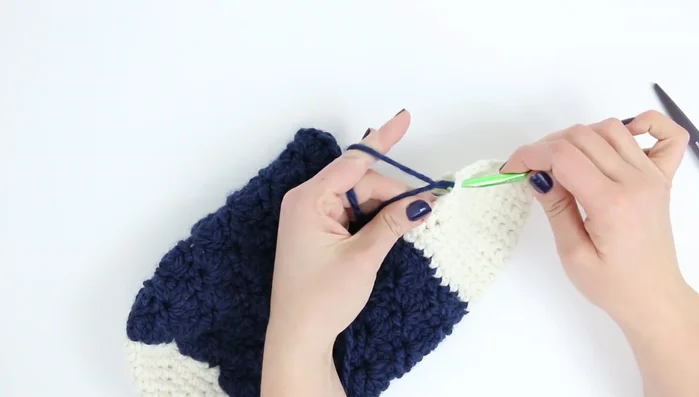
Forming the Stocking Foot
- Join second color. Chain 1, single crochet in the same stitch. Skip 2 stitches, 5 double crochet in the next stitch (5 DC shell). Repeat *skip 2 stitches, 5 DC shell* around. Slip stitch to join.
- Chain 3 (counts as dc), 2 double crochet in the same stitch, skip 2 stitches, single crochet in the center DC of the next shell. Repeat *skip 2 stitches, 5 double crochet in the next stitch, skip 2 stitches, single crochet in center DC*. Repeat from * to * around, ending with 3 dc and slip stitch to join.
- Repeat round 8 pattern for the next 10 rounds to form the foot.
Forming the Stocking Foot Crafting the Stocking Heel
- Join first color. Chain 1, single crochet in the same stitch. Single crochet across 18 stitches (19 total). Chain 1, turn. Single crochet across 18 stitches (18 total). Repeat decreasing by one stitch each row until 13 stitches remain.
- Chain 1, turn, single crochet across 13 stitches. Continue working single crochet along side of previous rows, then slip stitch.
- Continue increasing stitches along side of previous rows. Follow the pattern (single crochet sides and top, slip stitch) until 23 stitches remain at the top of the heel.
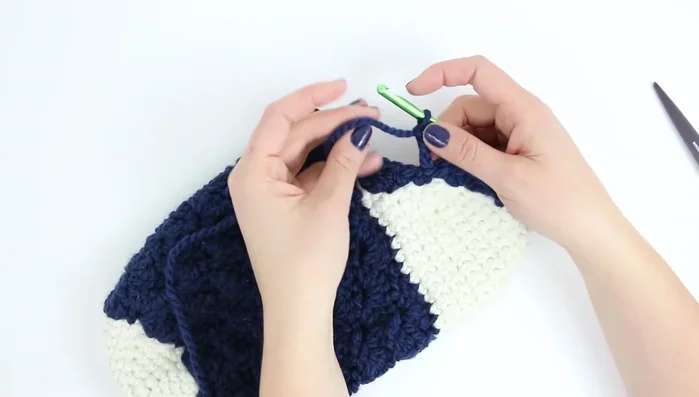
Crafting the Stocking Heel Working the Stocking Leg
- Join second color. Chain 1, single crochet in the same stitch. Skip 2, 5 double crochet, skip 2, single crochet. Repeat shell pattern around. Slip stitch to join.
- Chain 3 (counts as dc), 2 dc in same stitch, skip 2, single crochet in center DC of next shell, 5 dc in next stitch. Repeat around. Slip stitch to join. Repeat for 12 rounds.
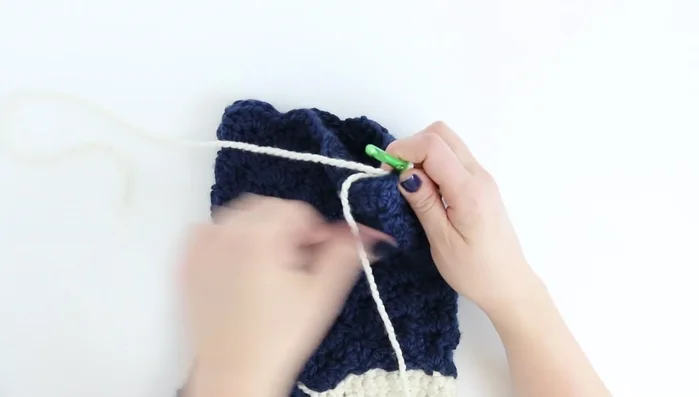
Working the Stocking Leg Making the Stocking Cuff
- Join first color. Chain 1, single crochet. Chain 18. Half double crochet in third chain from hook and continue across. Slip stitch into next two stitches on the stocking. Turn and half double crochet in back loops only across 16 stitches. Repeat, decreasing slip stitches as you go until cuff is desired length. Sew cuff closed.
Making the Stocking Cuff Finishing Touches
- Chain 1, single crochet into cuff edge. Chain 10 for loop, slip stitch to join. Finish off yarn.
Finishing Touches
Read more: Easy Color Block Crochet Blanket Tutorial for Beginners
Tips
- Use a different yarn weight to create different sizes of stockings.
- Ensure your stitch count matches the instructions in each round.
- Work in the back loops only when creating the ribbed cuff for a clean finish.