Crochet chevron blankets are beloved for their striking visual texture and cozy warmth, but even the most stunning blanket can benefit from a beautiful finishing touch. A well-chosen edging not only protects the delicate stitches of your chevron pattern but elevates the overall design, adding a professional and polished feel. This simple yet elegant crochet edging is perfect for adding that extra something special to your handcrafted blanket. Whether you're a seasoned crocheter or just starting out, this tutorial will guide you through creating a classic, versatile border that complements the unique chevron stitch beautifully.
This easy-to-follow tutorial will walk you through each step of the process, from starting the edging to seamlessly joining it to your completed chevron blanket. Get ready to transform your handmade treasure into a truly breathtaking masterpiece; let's begin adding that perfect finishing touch to your next cozy crochet project!
Preparation and Safety Guidelines
- Red Heart With Love yarn (Berry Red)
- 5.5 mm crochet hook (I)
- Scissors
- Yarn needle
- Use sharp scissors to cut your yarn. Dull scissors can cause frayed ends and make your edging look messy.
- Maintain consistent tension throughout your crochet to ensure an even and neat-looking chevron pattern and edging. Loose tension will result in a wavy edge, while tight tension can cause distortion.
- Always check your stitch count regularly to avoid mistakes that can be difficult to correct later. It's easier to fix small errors early on.
Step-by-Step Instructions
Prepare the Blanket
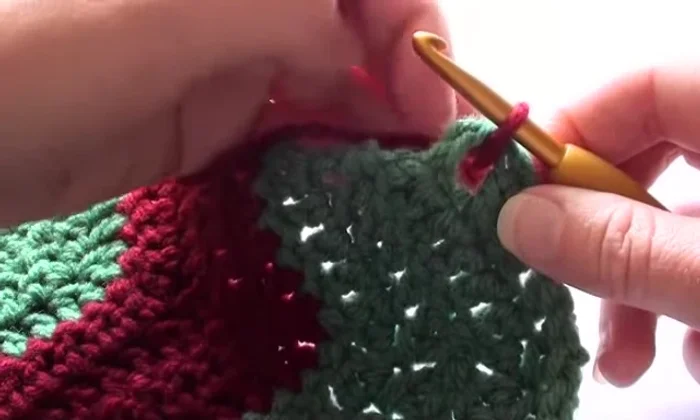
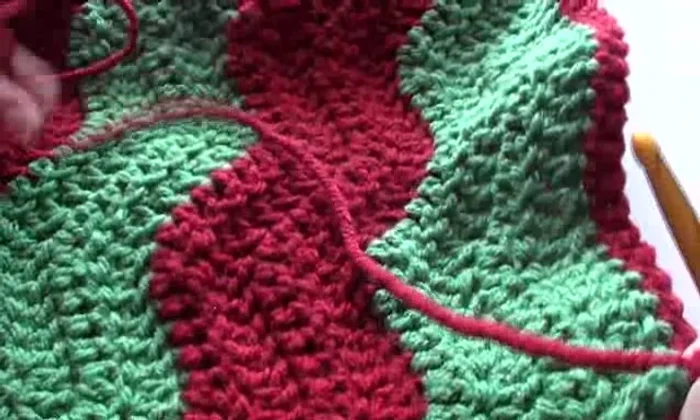
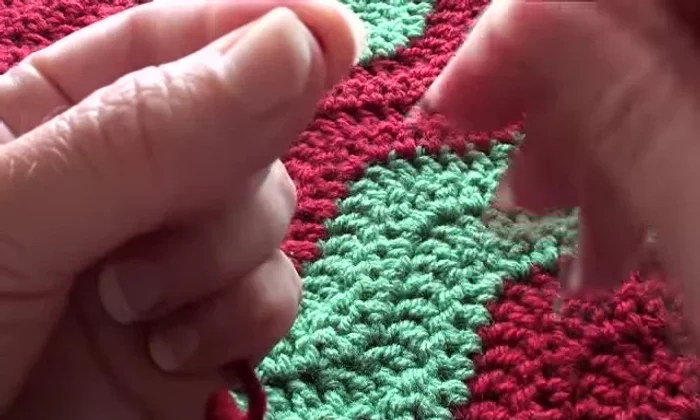
- Identify the foundation chain of your Chevron blanket. It will bubble up unlike the other side which lays flat.

Prepare the Blanket Begin the Edging
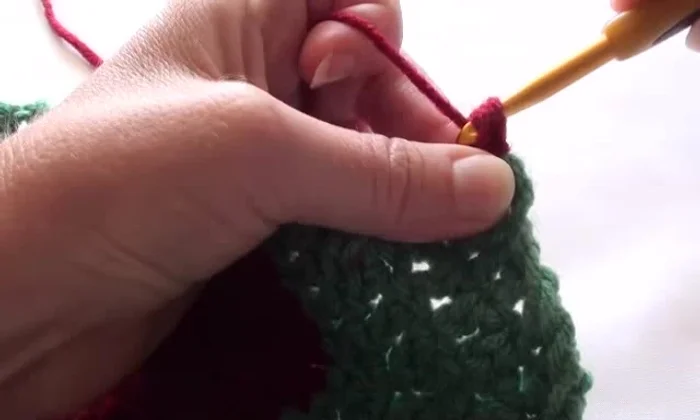
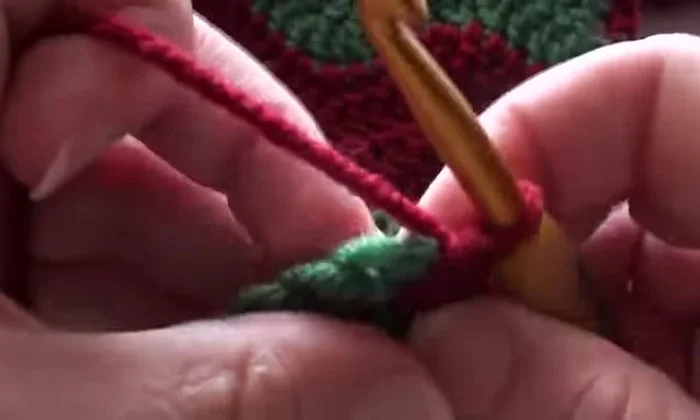
- Join your yarn in the corner using a slip stitch.
- Work two single crochet stitches into the corner.
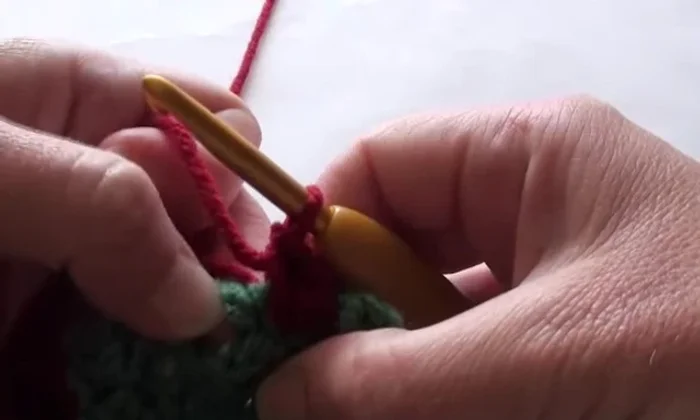
Begin the Edging First Edge: Sides and Chain Spaces
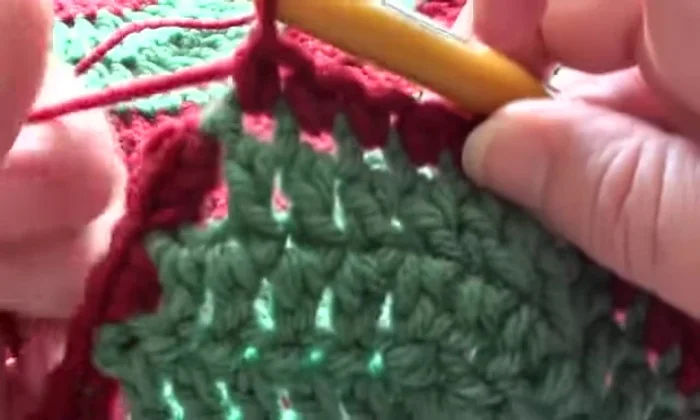
- Along the sides of the double crochet stitches, work two single crochet stitches into each space between the double crochet stitches.
- In the spaces where the chain three was/is, work two single crochet stitches.
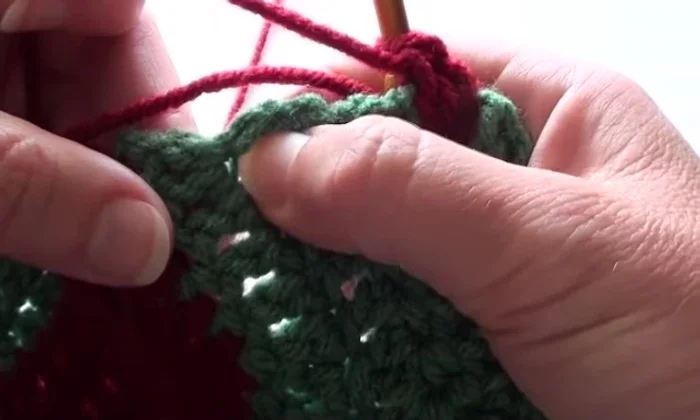
- Repeat steps 4 and 5 along the entire edge.
First Edge: Sides and Chain Spaces First Edge: Top Edge
- Turn your work and work across the top edge, making one single crochet stitch into each stitch along the edge.
First Edge: Top Edge Remaining Edges
- Repeat steps 4, 5, and 7 for the remaining edges of the blanket.
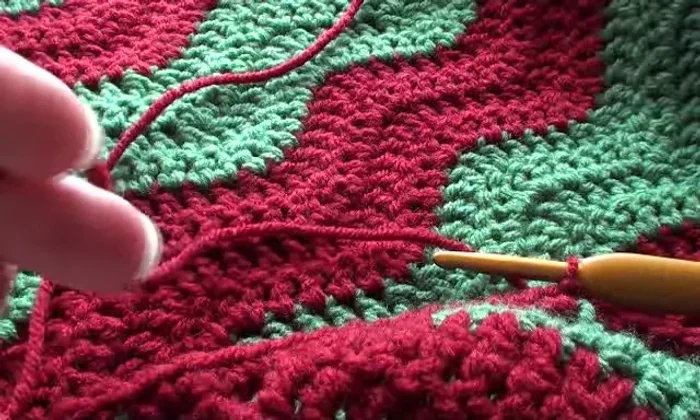
Remaining Edges Join and Finish
- Join the last stitch to the first stitch with a slip stitch.
- Fasten off, leaving enough yarn to weave in the ends.
- Weave in the ends using a yarn needle.
Join and Finish


Read more: Easy Color Block Crochet Blanket Tutorial for Beginners
Tips
- If you are having trouble finding the right place to insert your hook for the single crochet stitches along the sides of the double crochet stitches, gently pull the stitch out to create a gap, then insert your hook into the gap.