Have you always admired the unique charm and cozy comfort of handmade crochet furniture? Perhaps you've dreamt of adding a touch of artisan flair to your living space, but the thought of tackling such a large project seemed daunting. Fear not, aspiring crocheters! Creating a beautiful and functional crochet chair is entirely achievable, even for beginners. With the right guidance and a little patience, you can transform simple yarn into a stunning piece of handcrafted furniture that reflects your personal style and adds warmth to your home. Forget complicated patterns and overwhelming instructions; this tutorial focuses on simplicity and practicality.
This easy step-by-step guide will walk you through the entire process of crocheting your own chair, from choosing the right materials to mastering the essential techniques. We'll break down each step into manageable portions, ensuring a smooth and enjoyable crafting experience. Let's get started and transform your yarn into a comfortable and stylish seat!
Preparation and Safety Guidelines
- crochet hook (4mm)
- yarn (multiple colors optional)
- scissors
- needle for weaving in ends
- Use appropriate yarn weight and hook size for your chosen pattern. Using the wrong size can lead to a structurally weak chair.
- Ensure your foundation chain and all stitches are secure. A loose foundation can unravel and compromise the chair's stability.
- Do not use the crocheted chair for heavy weight or as a substitute for sturdy furniture. It's intended for decorative or lightweight use only.
Step-by-Step Instructions
Planning and Preparation
- Take measurements for the chair's height and width.

Planning and Preparation Creating the Chair Base
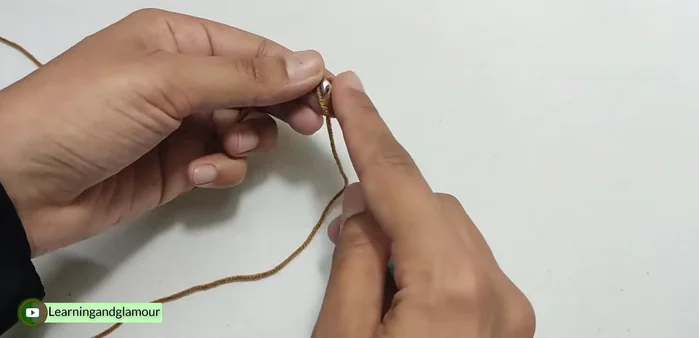
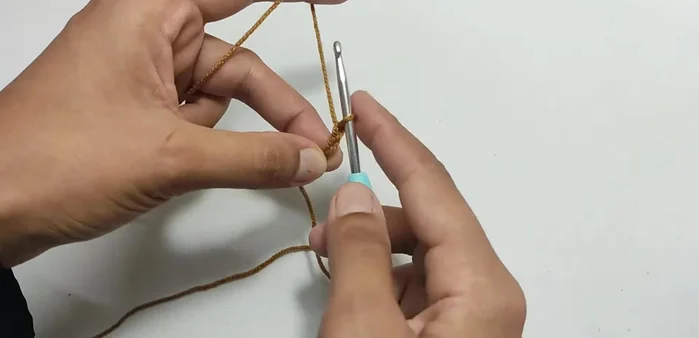
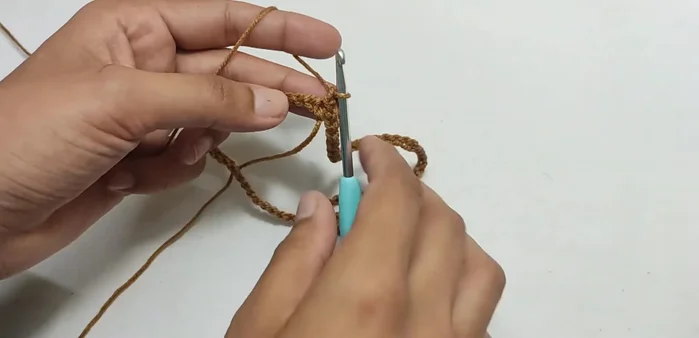
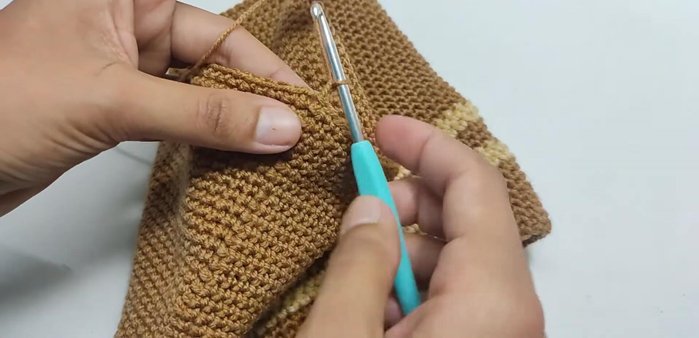
- Create a foundation chain using a slip knot. The exact length isn't clearly specified.
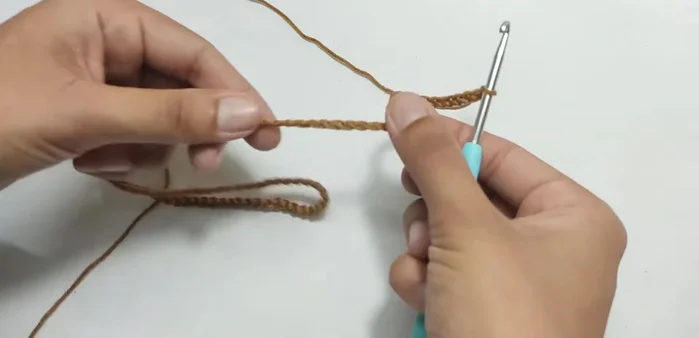
- Follow a specific pattern of single crochets and chains to create the chair's base.
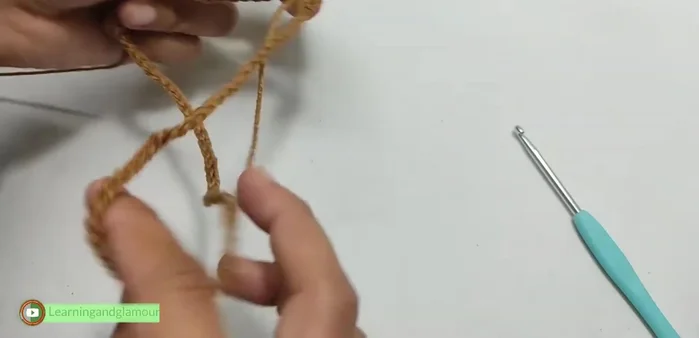
- Join the first and last chains of the base to form a ring.
Creating the Chair Base Building the Chair Height
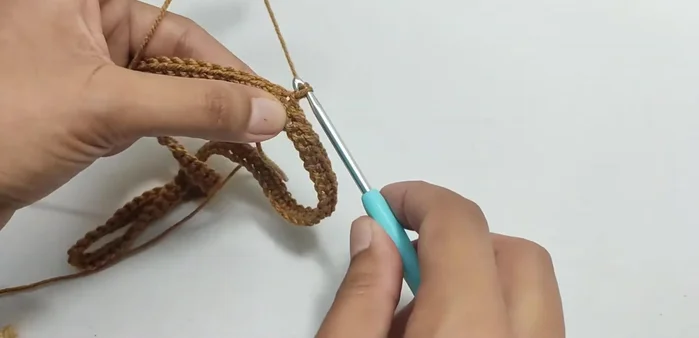
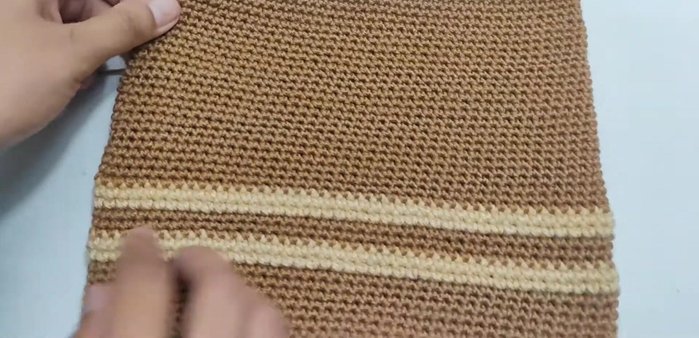
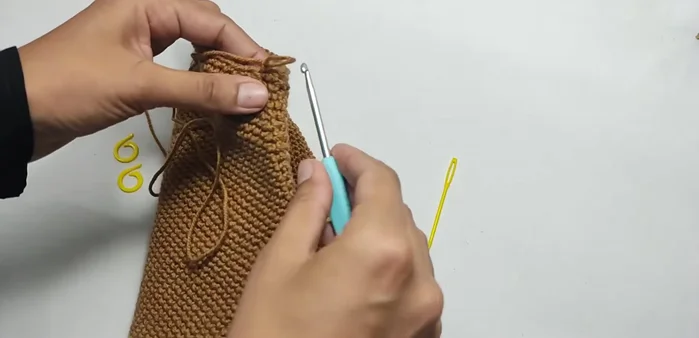
- Continue crocheting in rounds, adding single crochets to increase size. Change yarn colors as desired.
- Continue creating rounds until desired height is reached.
- Join the final round to the beginning chain of that round.
Building the Chair Height Finishing the Chair Body
- Weave in the ends of the yarn securely.
Finishing the Chair Body Shaping the Chair Sides
- Fold the sides and stitch them together to form the chair's sides.
Shaping the Chair Sides Creating the Chair Top Edge
- Create the top edge of the chair by adding a round of single crochets around the top.
- Fasten off and weave in the remaining ends.
Creating the Chair Top Edge

Read more: Easy Color Block Crochet Blanket Tutorial for Beginners
Tips
- Use a 4mm crochet hook.
- You can use one or multiple colors of yarn.
- Pay attention to the placement of stitches to maintain the chair's shape.