Tired of plain buttons? Want to add a touch of handmade charm to your next project? Then you've come to the right place! This tutorial will guide you through the surprisingly simple process of crocheting your own adorable buttons in just minutes. Forget searching for the perfect embellishment – learn to create uniquely charming buttons that perfectly match your style and perfectly complement your knitting or sewing projects. You'll be amazed at how quickly you can whip up these delightful little details.
Forget expensive, mass-produced buttons; creating your own is easier than you think! This tutorial will show you how to crochet a cute and perfectly formed button, using basic crochet stitches and readily available yarn. Ready to start crafting? Let's dive into the step-by-step instructions and create a beautiful, handmade button in minutes!
Preparation and Safety Guidelines
- 3.5 mm crochet hook
- yarn
- Use sharp scissors to cut yarn ends to prevent fraying and ensure a clean finish. Avoid using dull scissors which can cause snags or pull the yarn.
- Always be mindful of your hook size. Using a hook too small can create a tight, difficult-to-work-with button, while a hook too large may result in a loose and wobbly button.
- If working with small parts, supervise children to prevent accidental ingestion of small crocheted pieces.
Step-by-Step Instructions
Create the Crochet Button Base
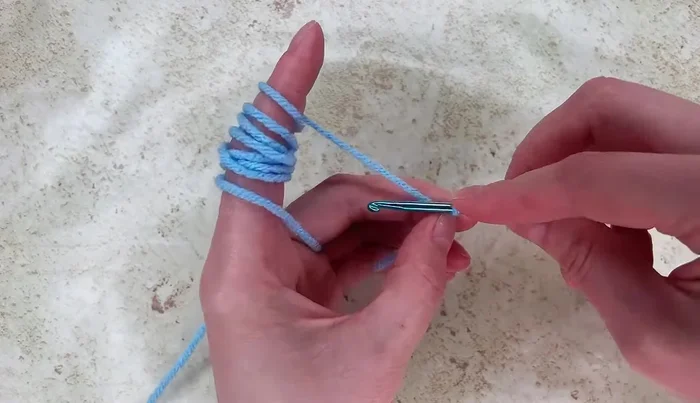
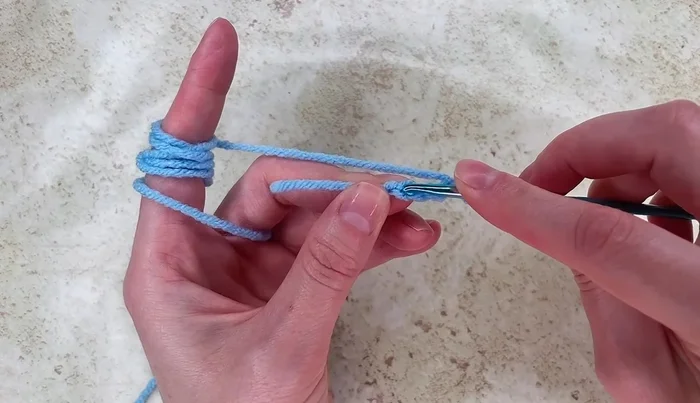
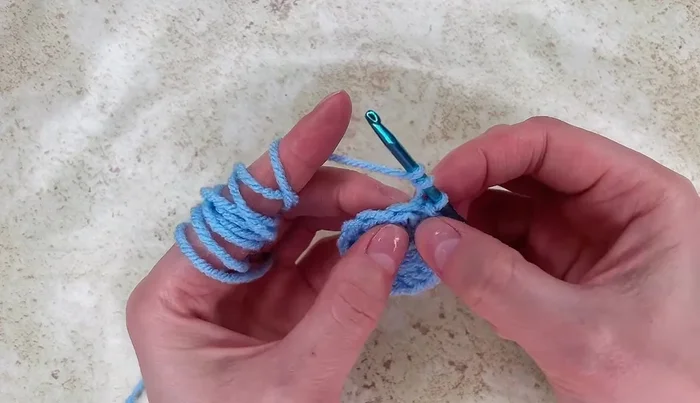
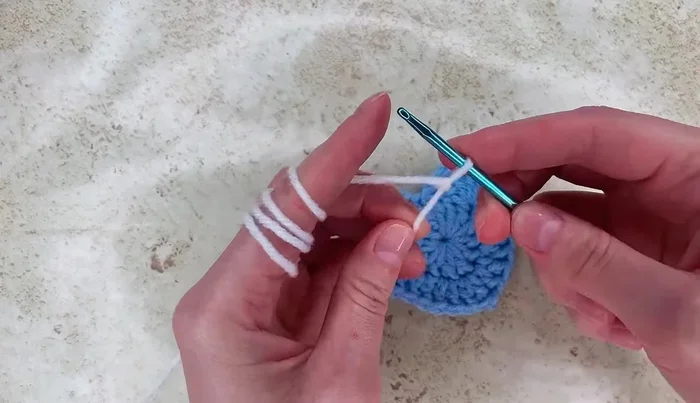
- Make a slip knot and chain four.
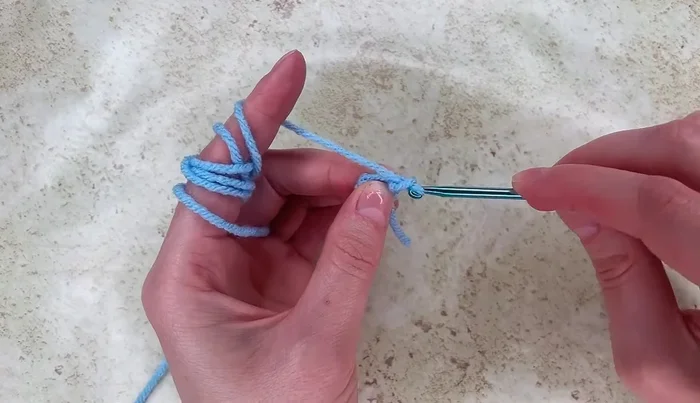
- Join with a slip stitch to the first chain.
- Chain three.
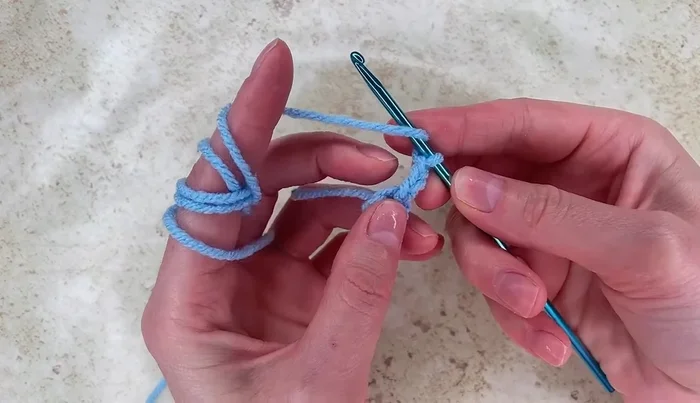
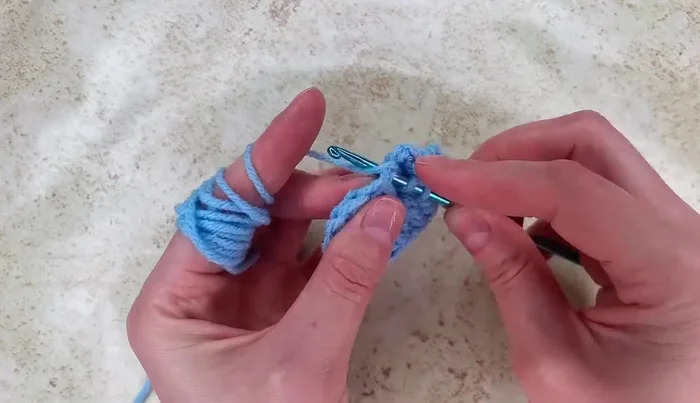
- Work 12 double crochet stitches into the ring.

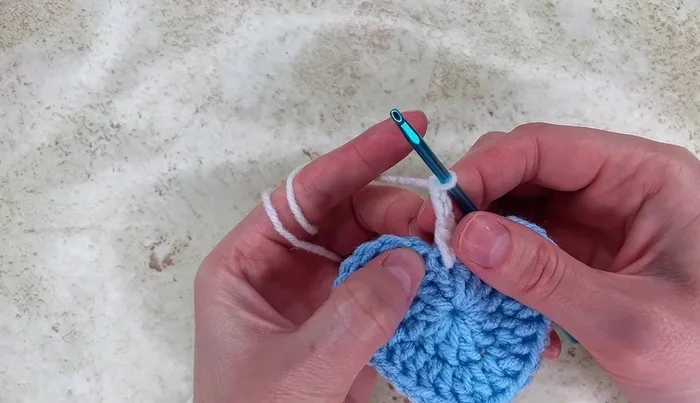
Create the Crochet Button Base - Join with a slip stitch to the third chain from the beginning.
Create the Crochet Button Base Create the First Petal
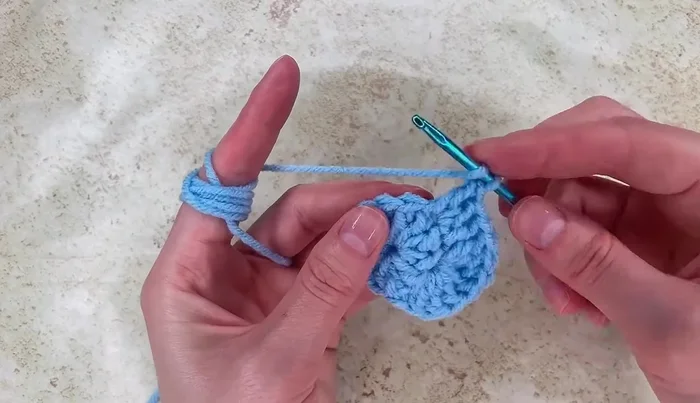
- Yarn over twice, skip the next stitch, and work 7 treble crochet stitches into the next stitch.
- Work 1 double crochet into the next stitch, then 2 double crochet stitches into the next stitch, followed by another 2 double crochet stitches and 2 more double crochet stitches.
Create the First Petal Create the Second Petal
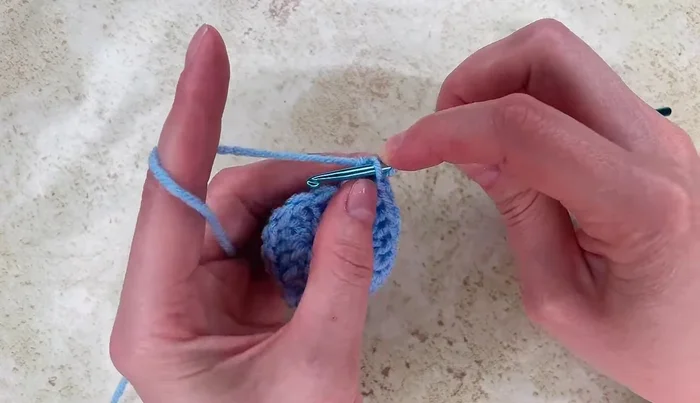
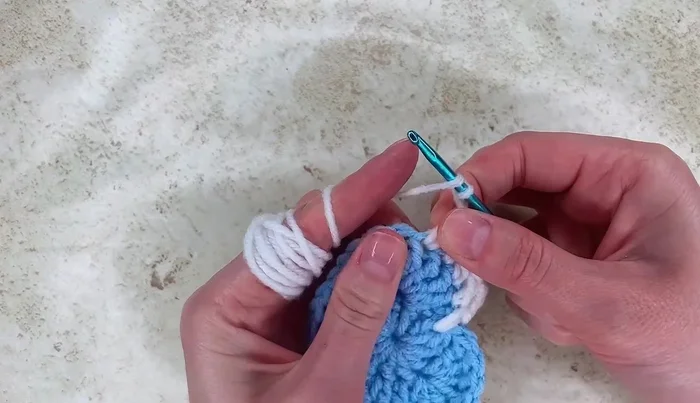
- Work 7 treble crochet stitches into the next stitch. Then work 2 double crochet in the same space, then work one double crochet in the next stitch, then 2 double crochet in the next stitch, then 1 double crochet in the next stitch.
Create the Second Petal Fasten Off First Section
- Fasten off, leaving a loop.
Fasten Off First Section Attach Second Color
- Change yarn color, make a slip knot, and join to the loop.
Attach Second Color Create the Second Color Section
- Chain three, and work a double crochet, half double crochet, single crochet, and 2 double crochet into the next stitches.
- Chain two, work one double crochet, then work half double crochet, single crochet, and double crochet into the next stitches, followed by treble, double treble, and treble again. Repeat the pattern for the remaining stitches.
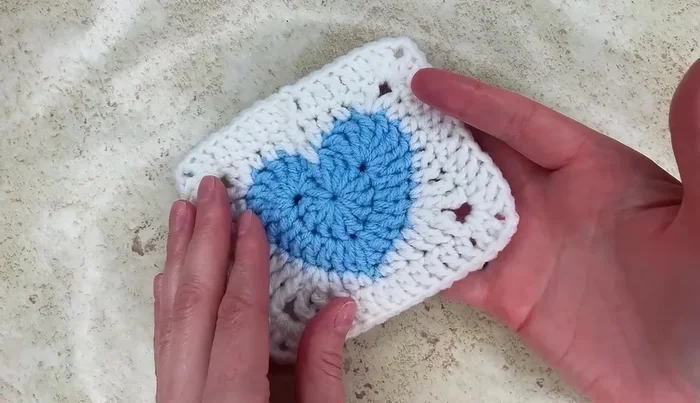
Create the Second Color Section Fasten Off and Finish
- Fasten off, leaving a loop. Join and complete the remaining buttons.
Fasten Off and Finish

Read more: Easy Color Block Crochet Blanket Tutorial for Beginners
Tips
- N/A