Butterflies, with their delicate wings and vibrant colors, have always captivated the imagination. Their ethereal beauty translates perfectly into the art of crochet, creating charming motifs ideal for blankets, scarves, or even as standalone decorations. This delicate insect, often symbolizing transformation and new beginnings, can now be brought to life through the simple yet satisfying process of crocheting. The intricate detail achievable with yarn allows for a surprising level of realism, making these little butterfly creations truly special.
This comprehensive guide will walk you through each stage of creating your very own crocheted butterfly motif, perfect for both beginners and experienced crocheters alike. From choosing the right yarn and hook size to mastering the essential stitches, we'll cover everything you need to know. Get ready to embark on this delightful crafting journey, and let’s begin with the step-by-step instructions below!
Preparation and Safety Guidelines
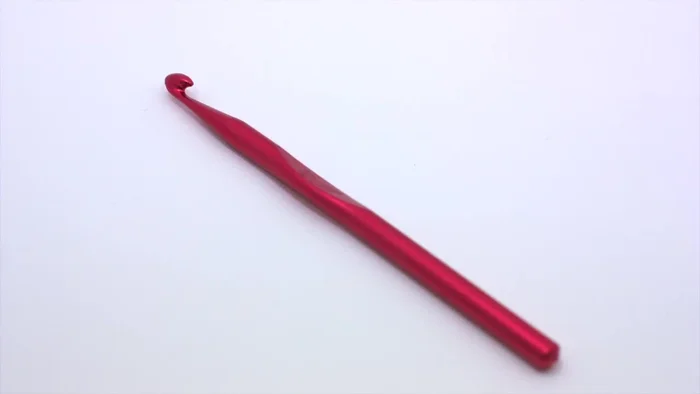
- crochet hook
- ball of yarn
- Use sharp scissors to cut your yarn. Dull scissors can cause fraying and make it harder to create clean edges on your butterfly motif.
- Always fasten off your yarn securely to prevent your work from unraveling. A secure knot is crucial, especially when joining motifs together.
- If using a hook size significantly different from the pattern's recommendation, your finished butterfly may be smaller or larger than expected. Stick to the recommended hook size unless you're experienced and adjusting for a specific effect.
Step-by-Step Instructions
Create the Butterfly Wings' Base
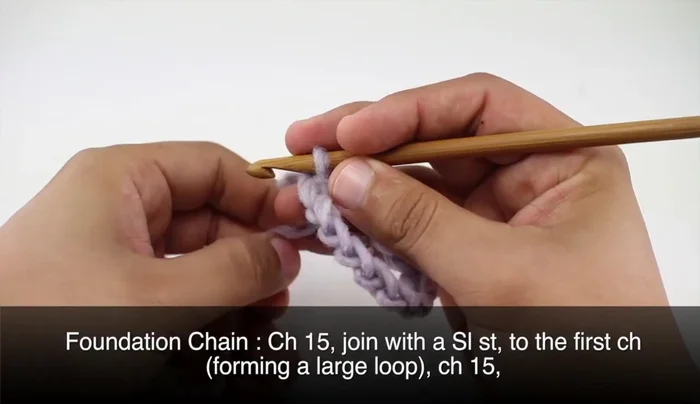
- Create a foundation chain of 15 stitches and join with a slip stitch to form a loop.
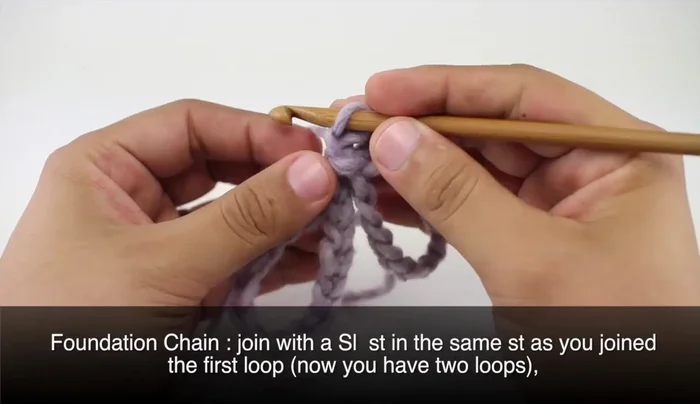
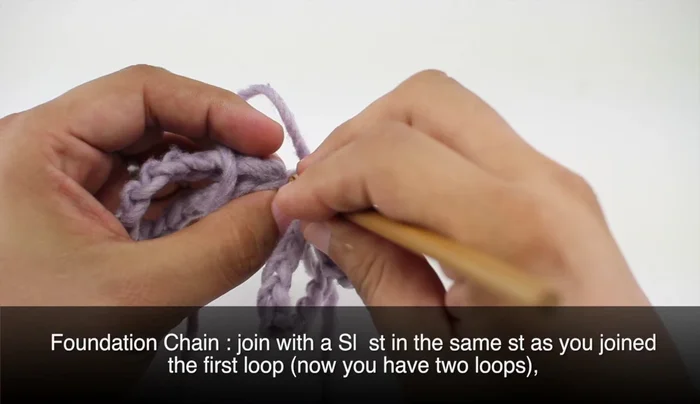
- Chain another 15 stitches and join with a slip stitch into the first loop.
- Chain 10 stitches and slip stitch into the center of the two loops.
- Chain another 10 stitches and slip stitch into the center.

Create the Butterfly Wings' Base Crochet the First Wing
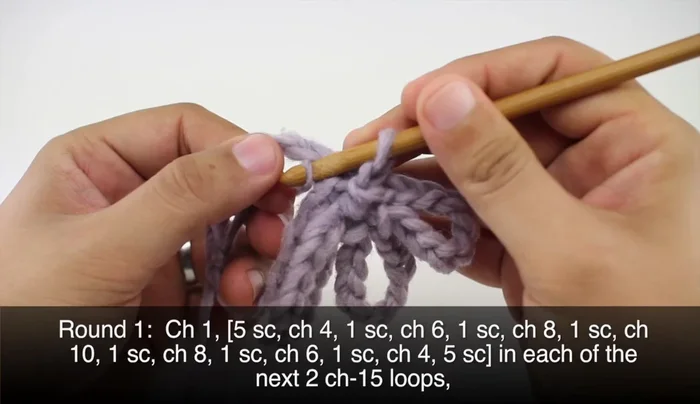
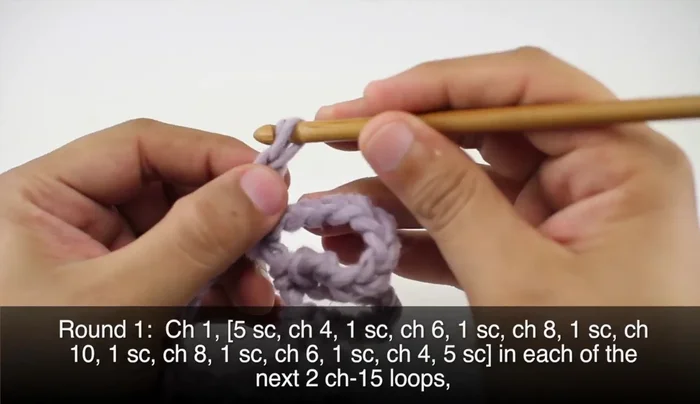
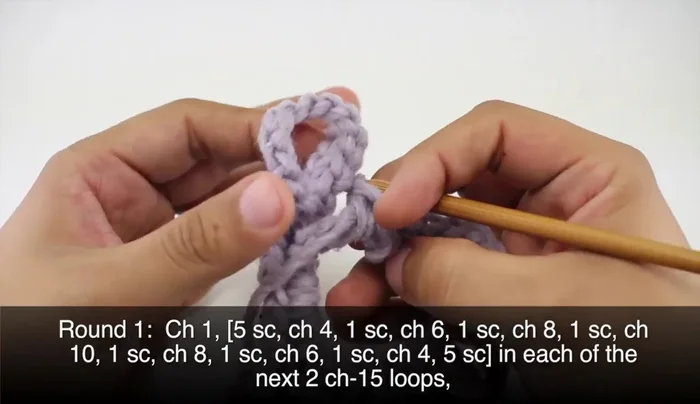
- Chain 1, then 5 single crochets into the first 15-chain loop. Chain 4, single crochet into the loop. Repeat the chain and single crochet sequence (chain 6, single crochet, chain 8, single crochet, chain 10, single crochet) working in the same loop.
- Chain 8, single crochet into the loop; Chain 6, single crochet; Chain 4, single crochet; Chain 5, 5 single crochets into the loop. This completes one wing.
Crochet the First Wing Crochet the Second Wing
- Repeat steps 5 and 6 for the second wing.
Crochet the Second Wing Crochet the Butterfly Body
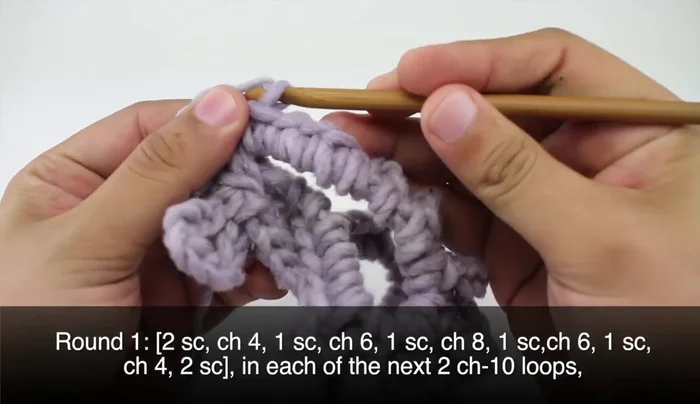
- In each small loop, work 2 single crochets, chain 4, single crochet, chain 6, single crochet, chain 8, single crochet, chain 6, single crochet, chain 4, single crochet, single crochet. Repeat for all small loops.
Crochet the Butterfly Body Finishing and Assembly
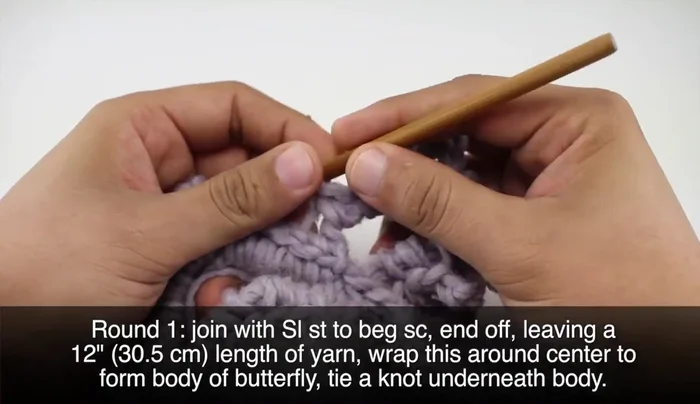
- Slip stitch into the first single crochet of the round and fasten off. Leave a 12-inch tail. Wrap the yarn around the center to create the butterfly's body, tie a knot to secure.
Finishing and Assembly
Read more: Easy Color Block Crochet Blanket Tutorial for Beginners
Tips
- N/A