Winter's chill got you down? Brighten up those frosty days with a handmade crochet bunny hat! This adorable accessory is perfect for keeping little heads (or even big ones!) warm and cozy all season long. Whether you're a seasoned crocheter looking for a quick and fun project or a complete beginner eager to try something new, this tutorial is designed with you in mind. We'll guide you through each step using simple stitches and clear instructions, ensuring a successful and satisfying crafting experience. The charming bunny design adds a playful touch, making it a delightful gift or a cherished addition to your own winter wardrobe.
Forget complicated patterns and frustrating techniques! This beginner-friendly tutorial will walk you through creating this delightful bunny hat with ease, using basic crochet stitches that are easily mastered even by those picking up a hook for the very first time. Let's hop into the step-by-step instructions and start crocheting your very own cozy companion.
Preparation and Safety Guidelines
- Pink yarn
- White yarn
- 5 mm crochet hook
- Stitch markers
- Yarn sewing needle
- Use blunt-tipped scissors to avoid accidental pricks or cuts while working with yarn.
- Always supervise children if they are involved in the crochet process. Small parts pose a choking hazard.
- Ensure your hook size is appropriate for the yarn weight specified in the pattern to avoid a too-tight or too-loose finished product.
Step-by-Step Instructions
Foundation Chain and First Row
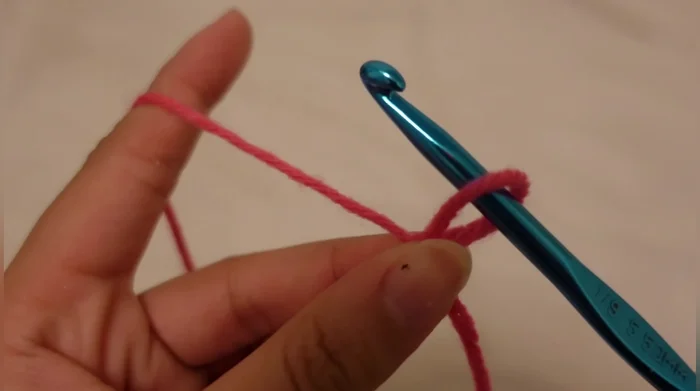
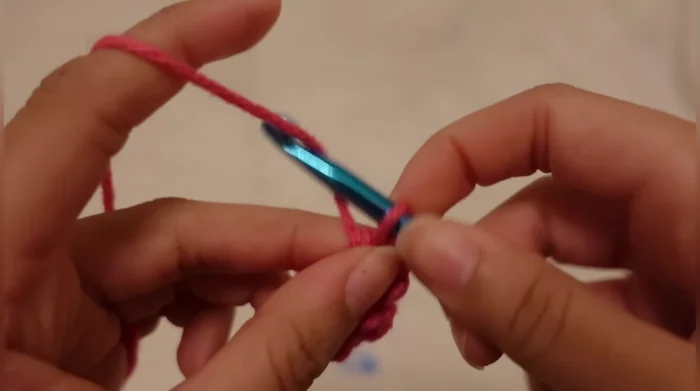
- Create a slip knot and chain 34 stitches.
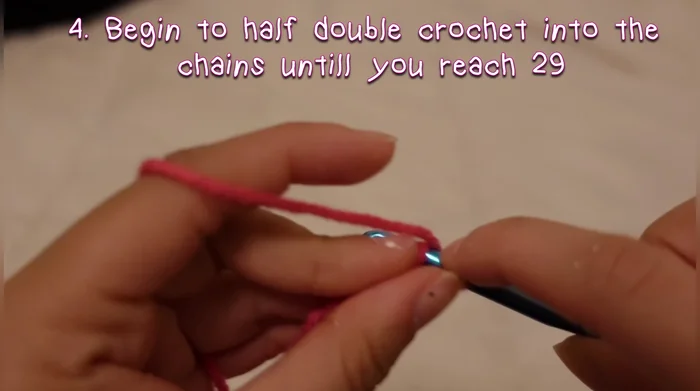
- Chain one and half double crochet into each chain until the 29th stitch.
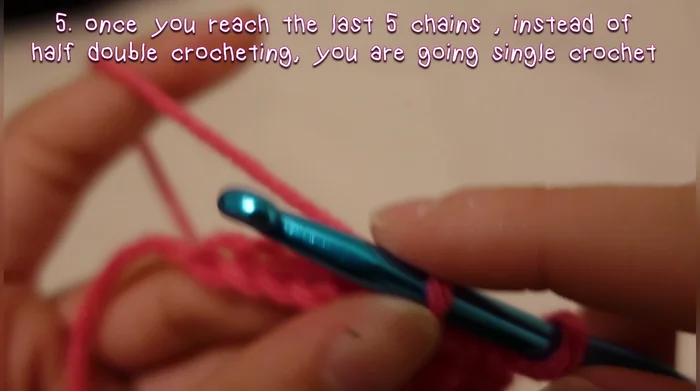
- Single crochet the last five chains.

Foundation Chain and First Row Create the Hat Body (Main Color)
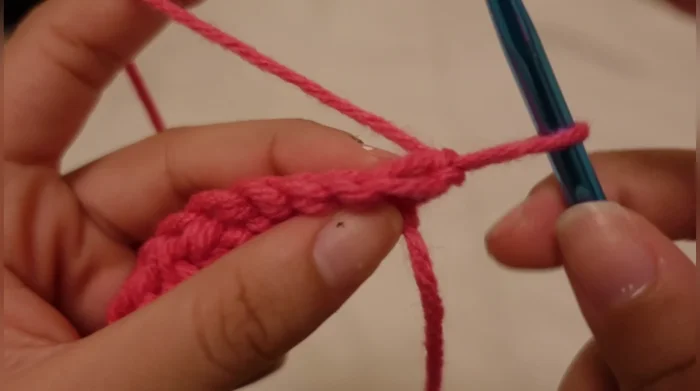
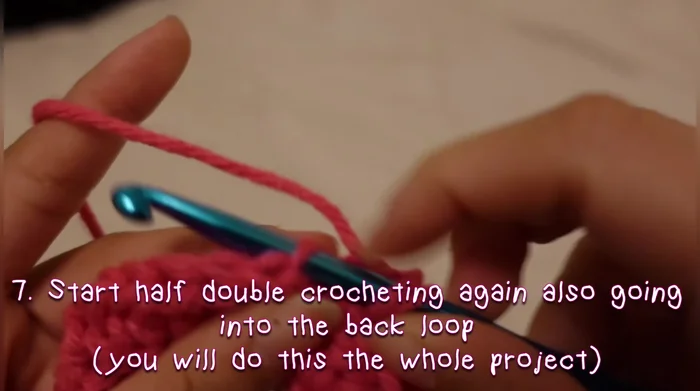
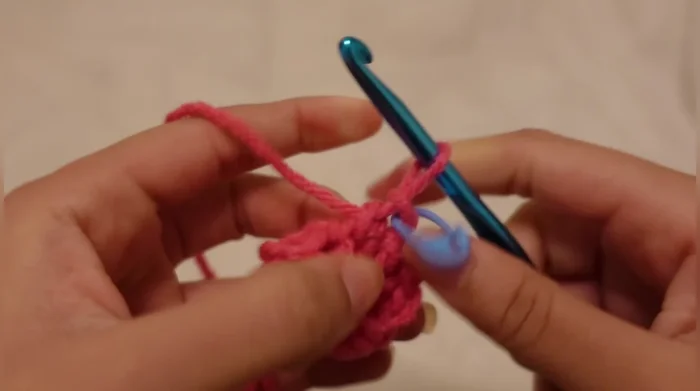
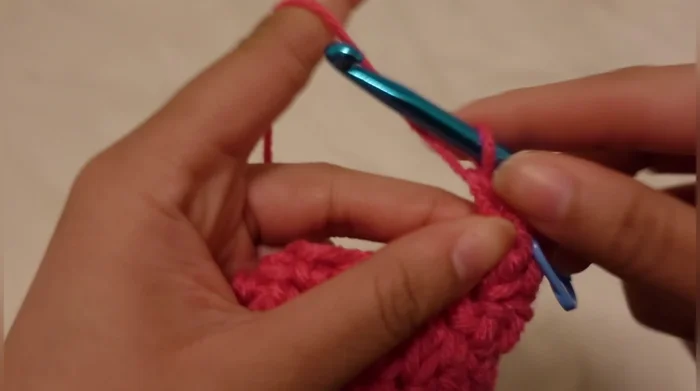
- Turn your work, chain one, and single crochet through the back loop for the five single crochet stitches from the previous row. Continue this single crochet on this side for every row.
- Half double crochet through the back loops until you reach 19 rows. This completes half of the hat.
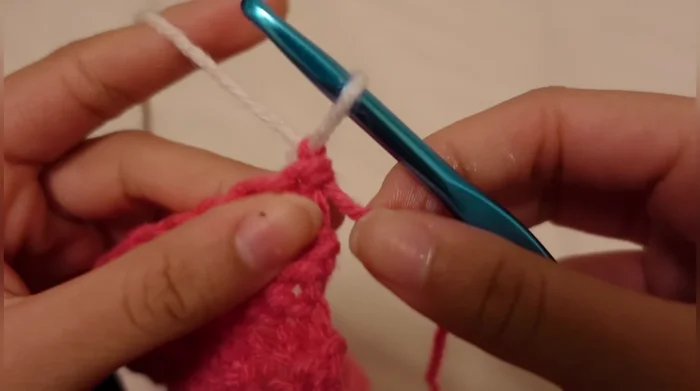
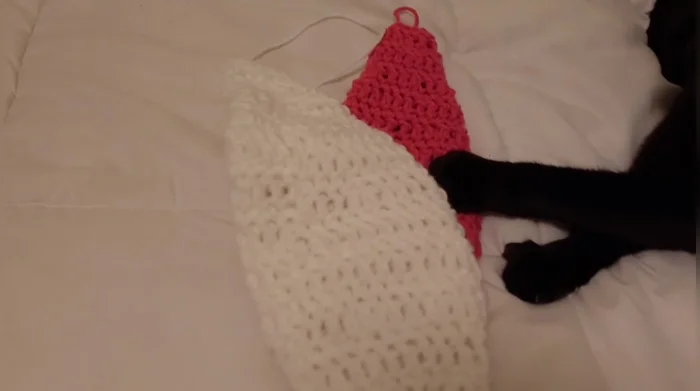
Create the Hat Body (Main Color) Create the Hat Body (Second Color)
- Switch to white yarn and repeat steps 3-5 until you reach 19 rows of white yarn.
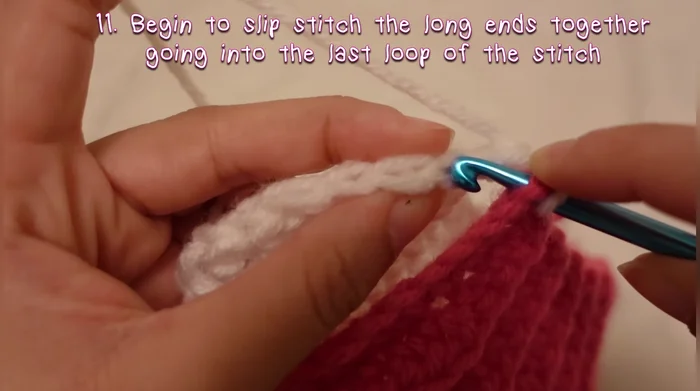
Create the Hat Body (Second Color) Seaming the Hat
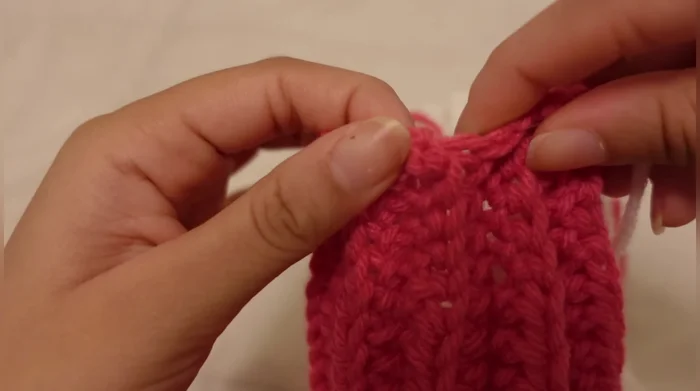
- Fold the crocheted pieces together, and slip stitch them together.
- Weave in and out to close the hole at the top of the hat, pulling the yarn tight but not too tight to avoid ripping.
Seaming the Hat Create One Ear
- Create the ears using a magic loop. Chain two, double crochet four times into the loop. Pull the string to close the loop.
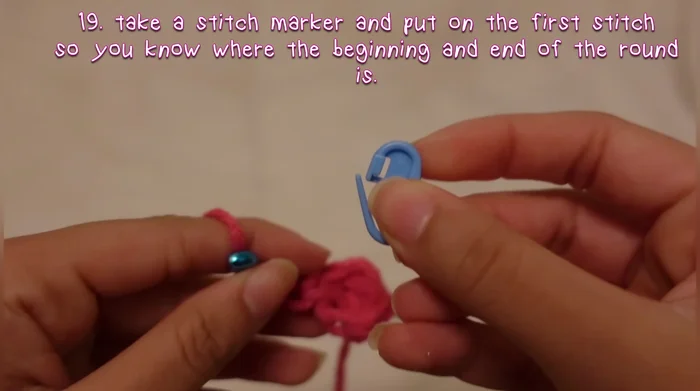
- Single crochet around the magic loop, placing a stitch marker in the first stitch.
- Double crochet into the first stitch twice (increasing). Single crochet around the next row.
- Repeat the increase row (double crochet into each stitch twice) and single crochet row until desired ear size is reached.
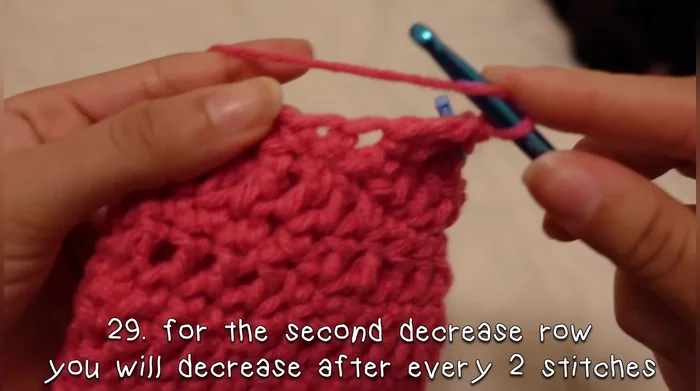
Create One Ear - For the first decrease row, double crochet three, then decrease by working into the next stitch twice. Repeat.
- For the second decrease row, double crochet two, then decrease by working into the next stitch twice. Repeat.
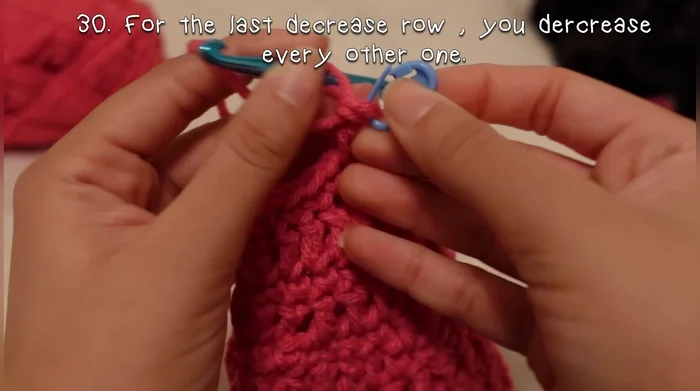
- For the final decrease row, double crochet one, then decrease by working into the next stitch twice. Repeat.
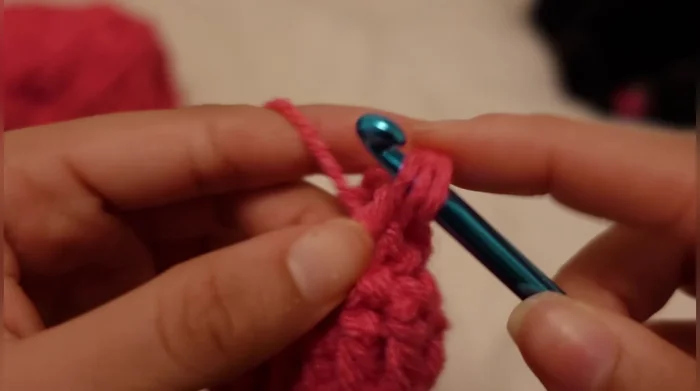
- Single crochet and double crochet rows alternately until the ear is complete. Fasten off.
Create One Ear Create the Second Ear
- Repeat steps 9-16 for the second ear.
Create the Second Ear Attach the Ears
- Sew the ears onto the hat.
Attach the Ears

Read more: Easy Color Block Crochet Blanket Tutorial for Beginners
Tips
- Use stitch markers to keep track of rounds and rows.
- Don't pull the yarn too tight when closing holes to avoid ripping.
- The placement and height of the ears are customizable.