Are you ready to add a touch of handmade charm to your home décor? This easy crochet Brecon basket tutorial is perfect for beginners looking to create a beautiful, striped storage solution. The Brecon basket, with its classic shape and versatile design, is surprisingly simple to make, even for those just starting their crochet journey. This pattern utilizes basic crochet stitches, making it ideal for learning new techniques while producing a satisfying and practical result. Forget about complicated instructions and frustrating patterns; this guide will hold your hand through every step.
The timeless appeal of the striped design adds a delightful visual texture to the finished basket, perfect for showcasing your favorite items or adding a pop of color to any room. This tutorial focuses on creating a charming striped Brecon basket using readily accessible materials, ensuring a smooth and enjoyable crafting experience. Let's dive into the step-by-step process and create your very own beautiful Brecon basket!
Preparation and Safety Guidelines
- 8mm (L) crochet hook
- Scissors
- Yarn needle
- Bulky (5 weight) yarn (or substitute with super bulky (6 weight) yarn) in 3 colors
- Always use sharp crochet hooks appropriate for your yarn weight to prevent strain and ensure even stitches. Dull hooks can snag yarn and cause breakage.
- Maintain consistent tension throughout your crochet to avoid irregularities in the basket's shape and size. Practice your chosen stitch before starting the project.
- If using different yarn colors, be sure to secure the ends of each color to prevent loose ends. Weave in all ends securely at the end of the project to prevent fraying and maintain a neat finish.
Step-by-Step Instructions
Creating the Base
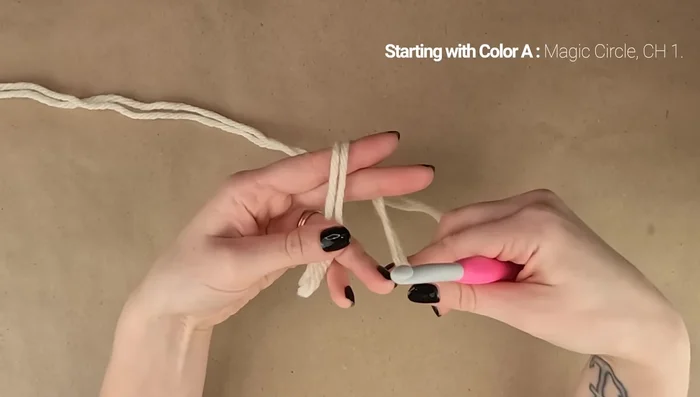
- Make a magic circle using two strands of color A yarn held together.
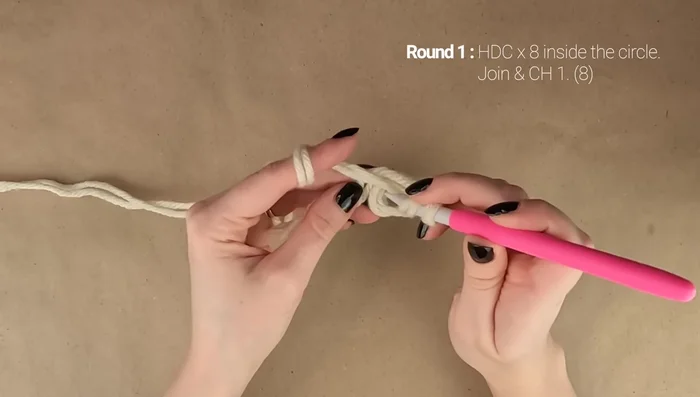
- Work 8 half double crochet (hdc) stitches inside the magic circle.
- Work 2 hdc in each stitch around (16 stitches total).
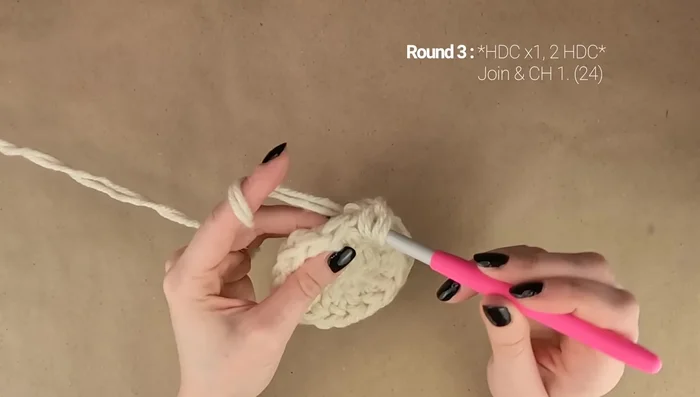
- *1 hdc, 2 hdc in next stitch*; repeat around (24 stitches total).

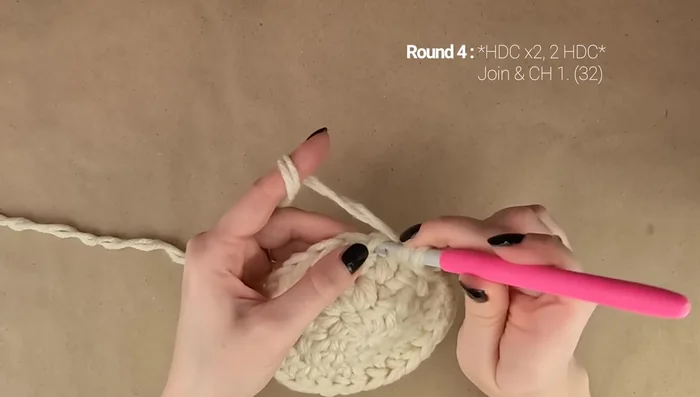
Creating the Base - *1 hdc in each of the next 2 stitches, 2 hdc in next stitch*; repeat around (32 stitches total).
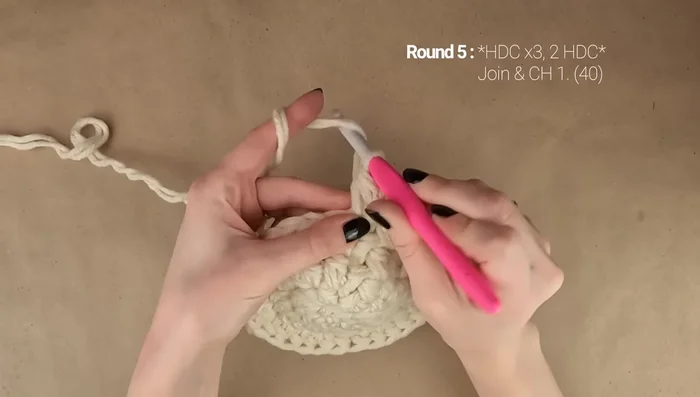
- *1 hdc in each of the next 3 stitches, 2 hdc in next stitch*; repeat around (40 stitches total).
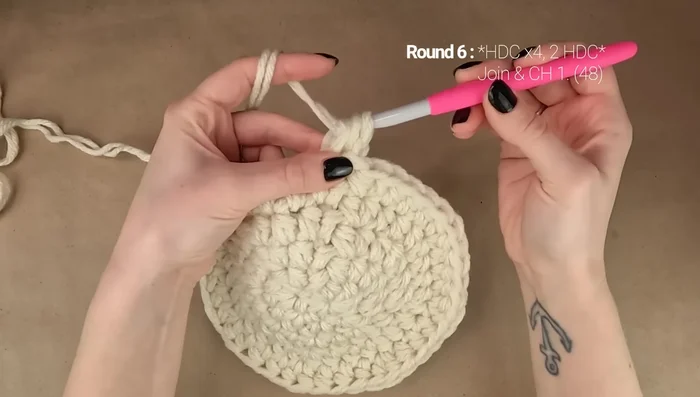
- *1 hdc in each of the next 4 stitches, 2 hdc in next stitch*; repeat around (48 stitches total).
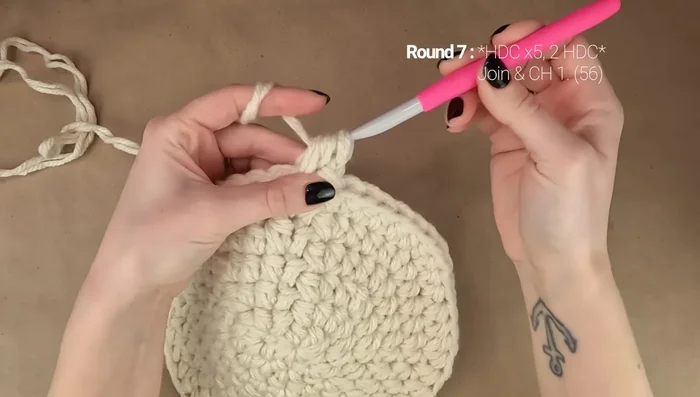
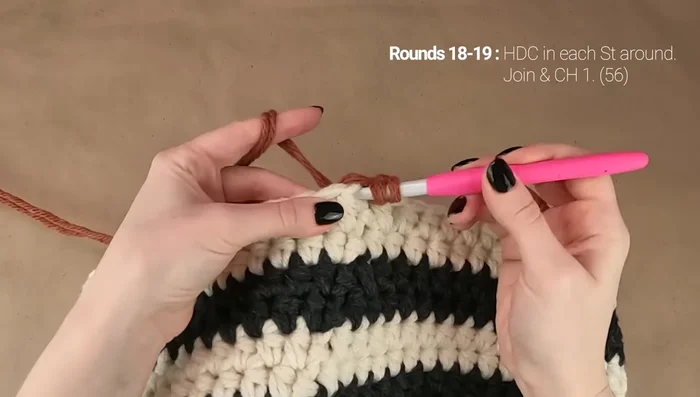
- *1 hdc in each of the next 5 stitches, 2 hdc in next stitch*; repeat around (56 stitches total).
Creating the Base Striped Body
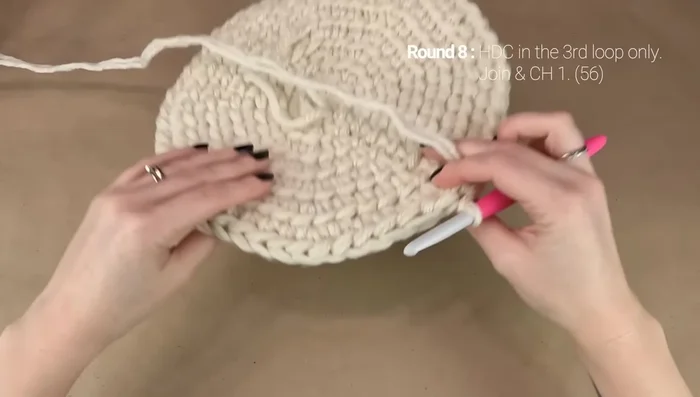
- Work hdc in the third loop only for round 8 to create a ribbed edge; then work hdc in the top two loops for rounds 9-17, changing colors (A, B, A, B, A) after every two rounds.
Striped Body Top Rim
- Work hdc in the top two loops with color C.
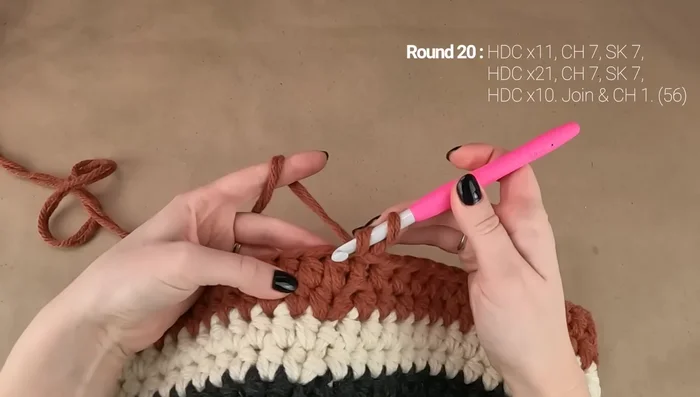
Top Rim Handles
- Work hdc in first 11 stitches, chain 7 (loosely), skip next 7 stitches, hdc in next stitch, hdc in next 21 stitches, chain 7 (loosely), skip next 7 stitches, hdc in next stitch, hdc in remaining stitches.
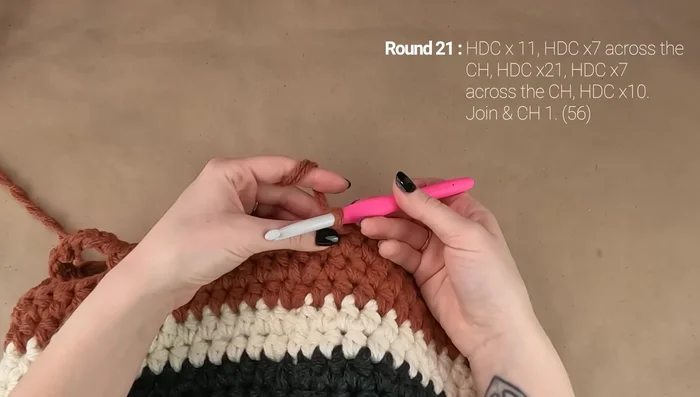
- Work hdc in first 11 stitches, hdc 7 across first handle, hdc in next stitch, hdc in next 20 stitches, hdc 7 across second handle, hdc in remaining stitches.
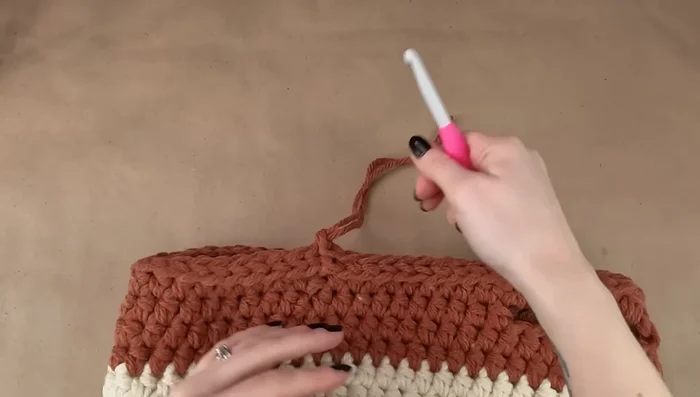
Handles Finishing
- Work slip stitch in the third loop only around.
- Fasten off and weave in ends.
Finishing


Read more: Easy Color Block Crochet Blanket Tutorial for Beginners
Tips
- Use two strands of bulky yarn for a sturdy basket, or substitute with one strand of super bulky yarn.
- Work chains loosely for the handles to avoid cinching the top of the basket.
- Work loosely in round 22 to avoid cinching the top of the basket.