Welcome, crafters! Are you ready to add a touch of sweet charm to your home or create a delightful gift for someone special? Then get ready to learn how to crochet the most adorable little bow pillow! This tutorial is designed with absolute beginners in mind, requiring only basic crochet knowledge and a willingness to learn. We'll guide you through each step, ensuring you create a perfectly proportioned and utterly charming bow pillow that you'll be proud to display. Forget those complicated patterns; this project is surprisingly simple and incredibly rewarding.
This delightful bow pillow is the perfect project to practice your foundational crochet skills while creating something truly beautiful. From choosing your yarn colors to mastering the simple stitches, we'll cover everything you need to know. Get your crochet hook and yarn ready, because the step-by-step instructions are just waiting to be followed! Let's begin crafting this adorable addition to your home décor.
Preparation and Safety Guidelines
- Medium worsted weight yarn (2-3 balls)
- 9 mm crochet hook
- Yarn needle
- Scissors
- Polyfill
- Always use age-appropriate materials. Small parts pose a choking hazard for young children, so ensure the finished pillow and any loose yarn scraps are kept away from babies and toddlers.
- Use a sharp crochet hook appropriate for your chosen yarn weight to prevent hand strain and ensure neat stitches. A hook too small will be difficult to work with, and one that's too large can create loose, floppy stitches.
- Wash the finished pillow before gifting or using it. This removes any excess dye or sizing from the yarn and ensures it's soft and safe for its intended use.
Step-by-Step Instructions
Create the Pillow Base
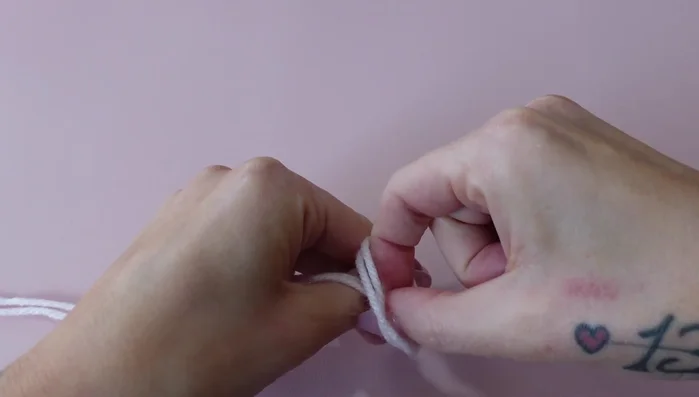
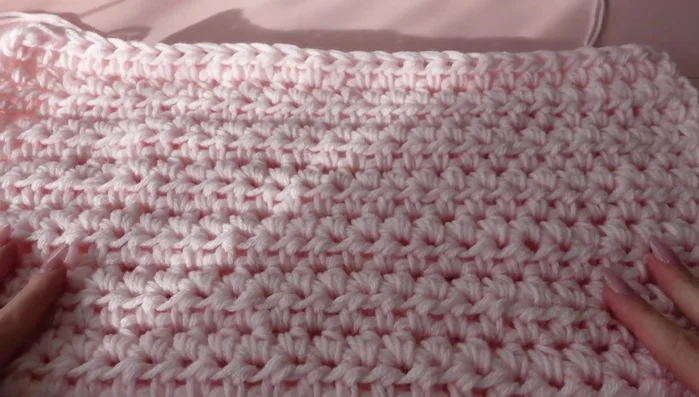
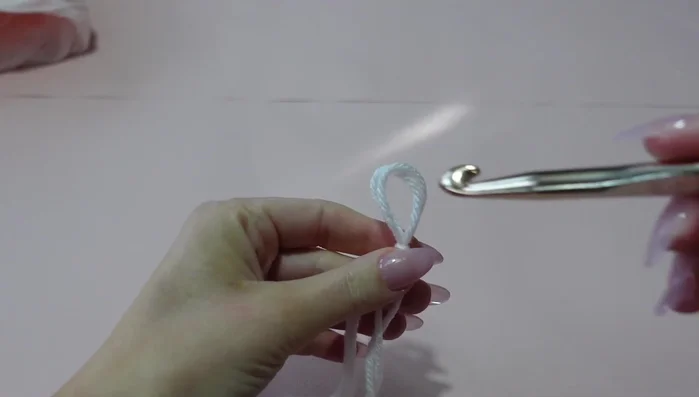
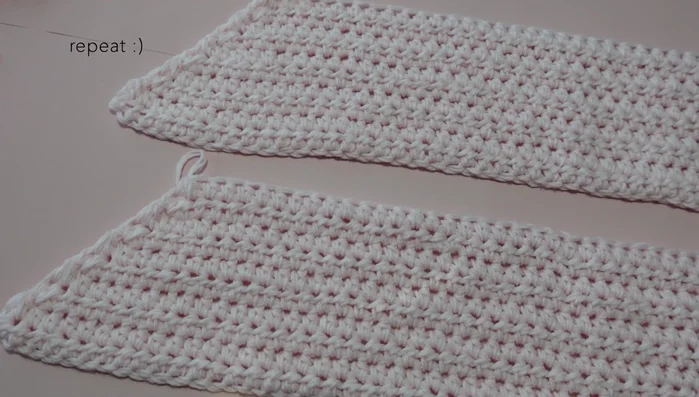
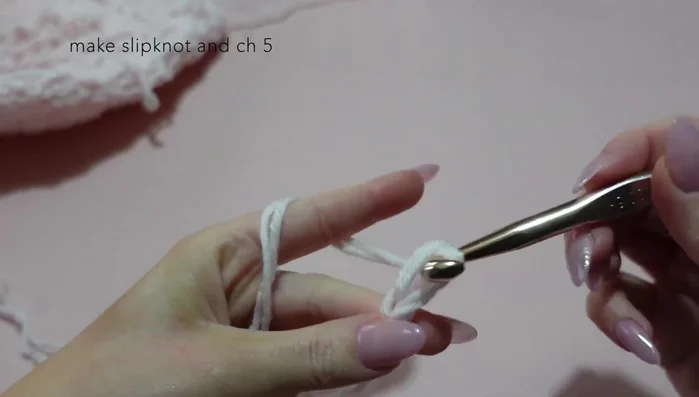
- Make a slip knot and chain 29.
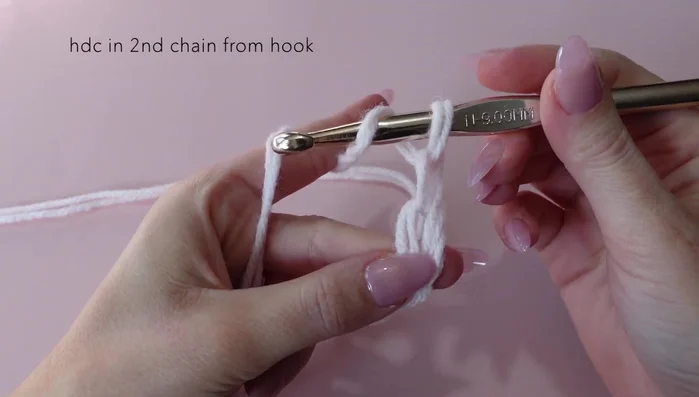
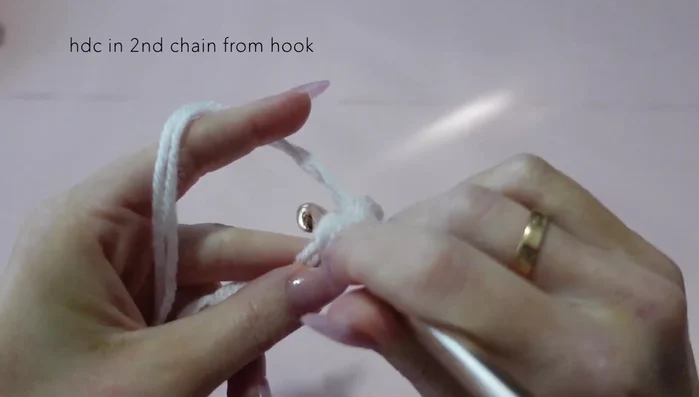
- Half double crochet (hdc) in the second chain from the hook. Continue hdc in each chain across (28 hdc total).
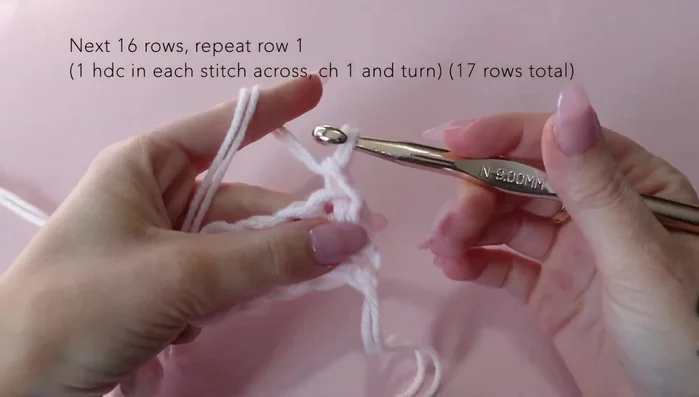
- Chain 1, turn. Repeat row 1 for the next 16 rows (17 rows total of 28 hdc each).
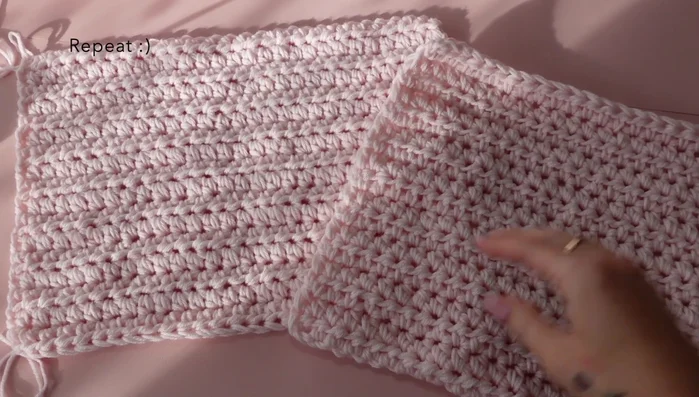
- Repeat steps 2 and 3 to create a second identical piece.

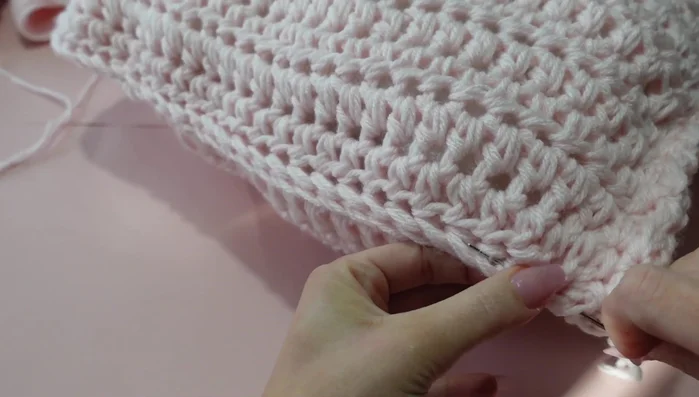
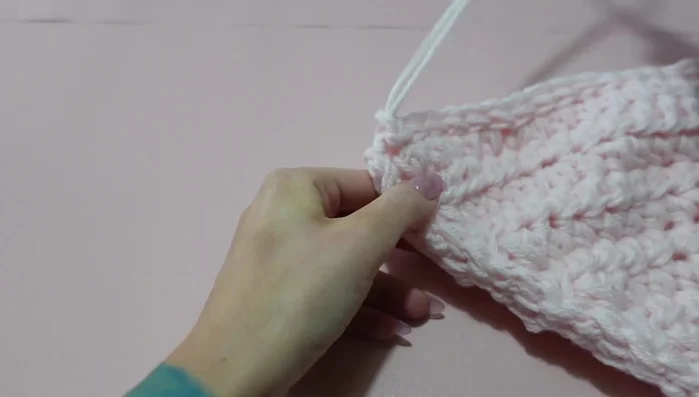
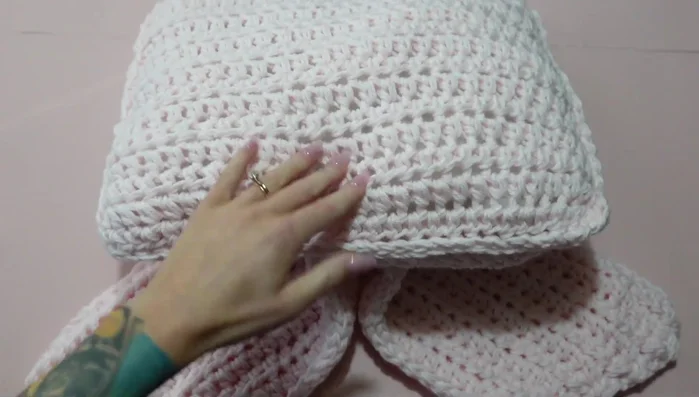
Create the Pillow Base - With right sides facing, slip stitch around the two pieces, leaving a small opening for stuffing.
- Stuff the pillow with polyfill. Slip stitch to close the opening.
- Weave in loose ends.
Create the Pillow Base Create the Bow
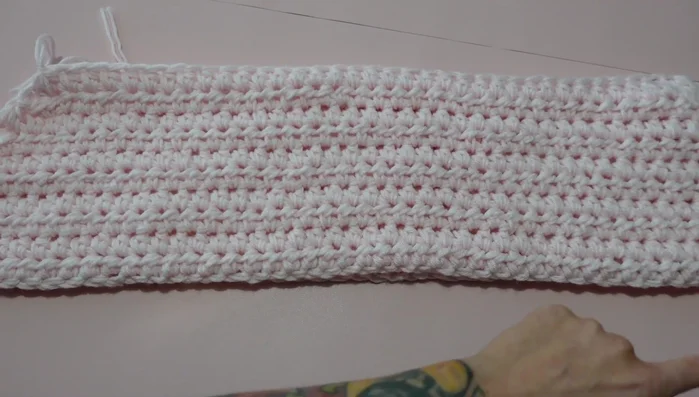
- Make a slip knot and chain 55.
- Half double crochet in the second chain from the hook. Continue hdc in each chain across (54 hdc total).
- Chain 1, turn. For rows 2-10, decrease by hdc the first two stitches together, then hdc in each stitch across until two stitches remain. Hdc the last two stitches together. Chain 1, turn and repeat.
- Repeat steps 8-10 to create a second identical piece.
Create the Bow - Slip stitch the two ribbon pieces together.
- Weave in loose ends.
Create the Bow Assemble the Bow and Pillow
- Assemble the bow by placing the ribbon pieces together, pulling the center up and securing with yarn.
Assemble the Bow and Pillow Create Hanging Loop (Optional)
- Create a small loop for hanging by chaining 5, hdc in each stitch across for 4 hdc. Continue for desired length. Sew the ends together.
Create Hanging Loop (Optional)

Read more: Easy Color Block Crochet Blanket Tutorial for Beginners
Tips
- Use three balls of yarn to be safe.
- Don't forget the last stitch in each row.
- Tuck ends inside the pillow to avoid weaving them in.
- Leave a small opening when slip stitching the short sides of the pillow and the ribbon.