Buzzing with excitement? Learn to crochet the cutest little bee with this incredibly fast and easy tutorial! Forget complicated patterns and hours of frustrating work; this method simplifies the process, making it perfect for beginners and experienced crocheters alike who want a quick and charming project. We'll guide you through creating this adorable insect using simple stitches and minimal materials, leaving you with a delightful bee in no time. This little critter makes a wonderful addition to keychains, brooches, or even as part of a larger amigurumi project.
Ready to transform simple yarn into a buzzing masterpiece? This tutorial provides a clear, step-by-step guide that will have you crocheting your own adorable bee in minutes. Let’s get started and learn the fastest and easiest way to crochet a bee!
Preparation and Safety Guidelines
- 5 millimeter hook
- yarn needle
- scrap blue, white, and black medium weight yarn
- Use sharp crochet hooks appropriate for your yarn weight to prevent strain and ensure neat stitches. Dull hooks can snag yarn and make crocheting difficult.
- Always be mindful of your yarn tension. Consistent tension is key to creating a well-proportioned and even bee. Practice maintaining even tension throughout your project.
- If using small parts like beads for eyes, ensure they are securely attached to prevent them from becoming choking hazards, especially if the finished bee is intended for a child.
Step-by-Step Instructions
Create the Bee Body
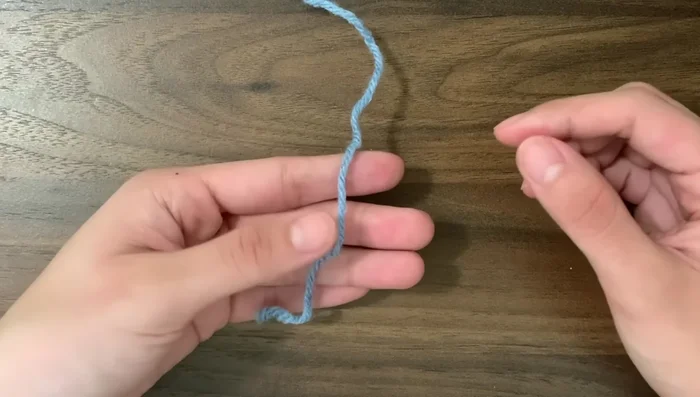
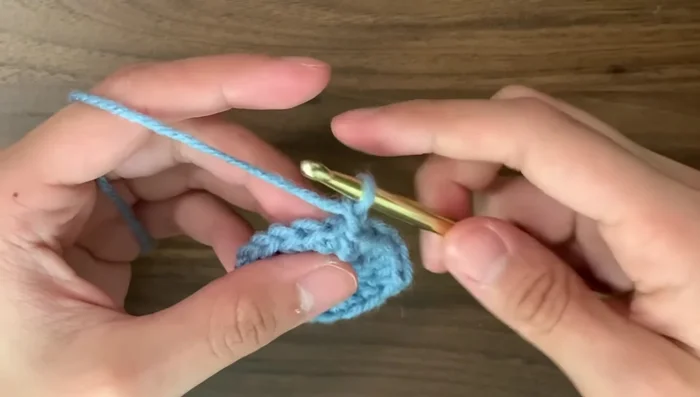
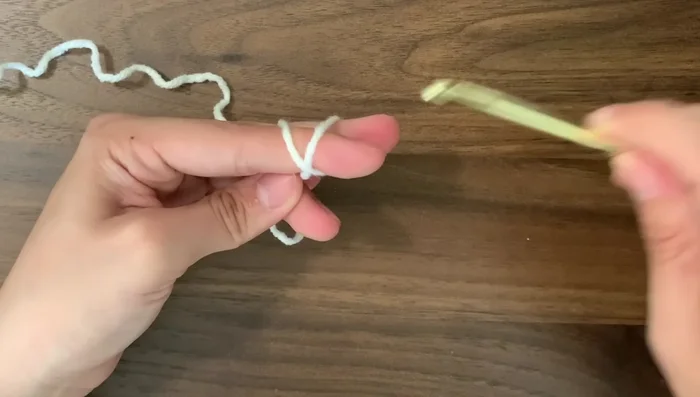
- Make a magic circle.
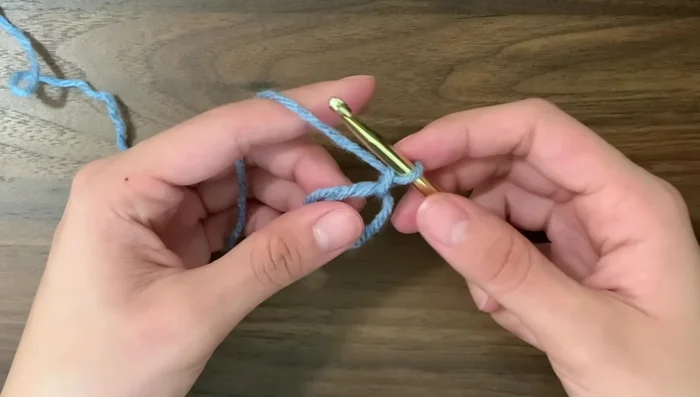
- Chain one, then single crochet six times into the magic circle (using yarn under method).
- Slip stitch into the first single crochet to close the circle.
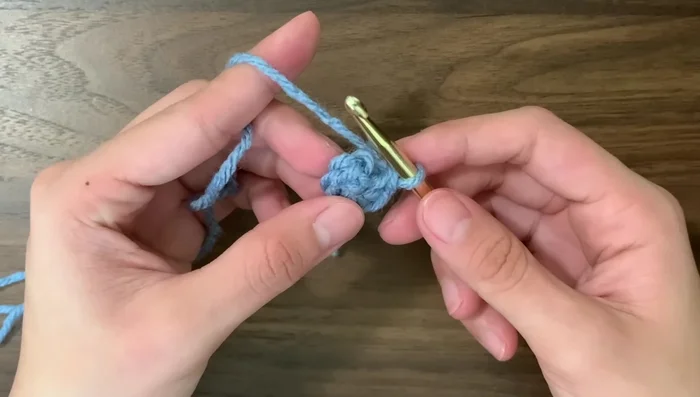
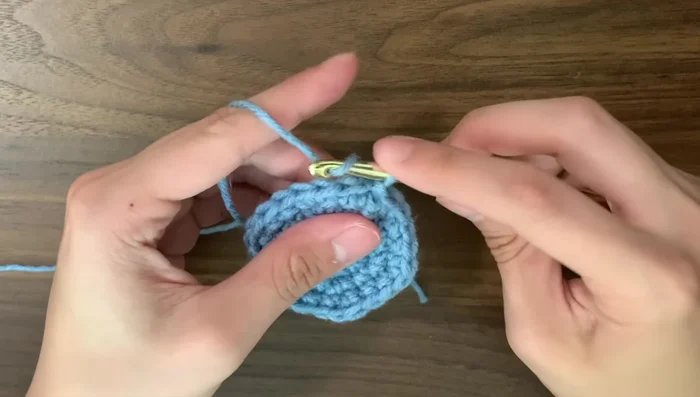
- Increase in every stitch (two single crochets in each stitch).

Create the Bee Body - Increase every second stitch.
- Increase every third stitch.
- Increase every fourth stitch.
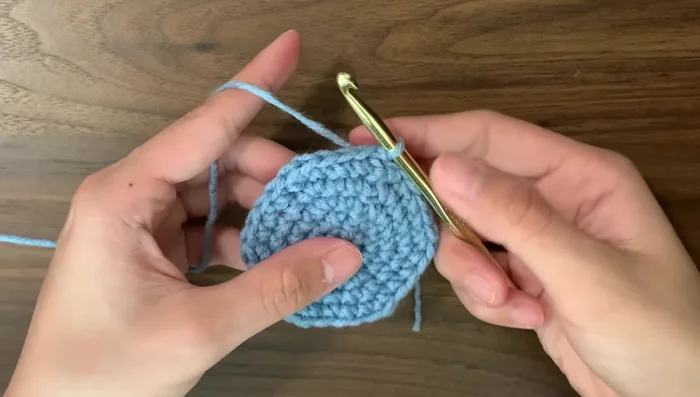
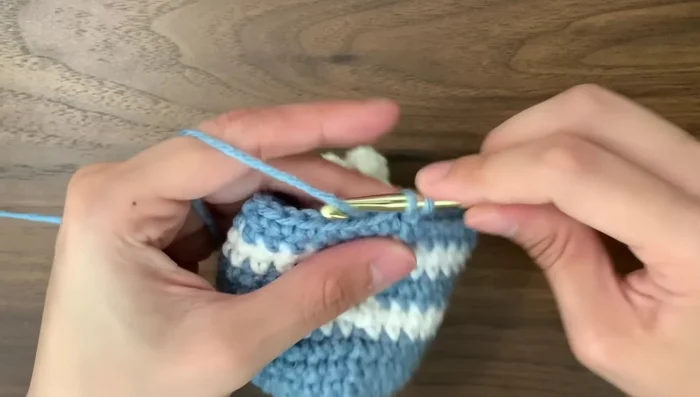
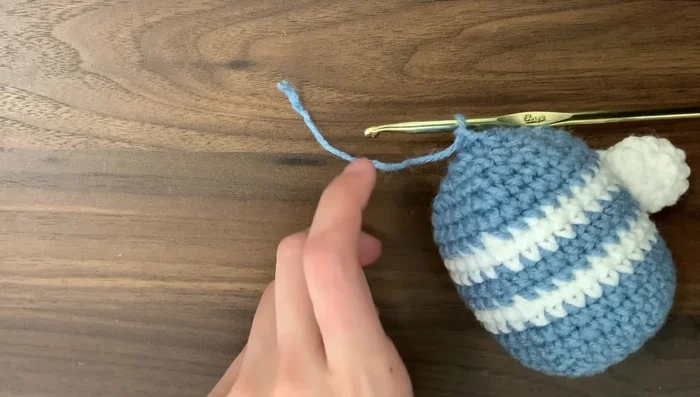
- Single crochet in every stitch (no increases). Continue with single crochet rounds until desired stripe length is reached. (The tutorial uses 3 rounds of blue, 2 rounds of white, 2 rounds of blue, and 2 rounds of white.)
Create the Bee Body - Decrease stitches progressively (every fourth, third, second, then every stitch) to close the bee's body. Stuff with polyfill before the final round.
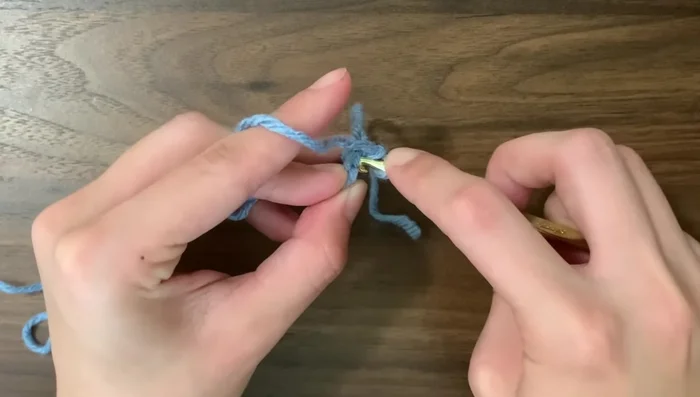
- Fasten off, weave in ends, and close the final hole.
Create the Bee Body Make the Wings
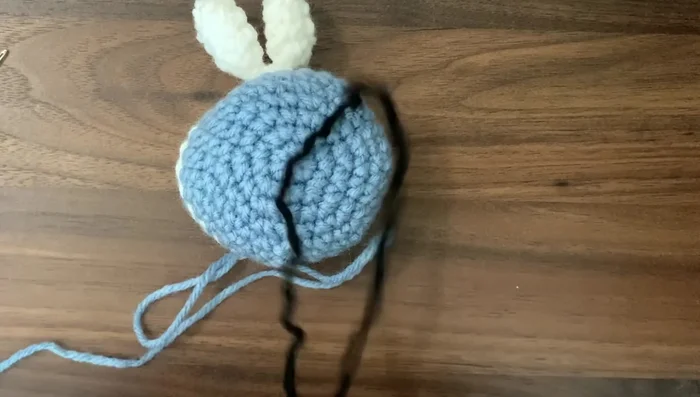
- Attach wings using magic circle method (6 single crochets, round 2 increase in every stitch, round 3 no increases).
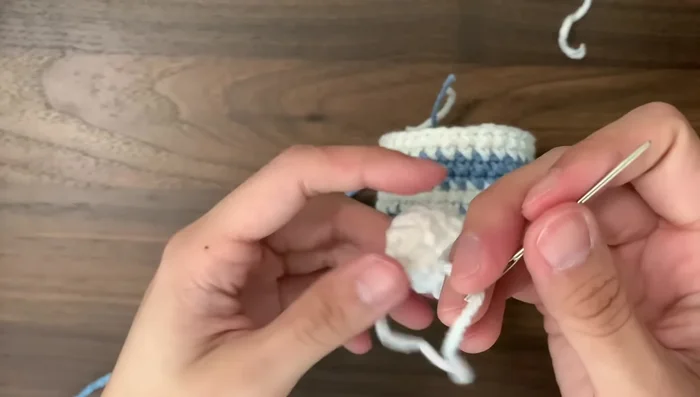
Make the Wings Assemble the Bee
- Attach wings to the bee body, using yarn needle to secure.
Assemble the Bee Add Facial Features
- Embroider the face using black yarn.
Add Facial Features

Read more: Easy Color Block Crochet Blanket Tutorial for Beginners
Tips
- Adjust the number of rounds between stripes to change the stripe thickness.
- Adjust the number of rounds with increases to control the bee's size.
- Attach wings between stripes for optimal placement.
- Only go through the outer loop when attaching the wings to allow them to relax and separate.