Crocheting a beanie is a fantastic project for beginners, offering a rewarding experience and a cozy, handmade accessory. The magic ring method, a clever technique for creating a seamless starting point, eliminates the need for a visible join and provides a neat, professional finish. This makes it the perfect choice for those new to crochet, simplifying the process and allowing you to focus on mastering the basic stitches. Learning this method unlocks a world of possibilities, paving the way for more intricate crochet projects in the future.
This tutorial provides a clear and concise step-by-step guide to crocheting a beginner-friendly beanie using the magic ring method, perfect for those taking their first steps into the world of yarn crafting. Ready to get started and create your own warm and stylish beanie? Let's dive into the process!
Preparation and Safety Guidelines
- I/5.5 mm crochet hook
- Scissors
- Worsted weight yarn
- Use sharp scissors to cut yarn. Blunt scissors can cause splitting and fraying.
- Count your stitches regularly to avoid errors that are hard to fix later. A stitch marker can help keep track.
- If you are using a new yarn, swatch before beginning the beanie to ensure you achieve the desired gauge (stitches per inch). This prevents the final beanie from being too big or too small.
Step-by-Step Instructions
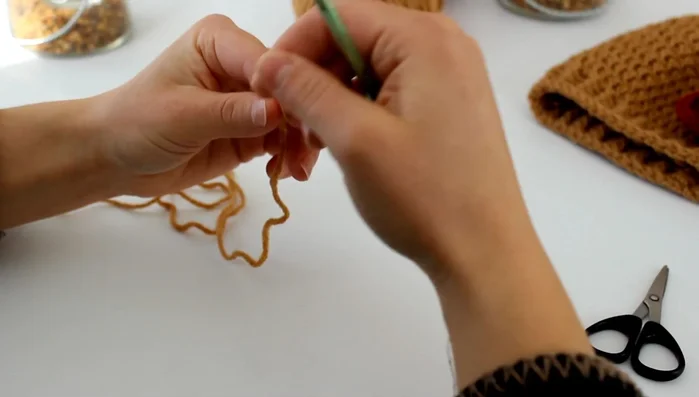
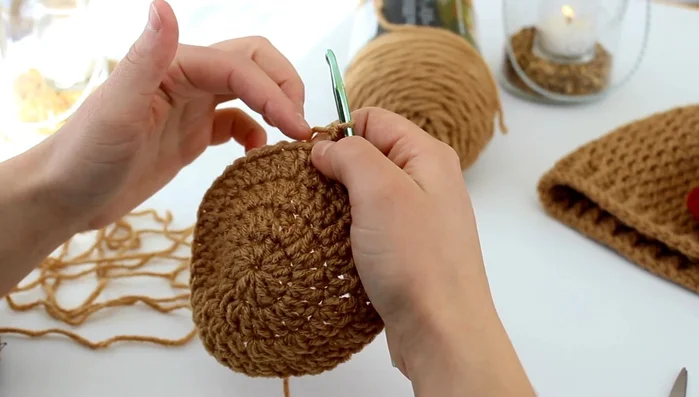
Create the Magic Ring
- Create a magic ring.

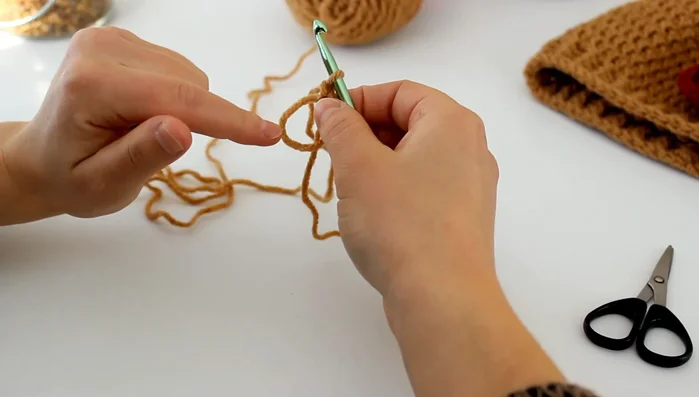
Create the Magic Ring First Round
- Chain 1, then work 10 double crochet into the ring.
- Slip stitch to the first double crochet to join.
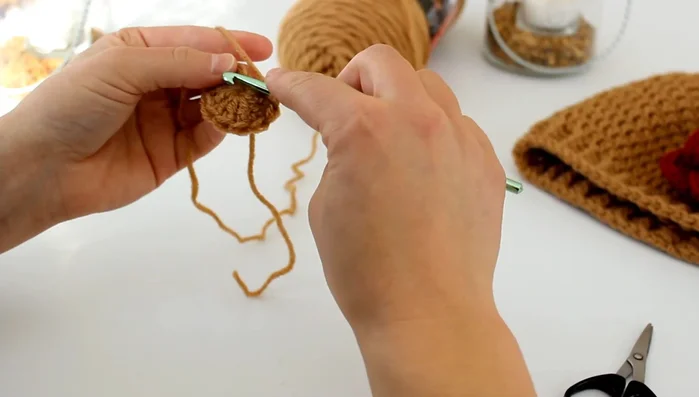
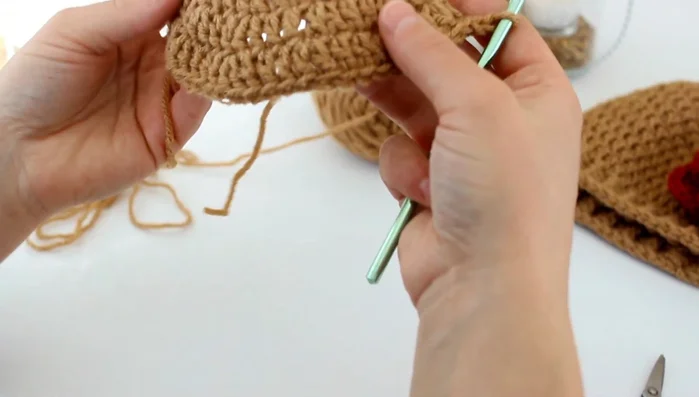
First Round Increasing Rounds
- Chain 2, then double crochet 2 in each stitch around (20 stitches total).
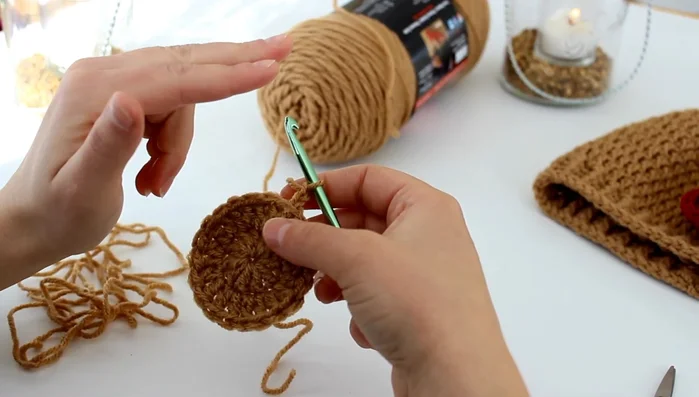
- Chain 2, then *increase (2 double crochet in one stitch), (1 double crochet in the next stitch)* repeat from * to * around.
- Chain 2, then *(2 double crochet in one stitch), (1 double crochet in the next two stitches)* repeat from * to * around.
- Chain 2, then *(2 double crochet in one stitch), (1 double crochet in the next three stitches)* repeat from * to * around.
Increasing Rounds - Chain 2, then *(2 double crochet in one stitch), (1 double crochet in the next four stitches)* repeat from * to * around.
Increasing Rounds Consistent Rounds
- Chain 2, then 1 double crochet in each stitch around.
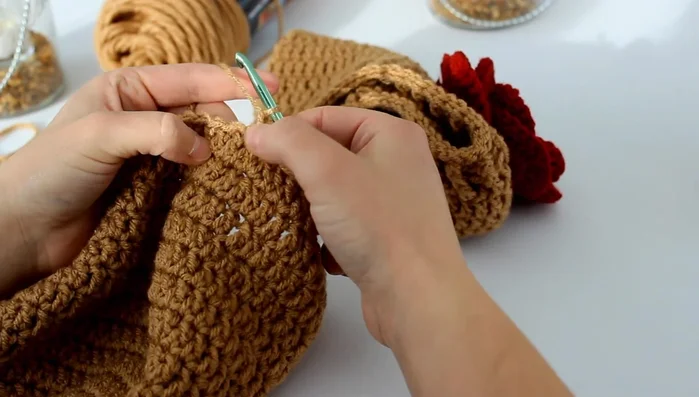
Consistent Rounds Add Ribbing
- Alternate front post half double crochet and back post half double crochet around for 2 rows.
Add Ribbing Finishing
- Fasten off and weave in ends.

Read more: Easy Color Block Crochet Blanket Tutorial for Beginners
Tips
- Tighten the magic ring by pulling the tail to create a small hole.
- The ribbing helps cinch the hat and create a neat finish.