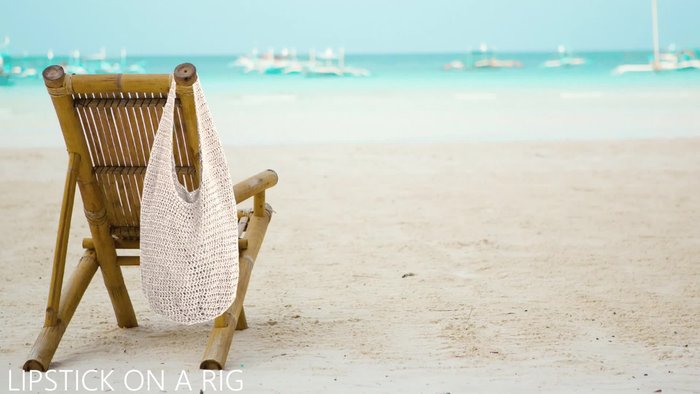
Summer is just around the corner, and what better way to celebrate than with a brand new, handmade beach bag? Forget expensive store-bought options – this quick and easy crochet tutorial will guide you through creating your own stylish and functional tote in no time at all. Using simple stitches and readily available materials, you'll be surprised how effortlessly you can whip up this perfect summer accessory. Imagine yourself strolling along the beach, your beautifully crafted bag carrying all your essentials, knowing you made it yourself!
This charming beach bag is perfect for carrying towels, sunscreen, books, and more. Whether you're a seasoned crocheter or a complete beginner, this pattern is designed to be accessible and enjoyable. Ready to get started on your own seaside masterpiece? Let's dive into the step-by-step process to create your unique and practical crochet beach bag.
Preparation and Safety Guidelines
- Recycled cotton polyester yarn (size 4 medium weight)
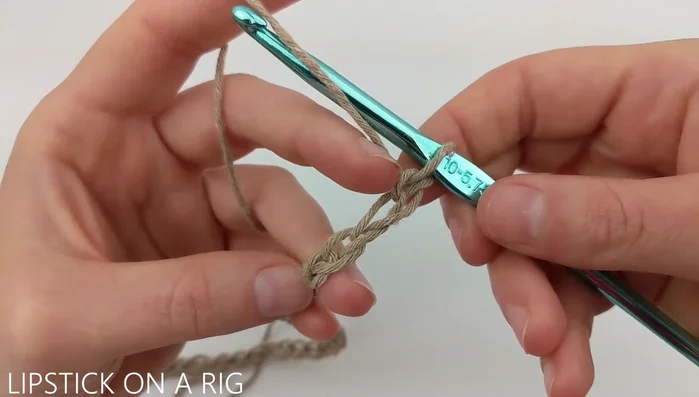
- Size J/10/5.75 mm crochet hook
- Use a sturdy yarn appropriate for outdoor use and potential water exposure. Avoid delicate yarns that might fray or lose their shape easily.
- Always check your tension and stitch count regularly to ensure your bag is even and the size is consistent with your pattern.
- If using a hook size significantly different from the pattern, be prepared to adjust the amount of yarn accordingly. A larger hook will use less yarn, and vice-versa.
Step-by-Step Instructions
Starting Chain and First Row
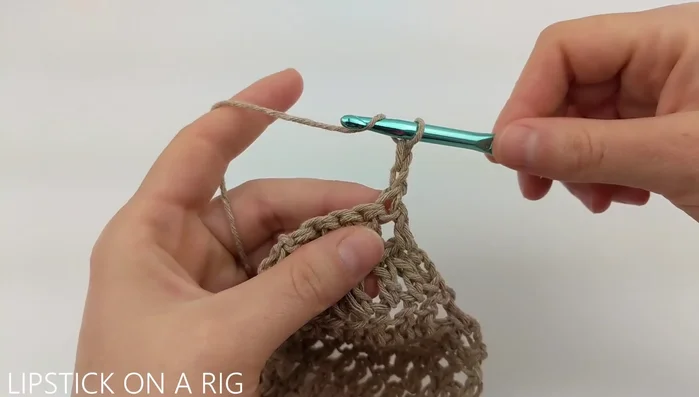
- Attach yarn to hook using a slip knot and chain 50.
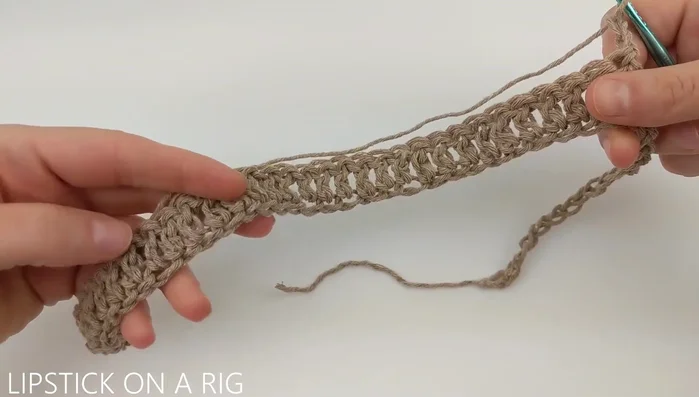
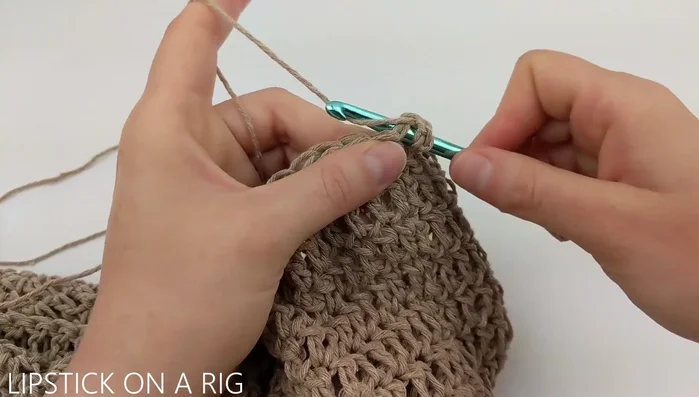
- Turn work, skip first two chains. Double crochet (dc) in the back loop only of the next 32 stitches.

Starting Chain and First Row Body of the Bag
- Chain 2, turn. Repeat step 2, skipping the chain 2 and the first dc of each row, working dc in the back loop only of the remaining stitches, until you reach 5 stitches.
- Chain 2, turn. 2dc in first and last stitch, 1 dc in each stitch between. Repeat until you reach 31 dc.
Body of the Bag Creating the Handles
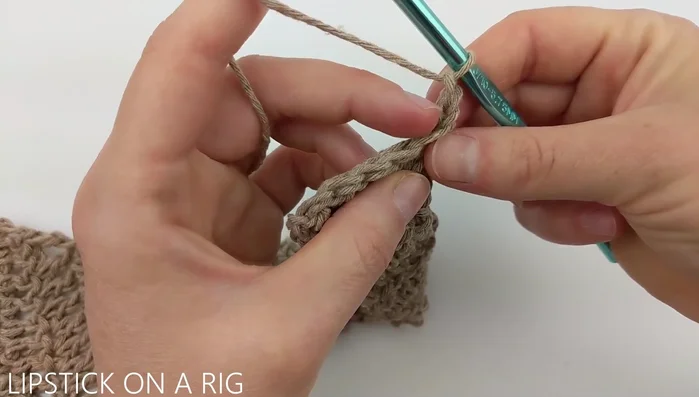
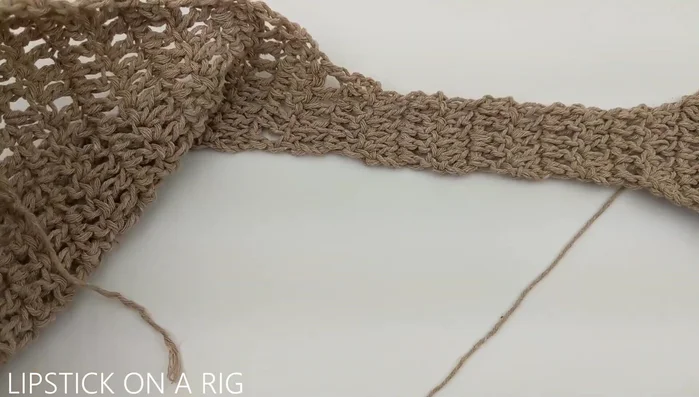
- For the handle, chain 2, turn. Dc in each of the 5 stitches. Repeat for 10 rows.
Creating the Handles Attaching Handles to Bag
- Chain 2, lay handle flat, join the starting chain to the last stitch worked using a slip stitch.
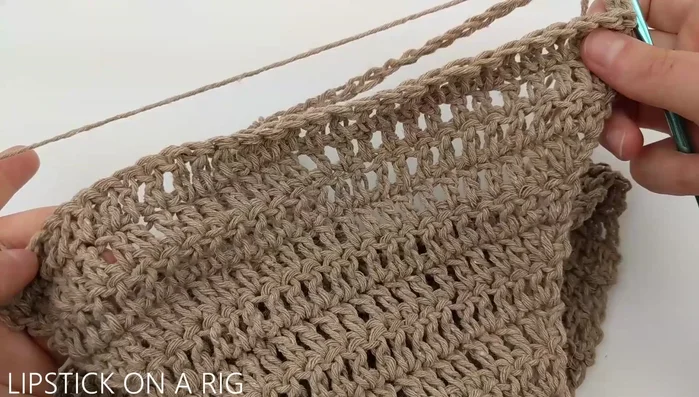
- Turn work. Work one more row increasing (2dc in the first and last stitch). Chain 15. Join to other end of handle with slip stitch.
Attaching Handles to Bag Working in the Round
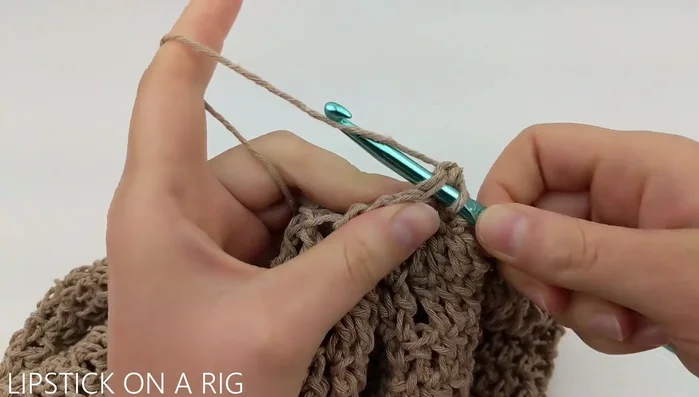
- Work in circular pattern around handles and chain stitches. Chain 2, dc in each stitch, working in back loops of chain stitches. Slip stitch to join. Repeat for 18 rows.
Working in the Round Decreasing and Shaping the Top
- Chain 2, dc in first 7 stitches, skip 8th stitch. Repeat around. (84 dc total). Repeat decreasing rows, decreasing the number of stitches before skip by 1 each time (72, 60, 48, 36, 24, 12 dc).
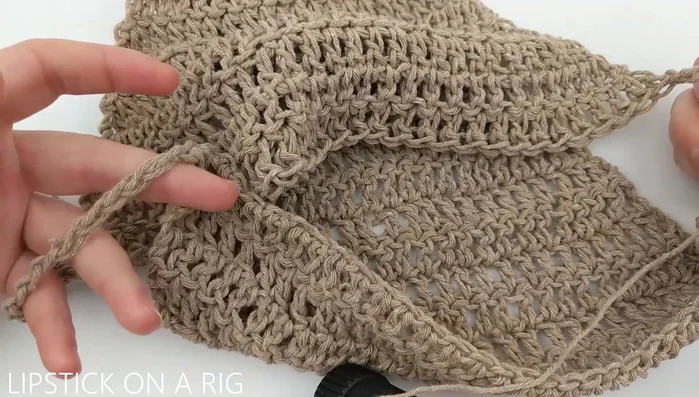
Decreasing and Shaping the Top Finishing the Bag
- Slip stitch to join, cut yarn, fasten off.
Finishing the Bag
Read more: Easy Color Block Crochet Blanket Tutorial for Beginners
Tips
- Ensure no twists in your handle when joining.
- Work in the back bumps of the chain stitches when creating the body of the bag.