Adding a touch of handmade charm to your home décor is easier than you think! This tutorial guides you through creating a beautiful and cozy basket weave crochet throw pillow cover, perfect for adding texture and visual interest to your living space. Whether you're a seasoned crocheter looking for a new project or a beginner eager to tackle a manageable yet rewarding pattern, this design is surprisingly simple to master. The classic basket weave stitch creates a wonderfully textured fabric that’s both visually appealing and durable, making it an ideal choice for a frequently used pillow cover.
This easy-to-follow tutorial will walk you through every step of the process, from choosing your yarn and hook to finishing off your stunning creation. Prepare to be amazed at how quickly you can whip up this delightful accessory, and get ready to enjoy the satisfaction of crafting something beautiful with your own two hands. Let's dive into the step-by-step instructions now!
Preparation and Safety Guidelines
- Size H/8 (5mm) crochet hook
- Medium weight yarn (approx. 760 yards)
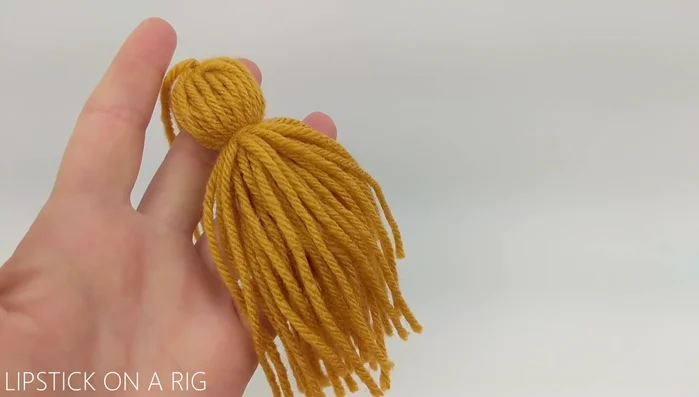
- Four yarn tassels
- 14-inch throw pillow insert
- Use sharp scissors to avoid injury when cutting yarn. Always keep your scissors pointed away from yourself and others.
- Be mindful of your hook size. Using a hook too small can cause strain and discomfort. Choose a hook size appropriate for your chosen yarn weight.
- Ensure your workspace is well-lit and free of clutter to prevent accidents and maintain focus while crocheting.
Step-by-Step Instructions
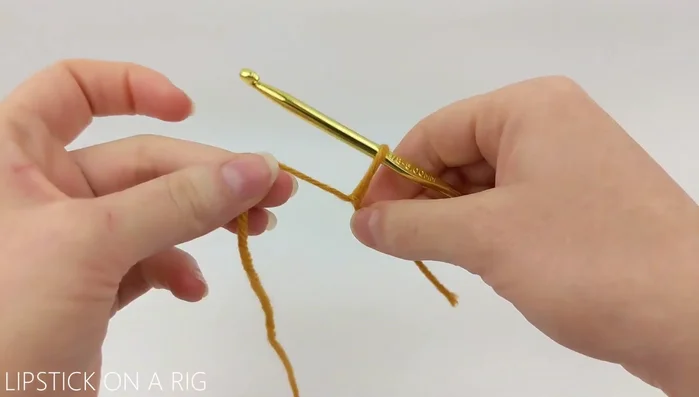
Foundation Chain
- Create a slip knot and chain 73 stitches.

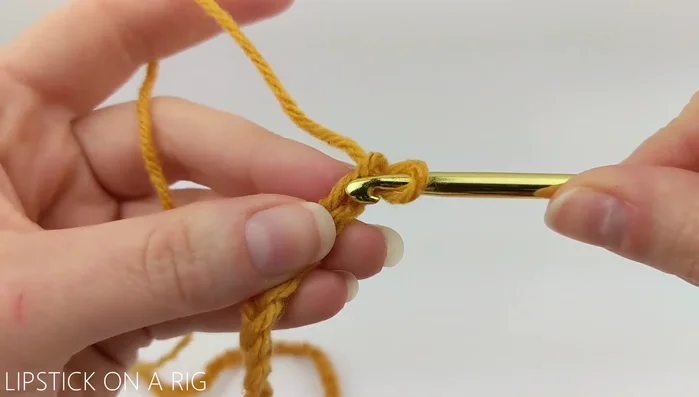
Foundation Chain First Row: Back Loops
- Turn your work, skip the first chain, and single crochet in the back loop only of each of the remaining 72 chains.
First Row: Back Loops Second Row: Front Loops
- Turn your work again, and single crochet in each of the front loops of the chain row (72 single crochets).
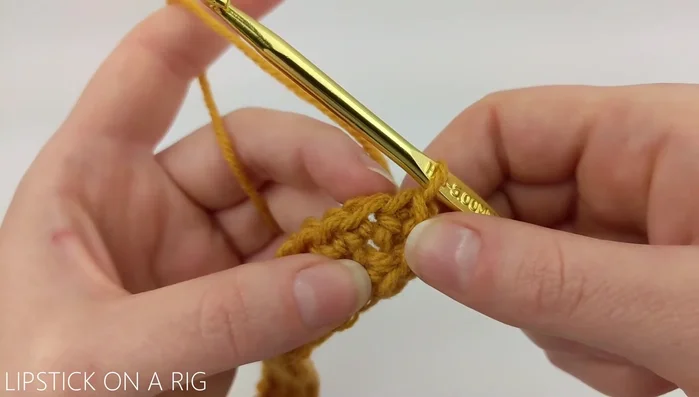
Establishing the Basket Weave Pattern (Row 1)
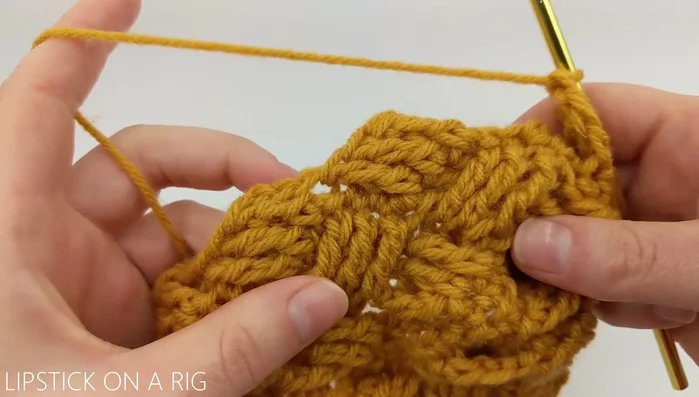
- Skip the first three stitches, triple crochet in the next three stitches, then triple crochet in the three skipped stitches (working them in front of the previous three triple crochets). Repeat this pattern around the row (24 sections total).
Establishing the Basket Weave Pattern (Row 1) Establishing the Basket Weave Pattern (Row 2)
- Skip the slip stitch, slip stitch in the next three stitches (triple crochets from last row). Skip the next three stitches, triple crochet in the next three, then triple crochet in the skipped stitches (working them behind the previous three triple crochets). Repeat.
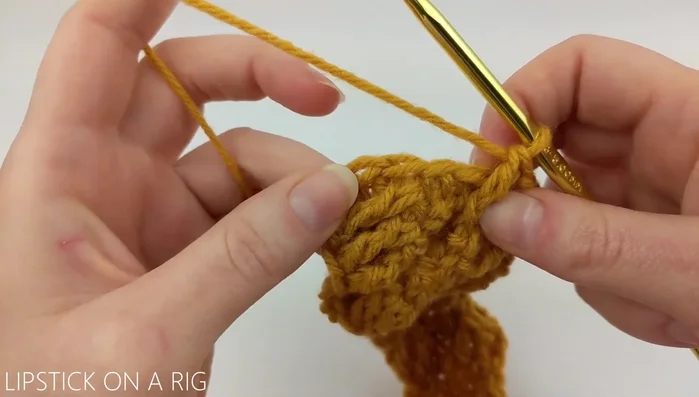
Establishing the Basket Weave Pattern (Row 2) Repeating the Basket Weave Pattern
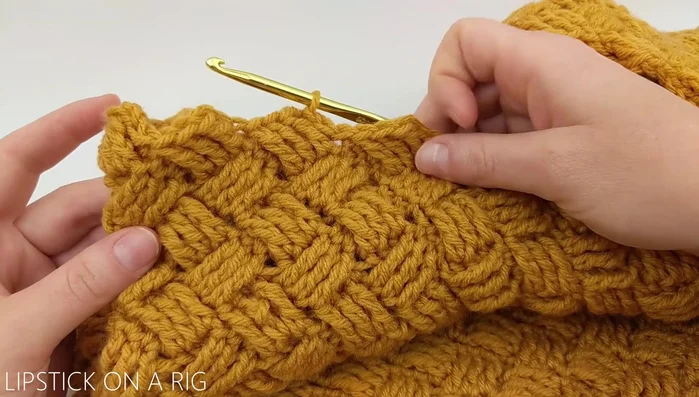
- Repeat steps 4 and 5, alternating between working the skipped stitches in front (step 4) and behind (step 5) the triple crochets for a total of 21 rows.
Repeating the Basket Weave Pattern Adding Yarn
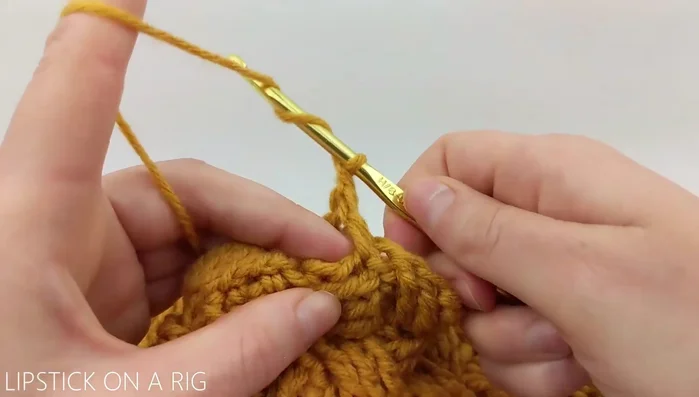
- To add more yarn, yarn over twice with old yarn, insert hook in next stitch, grab new yarn and yarn over with new yarn to finish the triple crochet.
Adding Yarn Creating the Flap
- Lay the work flat, slip stitch along the side fold until you reach the other fold, chain one, single crochet in the next 72 stitches, chain one, turn. Repeat this row (approx. 23 rows).
Creating the Flap Finishing Touches
- Attach four tassels to the corners.
Finishing Touches
Read more: Easy Color Block Crochet Blanket Tutorial for Beginners
Tips
- Keep slip stitches loose.
- Tie and weave in yarn tails.