Welcome, crafters! Are you dreaming of creating a wonderfully soft and adorable crocheted romper for the little one in your life? This tutorial will guide you through the process of making a charming, comfortable romper perfect for babies aged 2 to 12 months. We'll explore a delightful design, easily adaptable to different yarn weights and colors, letting you personalize your creation to match any nursery theme or individual style. Whether you're a seasoned crocheter looking for a new project or a beginner ready to tackle something slightly more challenging, this pattern is designed to be accessible and rewarding.
This pattern provides a clear and concise step-by-step guide to crafting this precious romper, from the initial foundation chain to the final finishing touches. You'll learn how to create the body, legs, and charming little details that make this romper truly special. Get ready to unleash your creativity and follow along as we embark on this delightful crochet adventure together! Let's begin!
Preparation and Safety Guidelines
- Two skeins of Drops Cotton Merino yarn (color 10)
- 4 mm crochet hook
- Scissors
- Darning needle
- Always supervise children while they are wearing crocheted garments. Small parts may pose a choking hazard.
- Use only safe, non-toxic yarns and materials intended for baby clothing. Avoid using anything that could irritate sensitive skin.
- Ensure the romper fits comfortably and securely to prevent accidental strangulation or entanglement.
Step-by-Step Instructions
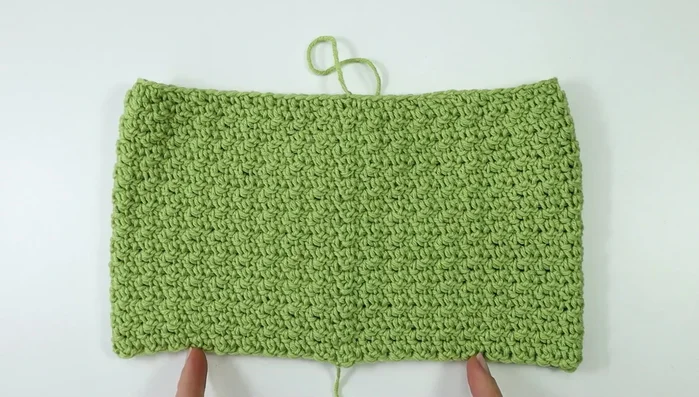
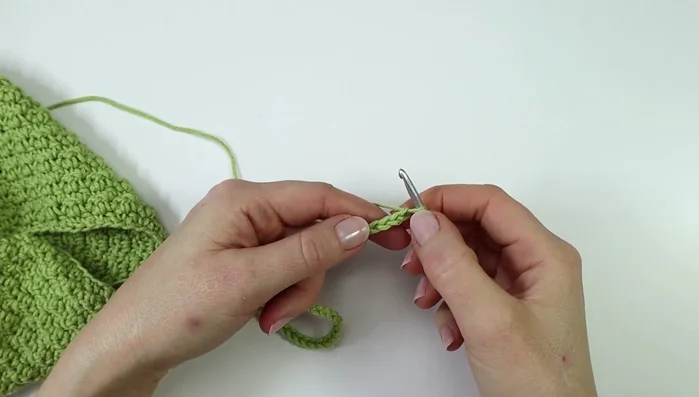
Creating the Romper Body
- Make a slip knot and chain 78 stitches. Join with a slip stitch to form a ring.
- Chain 1, then alternate single crochet and double crochet around. End with a slip stitch.
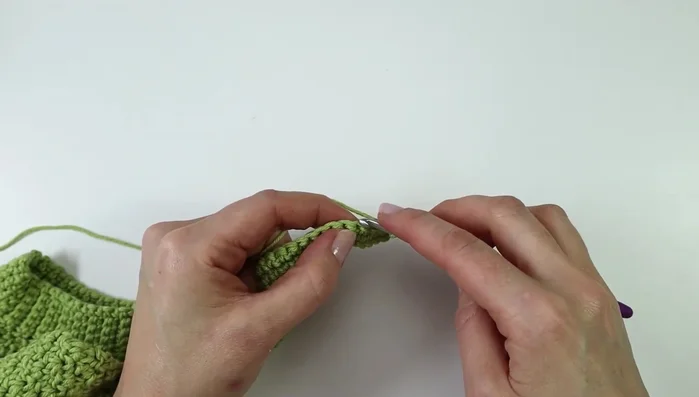
- Chain 1, turn. Alternate single crochet (in double crochet from previous round) and double crochet (in single crochet from previous round). End with a slip stitch. Repeat rounds 1 and 2 until you have a total of 22 rounds.
- Fasten off. Turn the work inside out.
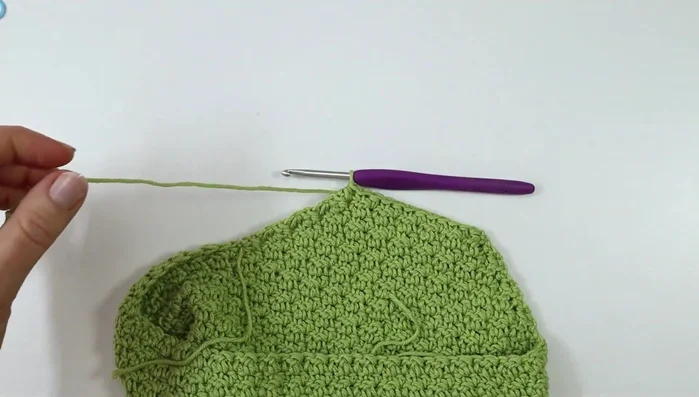
Shaping the Crotch
- Mark 28 stitches (14 on each side of the center). Attach yarn, chain 1, half double crochet decrease over the first 2 stitches. Crochet the next 24 stitches in the pattern from previous rounds. Make a half double crochet decrease over the last 2 stitches. Repeat this decrease at the beginning and end of each row until 12 stitches remain.
- Fasten off. Form the crotch on the front side in a similar manner, decreasing until 12 stitches remain. Crochet 4 more rows without decreasing. Fasten off, leaving a tail for seaming.
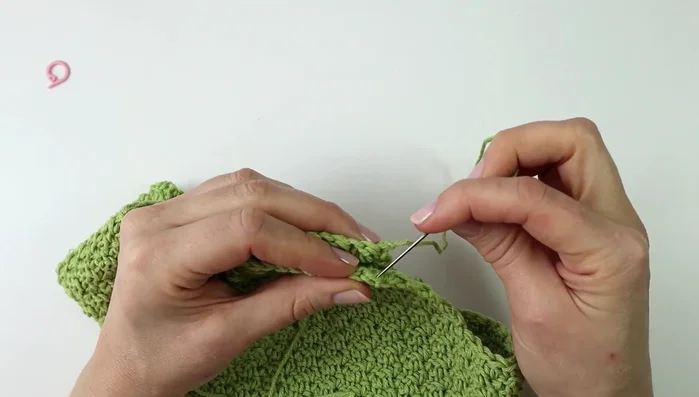
- Sew the crotch pieces together using the mattress stitch.

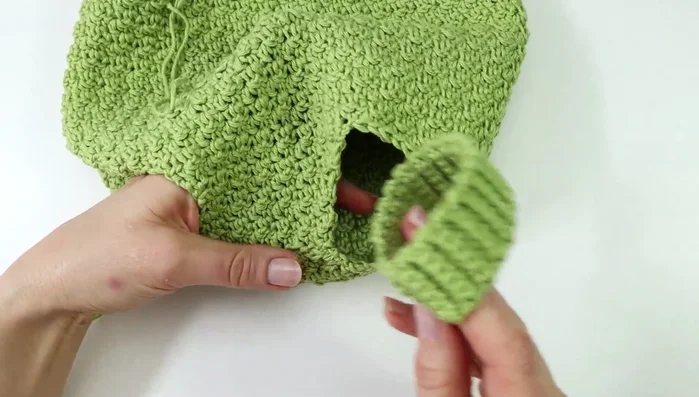
Shaping the Crotch Creating Leg Hole Ribbing
- Make a slip knot and chain 7. Skip the first stitch, single crochet in each stitch across. Chain 1, turn. Work into the back loops only for the following rows until you have a total of 40 rows. Sew the edges together using mattress stitch.
- Attach leg hole ribbing to the romper, aligning seams. Secure with wonder clips, then sew using mattress stitch.
Creating Leg Hole Ribbing Creating Waist and Strap Ribbing
- Attach yarn to the mid-back, chain 9. Skip the first chain, single crochet in each stitch across. Attach the ribbing to the edge with slip stitches. Repeat rows, working into back loops, until you have 6 rows total.
- Chain 37, single crochet in each stitch across. Attach to the lining with slip stitches. Repeat rows until you have 6 rows total.
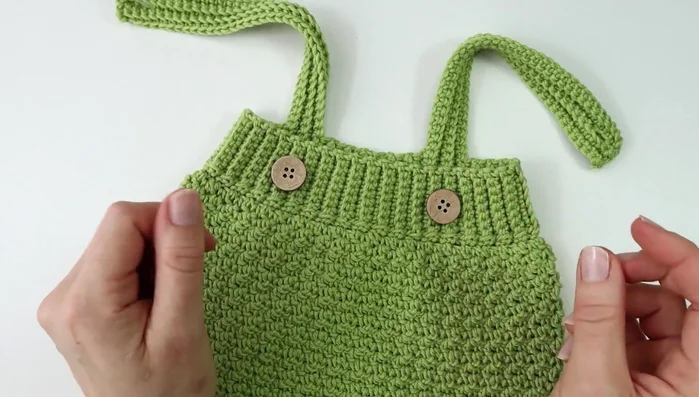
Creating Waist and Strap Ribbing Adding Finishing Touches
- Chain 2, skip 2 stitches, single crochet in the next. Continue single crocheting across. Repeat this for the next two rows.
- Sew buttons onto the front of the romper.
Adding Finishing Touches
Read more: Easy Color Block Crochet Blanket Tutorial for Beginners
Tips
- N/A