Welcome, crafters! Are you looking for a delightful and quick project to knit up for a special little one, or perhaps just to add a touch of adorable charm to your own collection? Then look no further than this incredibly easy tutorial for a sweet pom-pom crochet baby hat! This pattern is perfect for beginners, requiring minimal supplies and featuring a simple, yet stunning, design that will leave you feeling accomplished and ready to show off your handiwork. The fluffy pom-pom adds the perfect finishing touch, transforming this simple hat into a truly treasured item.
Forget complicated instructions and time-consuming projects; this adorable hat is designed for speed and simplicity. With just a few basic crochet stitches and a little bit of yarn, you'll be creating a heartwarming gift in no time. Ready to get started on your own fluffy masterpiece? Let's dive into the step-by-step guide and begin crocheting!
Preparation and Safety Guidelines
- Bernat Softy Baby Chunky yarn
- crochet hook size J/10 or 6 mm (or size needed for gauge)
- tapestry needle
- scissors
- Always supervise young children while they are wearing the hat to prevent choking hazards from loose pom-poms or any small parts.
- Use only high-quality, baby-safe yarn that is soft and gentle on delicate skin. Avoid yarns with potentially irritating dyes or chemicals.
- Ensure the hat fits snugly but not too tightly to prevent restricted breathing or discomfort. Check regularly for proper fit as your baby grows.
Step-by-Step Instructions
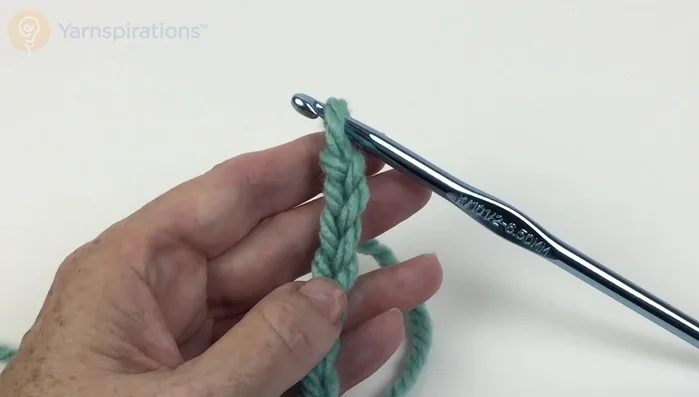
Foundation Chain
- Chain the required number of chains for your chosen size (30 for 6-12 months, 32 for 18-24 months).

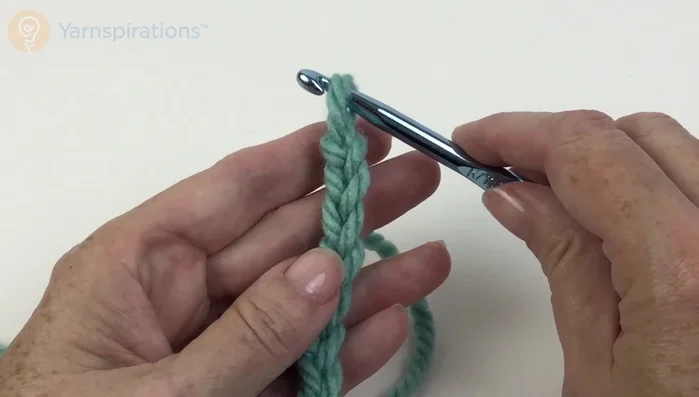
Foundation Chain First Row
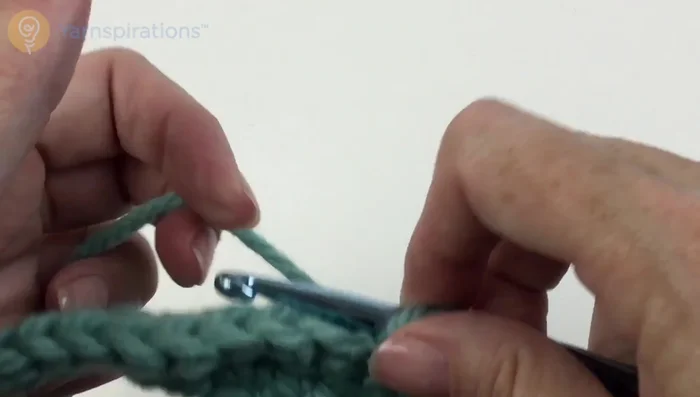
- Single crochet in the second chain from the hook and in each chain across, leaving the last four chains.
- Slip stitch in each of the last four chains and turn.
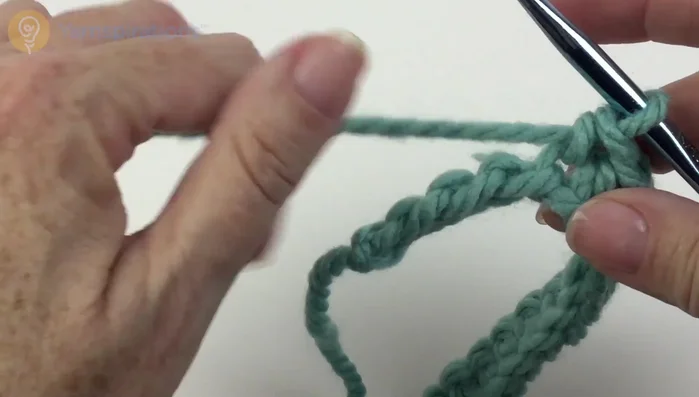
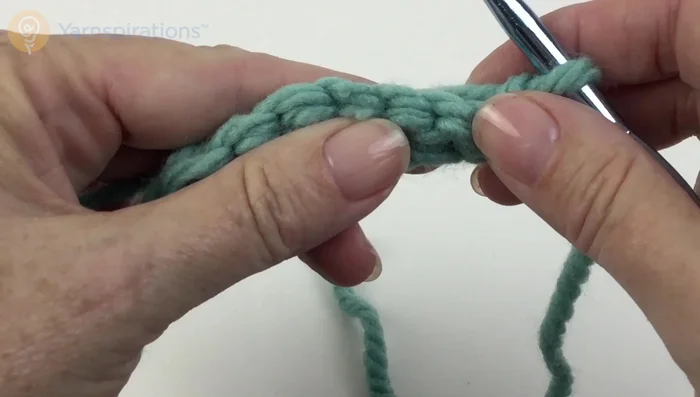
First Row Repeat Rows
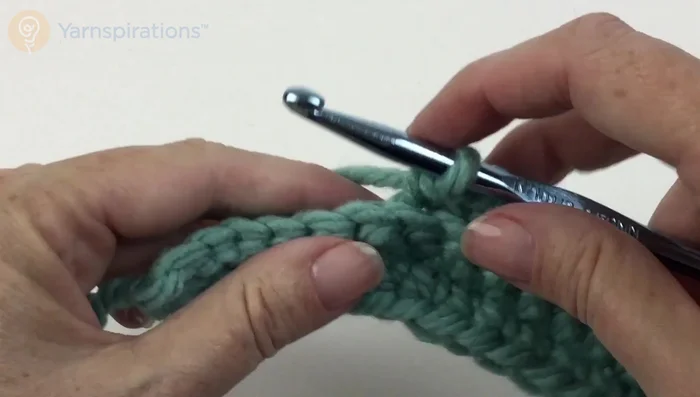
- Chain one, slip stitch in each of the first four stitches, then single crochet in the back loop only of each stitch to the end of the row. Turn.
- Repeat steps 4 and 5 until the work measures 16 or 17 inches (40.5 or 43 cm).
Repeat Rows Finishing the Hat
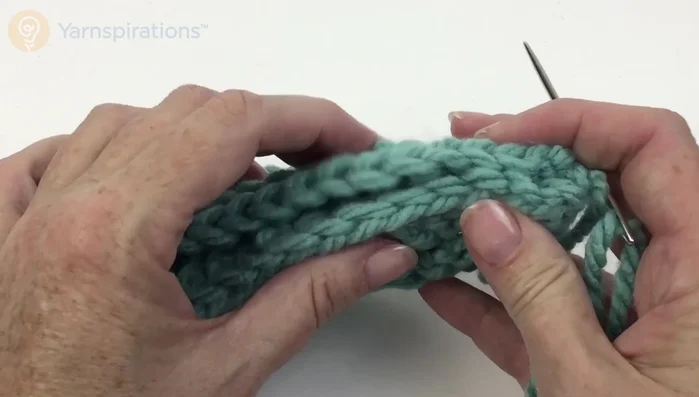
- Fasten off, leaving a long end. Weave the end through the last slip stitch of each row along the top edge and gather tightly.
- Sew up the side seam, using the back loops of the stitches for a neater finish.
Finishing the Hat Make Pom-poms
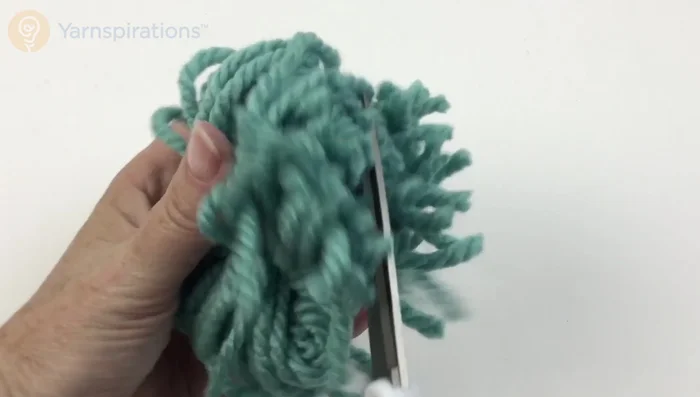
- Make pom-poms by wrapping yarn approximately 100 times around four fingers. Tie tightly in the center with a long piece of yarn, leaving enough length to attach to the hat.
Attach Pom-poms
- Trim the loops of the pom-pom, carefully avoiding the long tie yarn. Attach the pom-poms to the top of the hat using the long tie yarn.
Attach Pom-poms
Read more: Easy Color Block Crochet Blanket Tutorial for Beginners
Tips
- Work in the back loop of the chains for a neater edge.
- When measuring, measure the single crochet side, not the slip stitch side.
- End rows with slip stitches, not beginning with them, for ease of finishing.
- Tie pom-pom tightly for a fuller look.
- Trim pom-pom loops close to the center for a neater finish.