Welcome to the world of crocheted baby hats! Whether you're a seasoned crocheter looking for a quick and easy project or a beginner eager to create something adorable, this tutorial is perfect for you. Crafting a cozy hat for a little one is a rewarding experience, and the joy of gifting a handmade item is unmatched. This pattern is designed to be incredibly versatile, allowing you to effortlessly adjust the size to fit newborns, infants, or toddlers. Forget complicated charts and confusing instructions – we'll guide you through a simple, step-by-step process that's easy to follow, even if you're just starting your crochet journey.
This easy crochet baby hat pattern utilizes basic stitches, making it an ideal project for honing your skills or a delightful way to spend a relaxing afternoon. We'll cover everything from choosing the right yarn to mastering the essential techniques, ensuring you create a perfectly fitting and charming hat. Ready to get started on creating your own precious handmade hat? Let's dive into the detailed instructions below!
Preparation and Safety Guidelines
- 3.5 millimeter crochet hook
- DK weight yarn (37 grams)
- Always use yarn and hook sizes appropriate for a baby's delicate skin. Avoid anything too scratchy or potentially allergenic.
- Never leave a baby unattended while wearing a crocheted hat, especially if it's loose-fitting or contains small parts that could pose a choking hazard.
- Ensure the hat fits snugly but not too tightly to prevent restricting breathing or blood flow. Check regularly for any signs of discomfort.
Step-by-Step Instructions
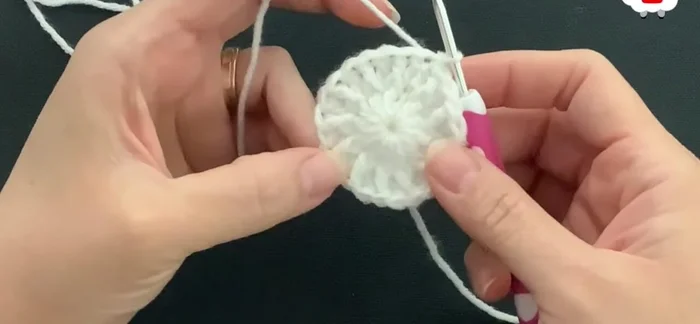
Create the Crown
- Make a magic circle.
- Chain 2 (these don't count as stitches).
- Work 12 double crochets into the magic ring.
- Close the magic circle by pulling the yarn.
- Join with a slip stitch to the top of the first double crochet.
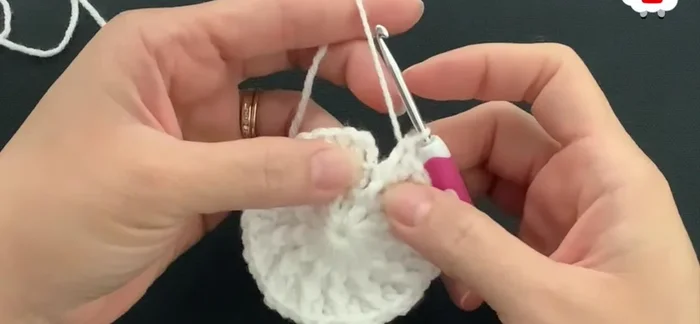
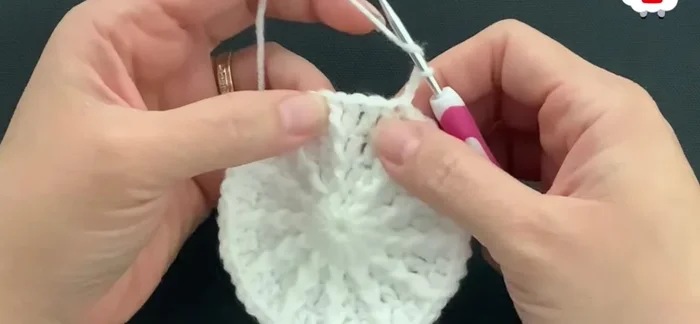
Increase Crown Stitches
- Chain 2. Work 12 double crochets and 12 front post double crochets (increasing to 24 total stitches).
- Join with a slip stitch.
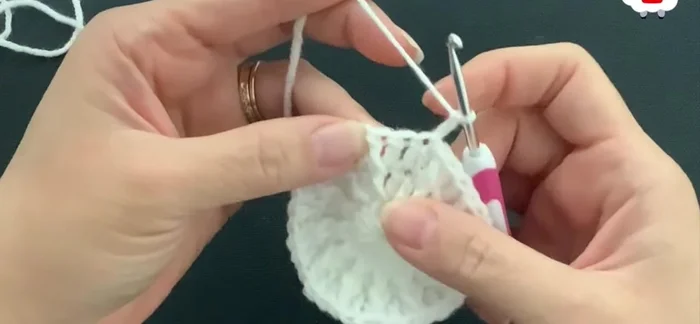
- Chain 2. Work 24 double crochets and 12 front post double crochets (increasing to 36 total stitches).
- Join with a slip stitch.

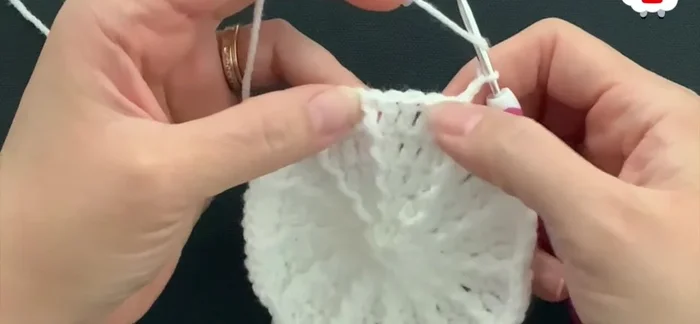
Increase Crown Stitches - Chain 2. Work 36 double crochets and 12 front post double crochets (increasing to 48 total stitches).
- Join with a slip stitch. Measure to ensure you're on track with your desired size.
- Chain 2. Work 48 double crochets and 12 front post double crochets (increasing to 60 total stitches).
- Join with a slip stitch.
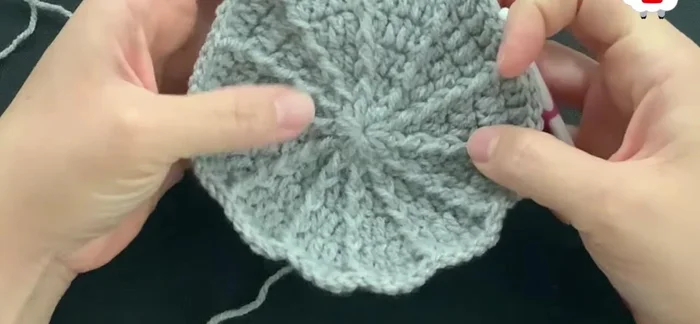
Increase Crown Stitches - Chain 2. Work 60 double crochets and 12 front post double crochets (increasing to 72 total stitches).
- Join with a slip stitch. Change yarn color if desired.
- Continue rows, increasing by 12 stitches per row until you reach desired hat length (minus about 3cm/1.5 inches for the brim).
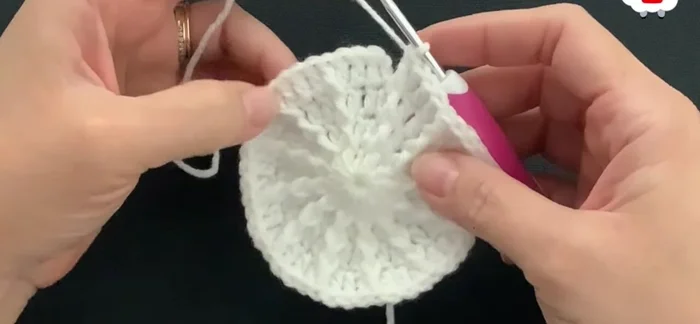
Increase Crown Stitches Create the Hat Body
- Maintain 72 stitches, working 5 double crochets between each front post double crochet.
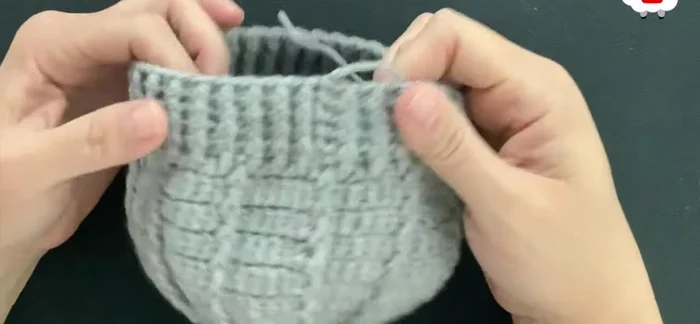
Create the Brim
- Chain 1. Alternate front post and back post half double crochets for 3-4 rows (72 stitches per row).
Finish the Hat
- Fasten off and weave in ends.
Finish the Hat

Read more: Easy Color Block Crochet Blanket Tutorial for Beginners
Tips
- Use standard size measurements to adjust the hat for different ages.
- You can use any yarn and hook size; just follow the pattern and measurements provided.
- Written patterns are available on Etsy.
- Measure your work frequently to ensure accurate sizing.