Crocheting a beautiful and practical cardigan for your little one is a rewarding experience, and this pattern makes it surprisingly easy! Whether you're welcoming a newborn or have a growing child up to eight years old, this versatile design offers a cozy and stylish garment adaptable to various sizes. From delicate baby yarn to chunkier options for older children, the adaptable design ensures a perfect fit for every stage of growth, saving you time and effort in the long run. The simple stitches and clear instructions make it perfect for beginners while experienced crocheters will appreciate its efficiency.
Forget complicated patterns and hours of frustrating work! This easy crochet baby cardigan project guides you through every step, from casting on to the final finishing touches. Learn how to create a timeless piece your child will cherish, perfectly sized to keep them warm and comfortable through their formative years. Let's get started with the step-by-step instructions below!
Preparation and Safety Guidelines
- 125 grams Drops Baby Merino yarn
- 3.0mm or 3.5mm crochet hook
- Scissors
- Darning needle
- 6 buttons (15mm diameter)
- Always use safe, non-toxic yarn suitable for babies. Avoid anything that could be a choking hazard or irritate delicate skin.
- Ensure stitches are secure and there are no loose ends that a baby could pull off and choke on. Weave in all ends carefully.
- Never leave a baby unattended while wearing a crocheted garment. Always supervise to ensure safety and prevent overheating.
Step-by-Step Instructions
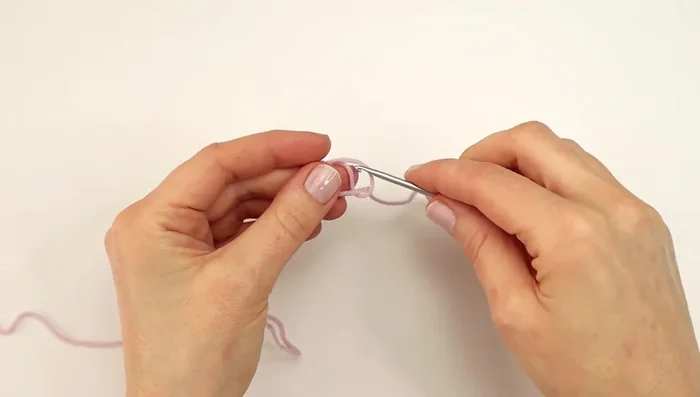
Foundation Chain
- Make a slip knot and chain 54.

Foundation Chain Body - Initial Rows
- Skip the first chain, half double crochet (hdc) in the next 7 chains, 3 hdc in the next stitch, hdc in the next 8 chains, 3 hdc in the next stitch, hdc in the next 18 chains, 3 hdc in the next stitch, hdc in the next 8 chains, 3 hdc in the next stitch, hdc in the last 8 chains.
- Chain 1, turn. Hdc in the first 9 stitches, 3 hdc in the next stitch, hdc in the next 10 stitches, 3 hdc in the next stitch, hdc in the next 20 stitches, 3 hdc in the next stitch, hdc in the next 10 stitches, 3 hdc in the next stitch, hdc in the last 9 stitches.
- Repeat rows 2 and 3, increasing 3 hdc in each corner until you have 14 rows. The written pattern provides exact stitch counts between increases.
Body - Initial Rows Body - Armhole Shaping
- Chain 1, turn. Hdc in the first 23 stitches, chain 3, skip the next 36 stitches, hdc in the next stitch (armhole). Hdc in the next 47 stitches (back piece), chain 3, skip 36 stitches, hdc in the next stitch (armhole), hdc in the next 22 stitches (front piece).
Body - Armhole Shaping Body - Main Section
- Hdc in every stitch across (24 rows total).
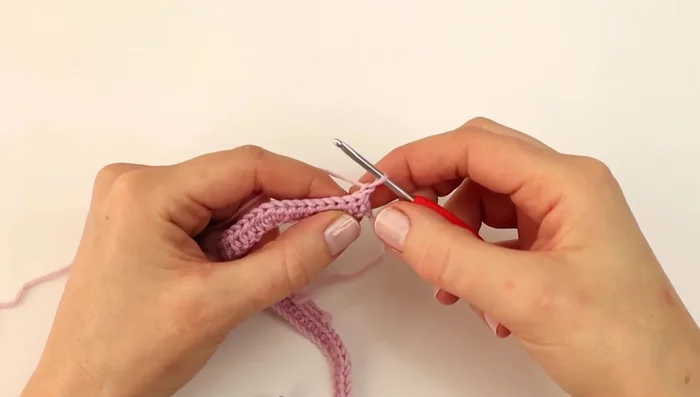
Body - Main Section First Border and Buttonholes
- Chain 1, single crochet (sc) along the side of the last row up to the neckline. Chain 3, turn, skip 2 stitches, sc in the next, *make a buttonhole (sc in next 6 stitches, ch 2, skip 2 stitches, sc in next stitch)*, repeat from * to * until all buttonholes are made.
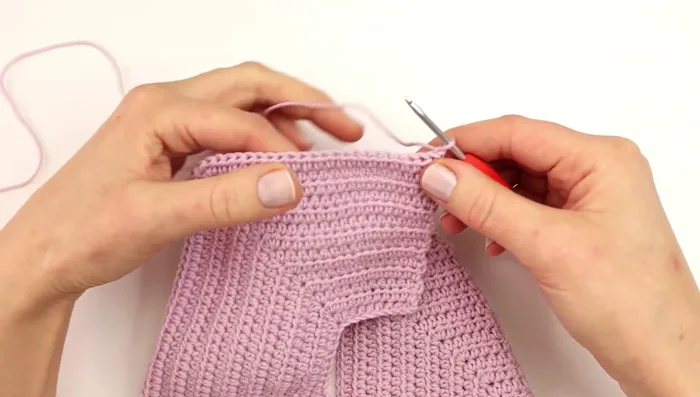
First Border and Buttonholes Second Border
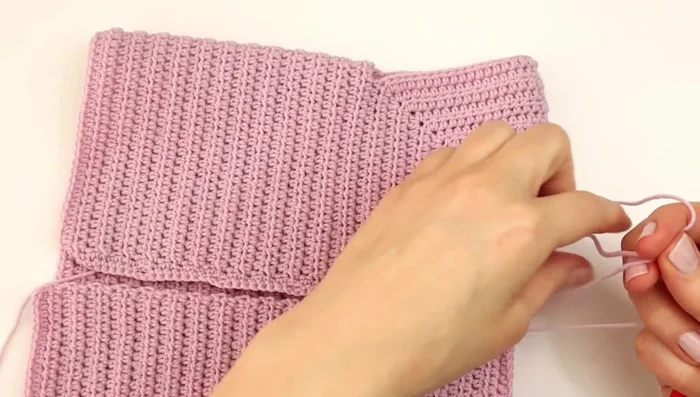
- Attach yarn, sc in the opposite side and create 2 rows of sc. Sc around all edges of cardigan, 2 sc in the corners for a nice rounded edge.
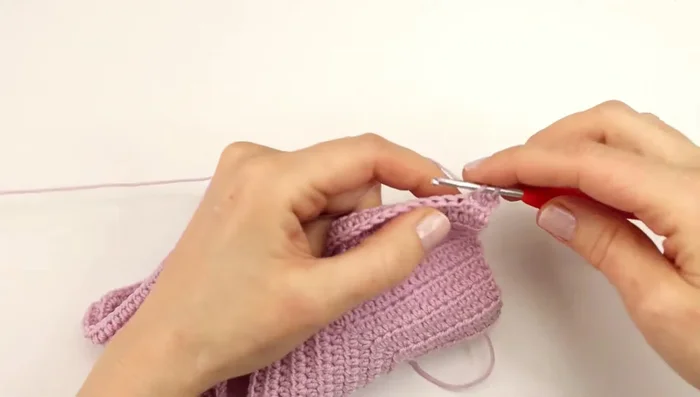
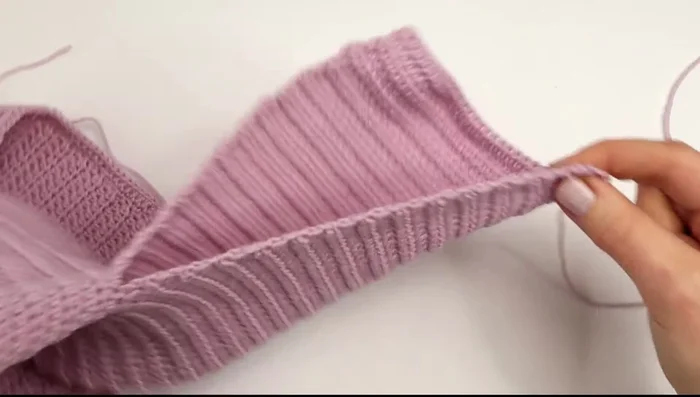
Second Border Sleeves
- Attach yarn in the middle chain of the armhole. Chain 1, hdc in every stitch around the armhole. Repeat rows 1-3. Row 4: Hdc decrease, hdc in every stitch, hdc decrease at the end. Repeat rows 1-4 until 27 rows total.
Sew Sleeves
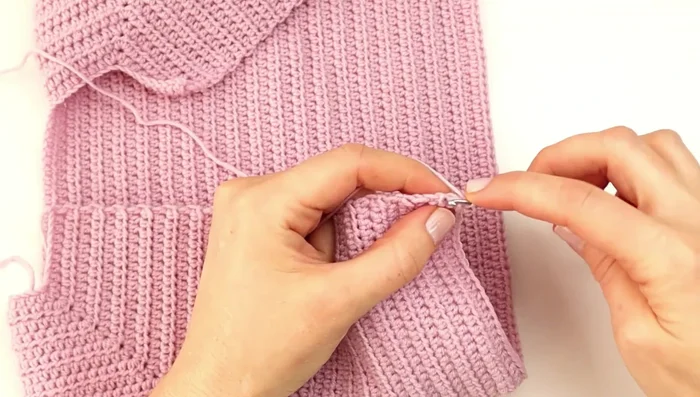
- Sew sleeve edges together using mattress stitch. Fasten off. Repeat for second sleeve.
Sew Sleeves Attach Buttons
- Sew buttons onto the opposite side of the buttonholes.
Attach Buttons

Read more: Easy Color Block Crochet Blanket Tutorial for Beginners
Tips
- N/A