Are you ready to embark on a rewarding knitting project that yields a stunning, unique blanket? This tutorial will guide you through creating a captivating striped diagonal blanket using the corner-to-corner (C2C) method, a technique known for its relatively simple execution and impressive visual results. We'll combine the classic textures of garter and stockinette stitch to create a dynamic interplay of patterns, resulting in a cozy and eye-catching throw perfect for snuggling up on the couch or adding a pop of color to your home décor. The diagonal lines add an unexpected twist to traditional blanket designs, making this project perfect for both beginners looking to expand their skills and experienced knitters seeking a satisfying and creative challenge.
This project is perfect for showcasing your favorite yarn colors and experimenting with different stripe combinations. Prepare to be amazed by how quickly this blanket grows row by row, as you master the C2C technique. From choosing your yarn to casting off the final stitch, we'll walk you through each step with clear instructions and helpful images. Let’s get started; read on for the comprehensive, step-by-step guide to knitting your own beautiful striped diagonal blanket.
Preparation and Safety Guidelines
- 400g of double knit yarn (light worsted weight or 3-ply yarn)
- 4mm circular needles (at least 150cm long)
- Scissors
- Tapestry needle
- Stitch marker (optional)
- Use stitch markers to track your progress and maintain even stripes. Failing to do so can easily lead to skewed stripes or dropped stitches.
- Carefully check your gauge before starting. Inconsistent gauge will distort the diagonal and overall dimensions of your blanket.
- Always ensure your yarn is securely fastened at the beginning and end of each row and color change to prevent unraveling. Weave in loose ends securely to avoid holes and gaps.
Step-by-Step Instructions
Initial Setup
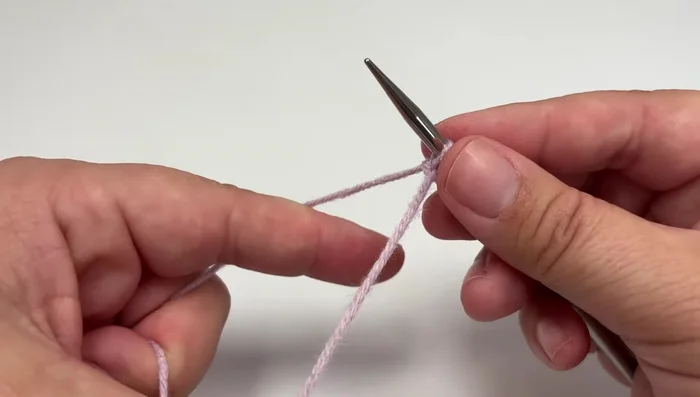
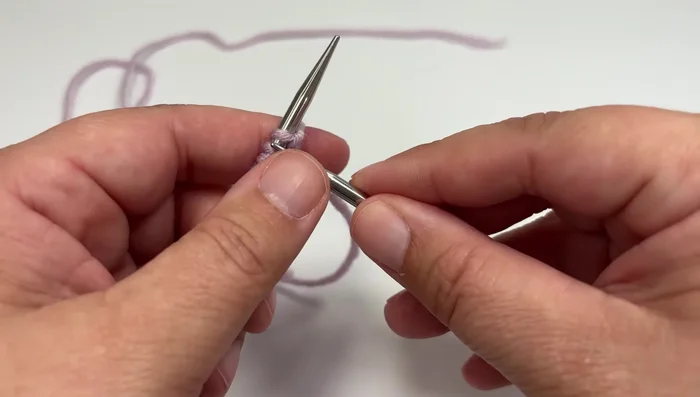
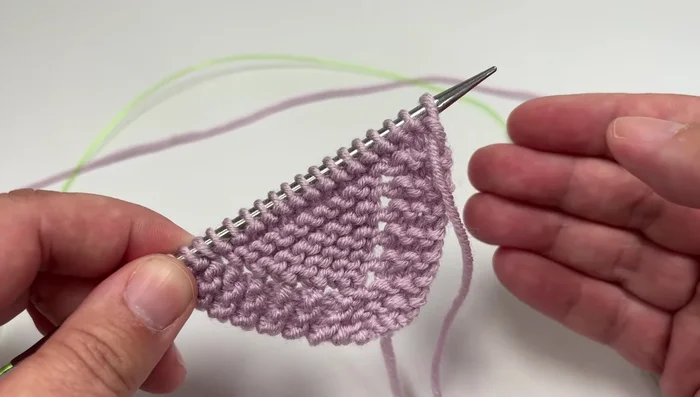
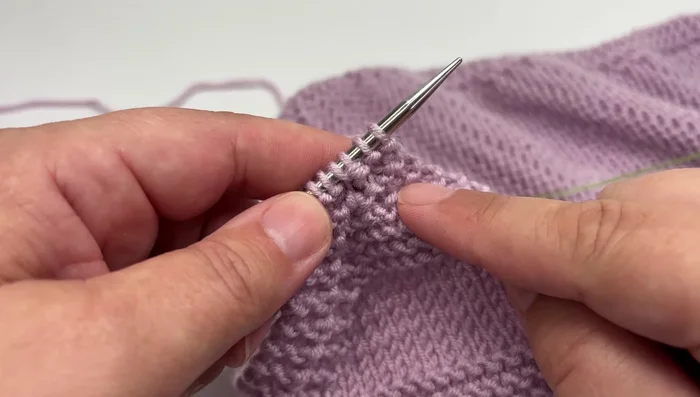
- Cast on four stitches.
- Work four setup rows to create a neat corner (detailed instructions provided in the video).

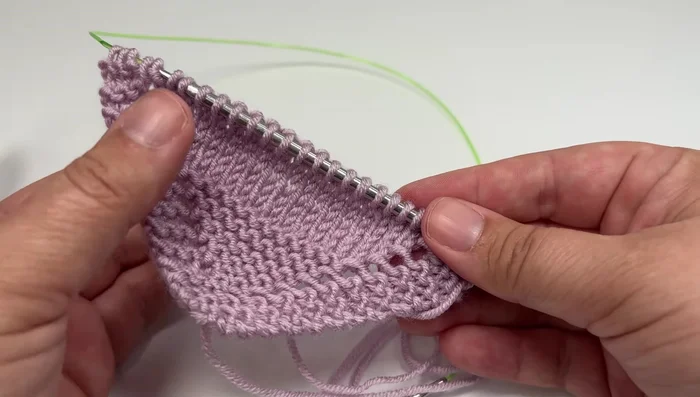
Initial Setup Increase Section (Width)
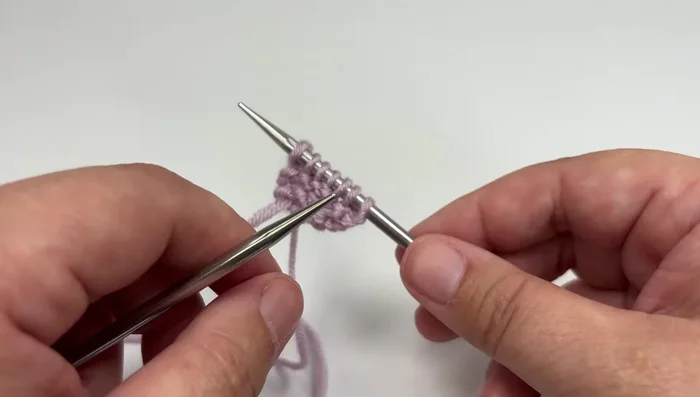
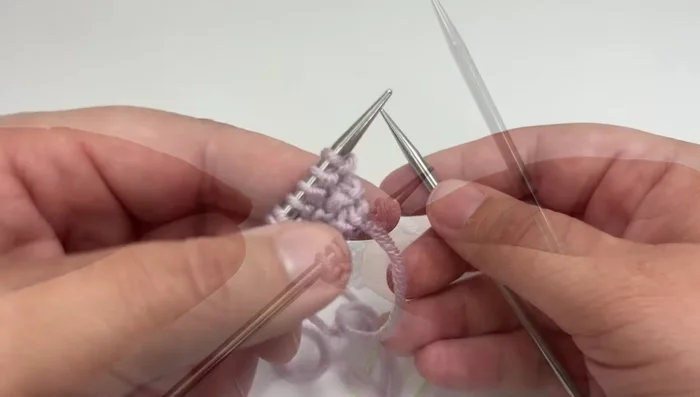
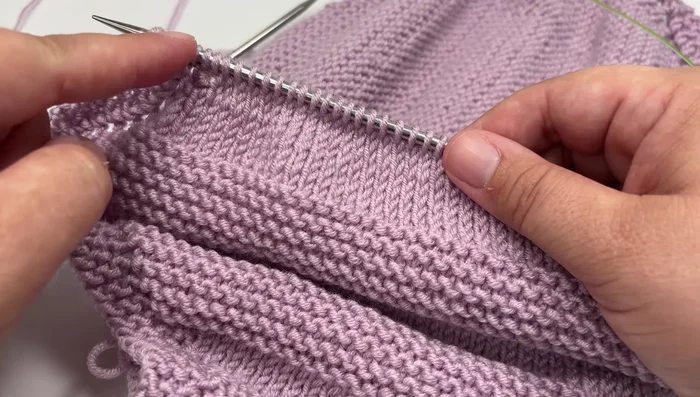
- Work the increase section by alternating Garter increase sections (12 rows each) and Stockinette increase sections (8 rows each).
- Knit three stitches, yarn over, knit to the end of the row. Repeat 12 times.
- Two-row repeat (right side row and wrong side row) repeated four times for a total of eight rows. Details on specific stitch patterns are provided in the video.
- Repeat steps 4 and 5 until the desired width is reached. (For a rectangular blanket, continue to the next step; for a square blanket, proceed to step 9).
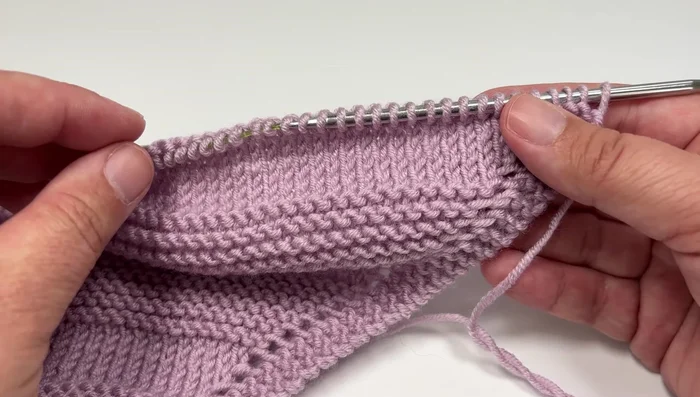
Increase Section (Width) Middle Section (Length - Rectangular Blankets Only)
- Work the middle section (for rectangular blankets only) by alternating Garter middle sections (12 rows each) and Stockinette middle sections (8 rows each). These sections use decreases at one end and increases at the other to maintain length.
- Repeat Garter and Stockinette middle sections until the desired length is reached.
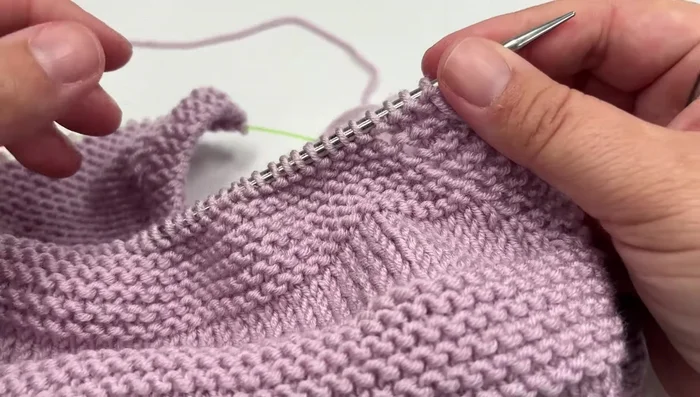
Middle Section (Length - Rectangular Blankets Only) Decrease Section (Width)
- Start the decrease section by working the first six (or seven) rows of a Garter stitch increase section. The precise starting point is crucial for correct stitch count.
- Work the decrease section by alternating Garter decrease sections (12 rows each) and Stockinette decrease sections (8 rows each).
- Continue alternating Garter and Stockinette decrease sections until seven stitches remain.
Decrease Section (Width) Final Corner and Cast Off
- Work three final rows to create a neat corner, then cast off the remaining four stitches using a basic knitted cast off.
Final Corner and Cast Off


Read more: Knitting a Reversible Basketweave Blanket: A Customizable Guide
Tips
- Use a row counter to keep track of rows, especially in the initial Garter stitch sections.
- Pay close attention to the starting points of decreases to ensure the pattern works correctly.
- Use stitch markers to help distinguish right and wrong sides in Stockinette sections.