Crochet enthusiasts, prepare to be captivated by the elegance and versatility of the lacy stitch corner-to-corner (C2C) technique! This unique crochet method allows you to create breathtaking triangular projects, from delicate shawls and stunning blankets to eye-catching wall hangings and even unique garment accents. The beautiful openwork created by this stitch pattern offers a sophisticated air, perfect for showcasing your skills and adding a touch of handmade charm to your creations. Unlike traditional square-based crochet, C2C allows for organic growth and interesting shaping, providing a delightful creative challenge.
This tutorial will guide you through a step-by-step process to master the lacy stitch C2C technique, empowering you to design and execute your own stunning triangular masterpieces. We'll cover everything from the initial foundation chain to finishing techniques, ensuring you're equipped with the knowledge to confidently tackle this rewarding crochet method. So grab your hook, your favorite yarn, and let's begin!
Preparation and Safety Guidelines
- yarn (bamboo yarn is suggested)
- 3.5 mm crochet hook (or hook size appropriate for your yarn)
- Use a hook size appropriate for your yarn. Using too small a hook will make the fabric dense and difficult to work with, while too large a hook will create loose, floppy stitches and may compromise the lacy effect.
- Maintain consistent tension throughout your project. Inconsistent tension will lead to unevenness and distort the triangular shape. Practice your lacy stitch before starting your main project to get a feel for the rhythm and tension.
- Count your stitches carefully, especially at the beginning of each row and when increasing. Errors in stitch counts early on will significantly affect the overall shape and appearance of your finished piece.
Step-by-Step Instructions
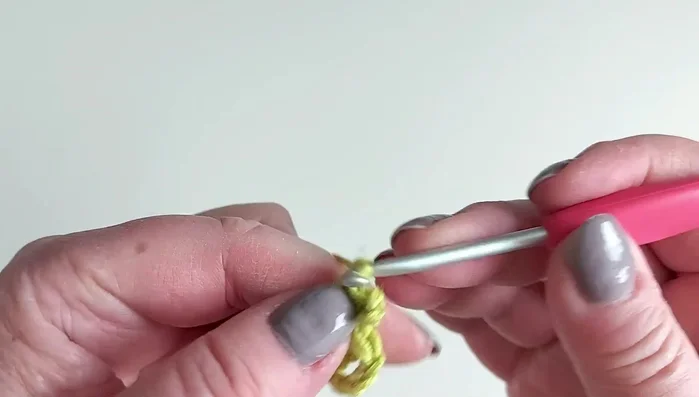
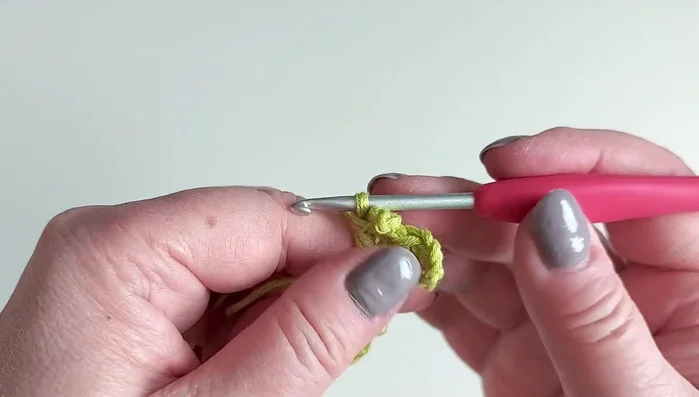
Beginning the First Triangle Point
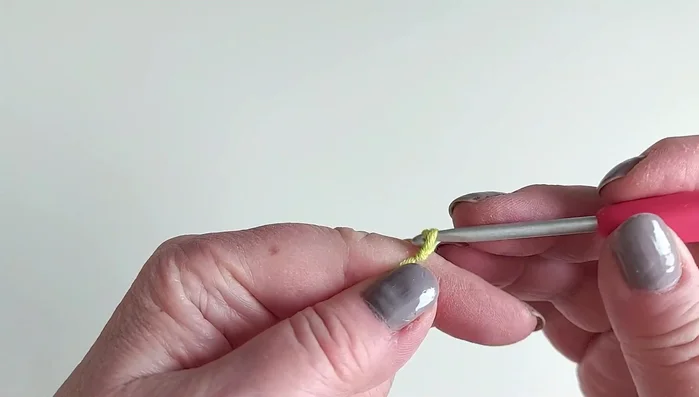
- Make a slip knot and chain 8.
- Double crochet (dc) in the third chain from the hook.
- Dc in the next chain.
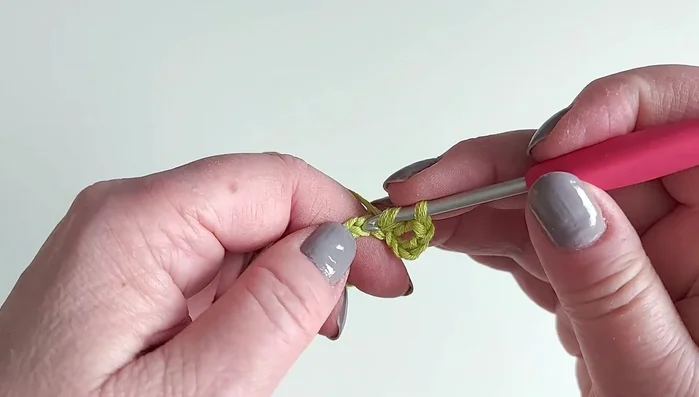
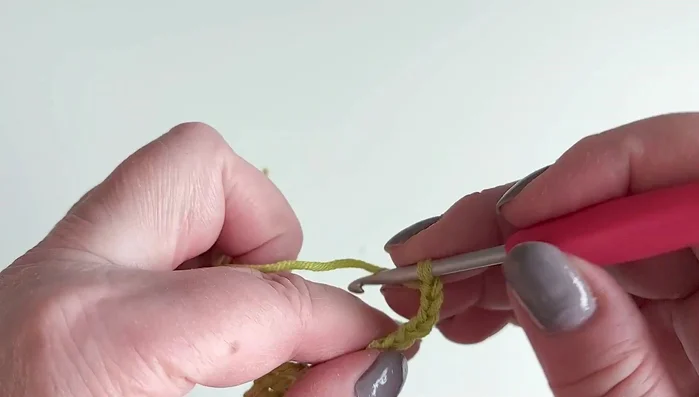
- chain 3, insert hook into the first chain, yarn over and pull through.

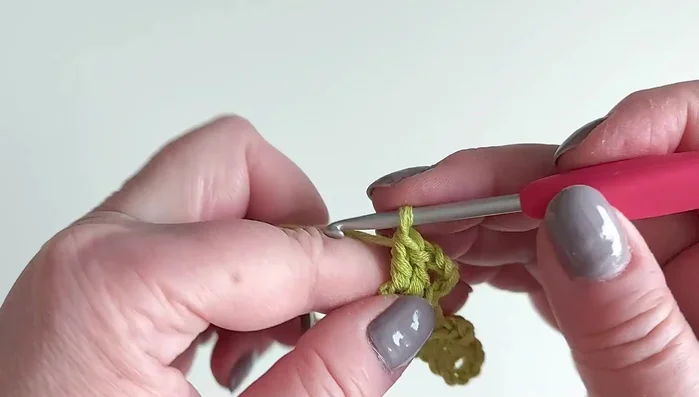
Beginning the First Triangle Point - Dc in the first chain of the pico.
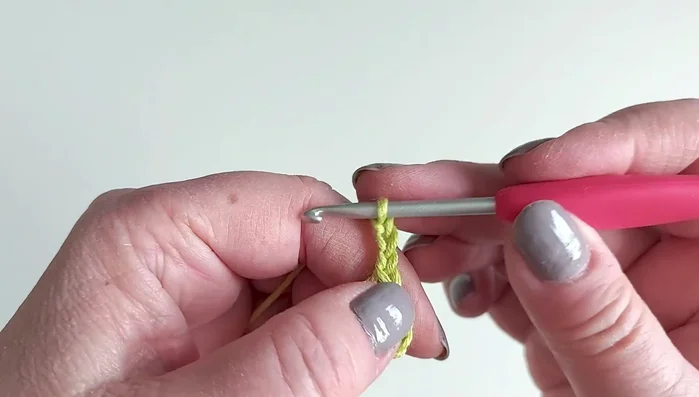
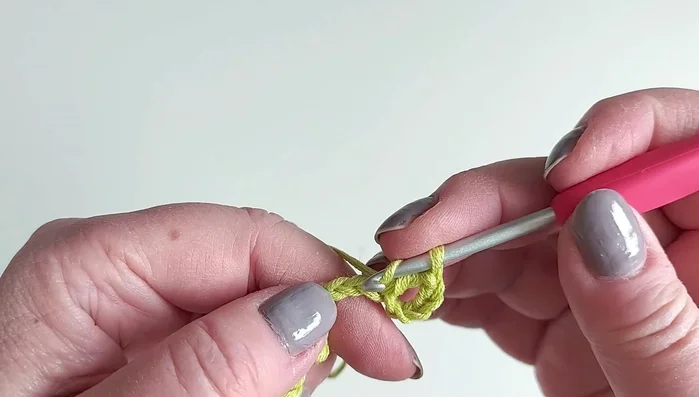
Beginning the First Triangle Point First Row Increase
- Chain 10.
- Dc in the sixth chain from the hook.
- Dc in the next chain.
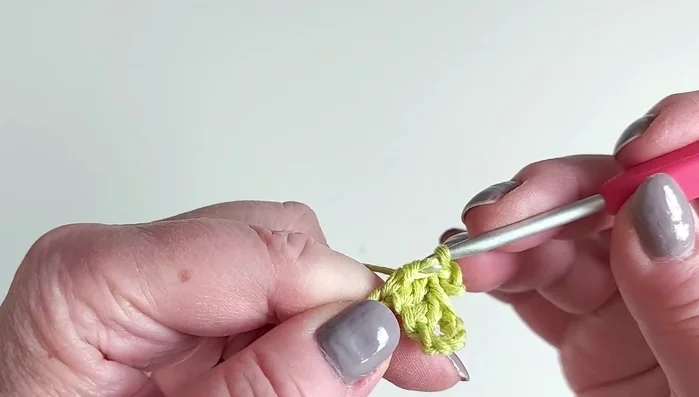
- Make a pico (chain 3, slip stitch to the first chain).
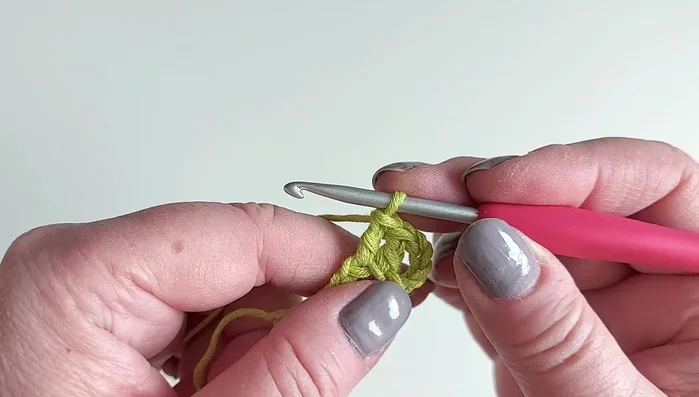
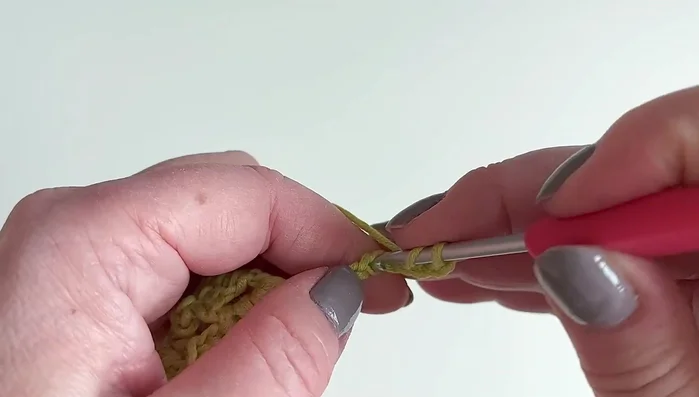
First Row Increase - Repeat steps 7-9.
- Chain 5.
- Work three double crochets into the chain loop.
First Row Increase Subsequent Rows
- Repeat steps 6-12 for subsequent rows, increasing by one group of three double crochets with a pico in the middle for each subsequent row.
Subsequent Rows

Read more: Easy Color Block Crochet Blanket Tutorial for Beginners
Tips
- Use a hook size appropriate for your yarn.
- You can adjust the speed of the video for easier following.
- Always chain 10 at the beginning of each row.
- The triangle grows automatically by adding one group of three double crochets with a pico in the middle on each new row.