Are you dreaming of crocheting a beautiful, cozy blanket for a little one but intimidated by complex patterns? Look no further! This corner-to-corner (C2C) crochet baby blanket tutorial is designed specifically for beginners, offering a quick and easy way to create a stunning handmade gift. The C2C method builds the blanket from one corner diagonally outwards, creating a unique textured fabric that’s both visually appealing and surprisingly simple to master. Forget frustrating instructions and complicated stitches – this project emphasizes straightforward techniques perfect for building confidence and enjoying the creative process.
This tutorial will guide you step-by-step through the entire process, from choosing your yarn and hook to finishing off your perfectly sized blanket. We’ll cover essential C2C techniques, provide helpful tips for maintaining consistent tension, and even offer suggestions for customizing your blanket's size and color. Ready to get started on your adorable, handcrafted baby blanket? Let’s dive into the step-by-step instructions!
Preparation and Safety Guidelines
- 6mm (J) crochet hook
- Yarn (e.g., Bernat Pipsqueak Stripes)
- Scissors
- Tapestry needle
- Tape measure
- Always use yarn appropriate for babies – look for certifications like Oeko-Tex Standard 100 to ensure it's free from harmful substances.
- Securely fasten off all ends of yarn to prevent loose threads that a baby could pull and potentially choke on. Weave in ends thoroughly.
- Avoid using small or easily detachable embellishments that a baby could pull off and put in their mouth. Keep decorations simple and securely attached if using any.
Step-by-Step Instructions
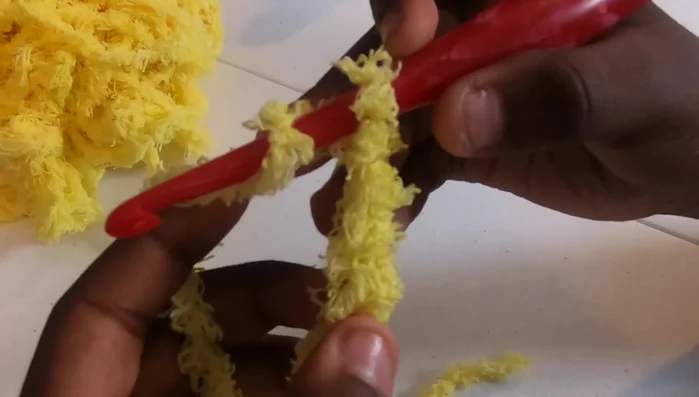
Starting the First Block
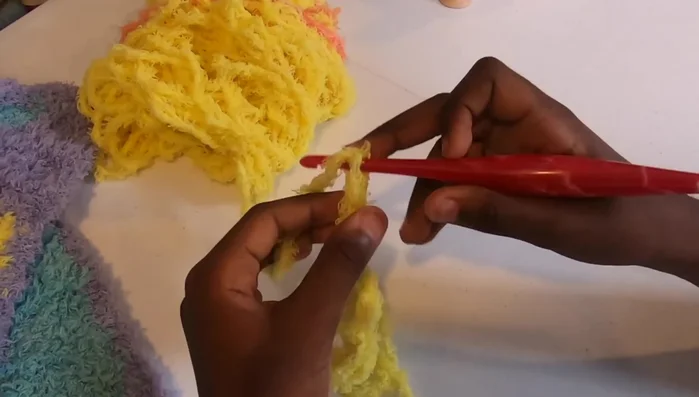
- Create a slip knot and place it on your crochet hook. (Learn how to make a slip knot)
- Chain 6 stitches. This forms the foundation chain for your first block.
- Double crochet (dc) in the 4th chain from the hook (the loop on the hook doesn't count). Then, dc in the next chain space.

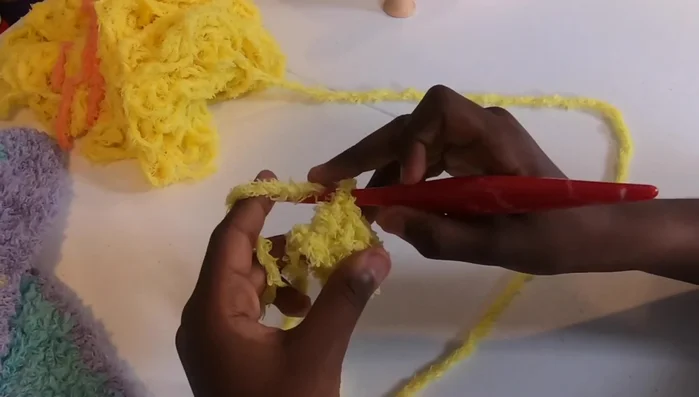
Starting the First Block Increasing Blocks
- Turn your work. Chain 6, then dc in the 4th chain from the hook and the next chain space to create 2 blocks in this row. Increase.
- Insert your hook into the chain-3 gap, yarn over, pull through a loop, then pull the first loop through the second.
- Chain 3, then work 3 dc in the chain-3 space. This increases the number of blocks for the next row.
- Repeat step 6, increasing the number of blocks in each row until your blanket reaches your desired width (approximately 37 inches in the video).
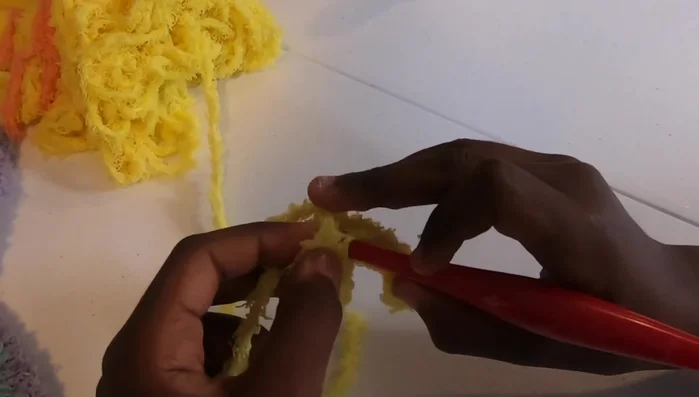
Increasing Blocks Decreasing Blocks
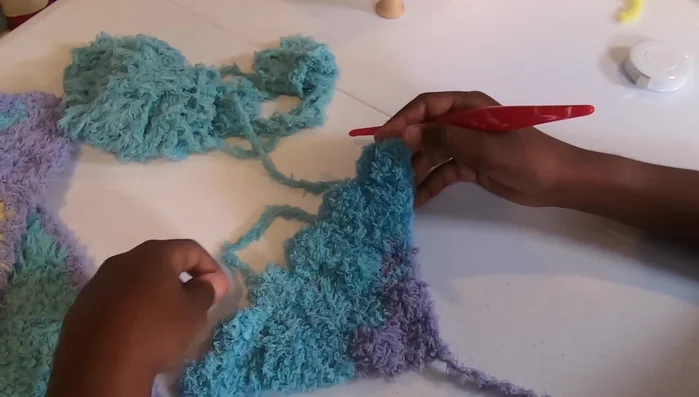
- Turn your work, sl st into the first dc, then continue sl st across the row, omitting a block. Chain 3, then work 3 dc in the chain-3 space, decreasing the blocks.
- Repeat the decreasing process until you reach the final corner and the other side of the triangle meets the first, forming a square.
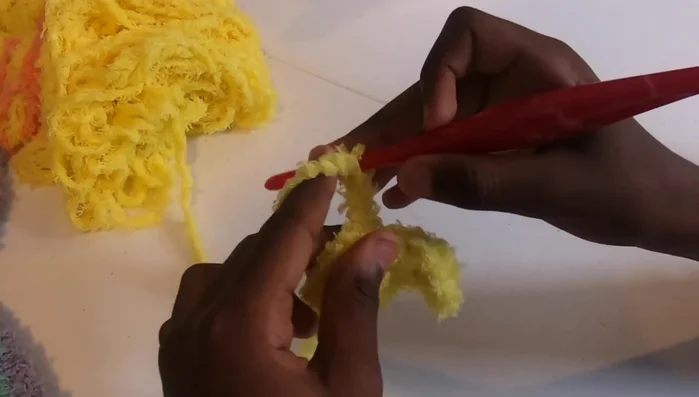
Decreasing Blocks Adding a Single Crochet Border
- Create a slip knot, join to the first gap, chain 1, work 3 single crochets, then move to the next gap, working 2 single crochets in gaps along the edge.
Adding a Single Crochet Border
Read more: Easy Color Block Crochet Blanket Tutorial for Beginners
Tips
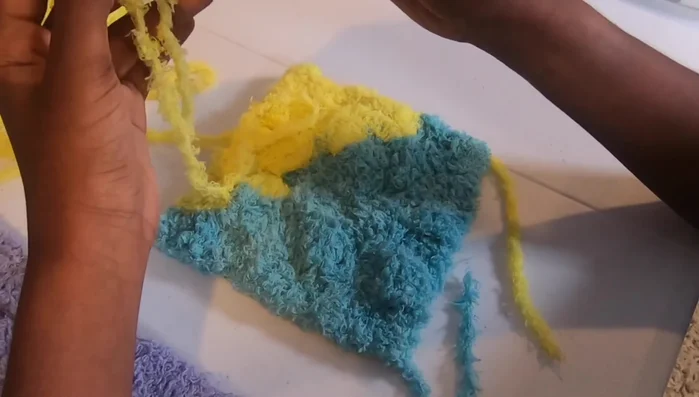
- Use self-striping yarn like Bernat Pipsqueak Stripes for beautiful color changes. The plush texture is perfect for baby blankets.
- Corner-to-corner crochet creates a seamless blanket with no holes, making it safe for babies.
- The corner-to-corner method is quicker than traditional back-and-forth rows.