Tired of fiddling with clasps, struggling to fasten necklaces, or experiencing the frustration of a broken clasp ruining your favorite piece? Imagine a necklace so elegantly crafted, so seamlessly designed, that it requires no clasp whatsoever! This is the magic of the continuous knotted pearl necklace – a timeless and sophisticated piece of jewelry that achieves its secure closure through intricate knotting techniques. The beauty lies not just in its effortless elegance but also in its surprising durability and the captivating visual effect of the perfectly placed pearls. This style allows the pearls to lie beautifully against the skin, creating a luxurious and comfortable feel.
Forget everything you think you know about pearl necklace construction. This article will guide you through a detailed, step-by-step process for creating your own continuous knotted pearl necklace, eliminating the need for a clasp entirely and empowering you to craft a truly unique and stunning piece. Prepare to be amazed by how simple yet effective this technique is, allowing you to transform simple pearls into a wearable work of art.
Preparation and Safety Guidelines
- Scissors
- Tweezers
- Tape
- Pearls (at least 26-28 inches total length)
- Griffin silk size 4 (or similar thin silk cord with needle)
- GS Hypo Cement (optional)
- Use strong, high-quality thread specifically designed for jewelry making. Weak thread can break, resulting in pearl loss.
- Knot each pearl individually. This prevents the entire necklace from unraveling if one thread breaks. Skipping knots significantly increases the risk of losing pearls.
- Handle the pearls gently to avoid scratching or damaging their surfaces. Avoid pulling or tugging on the thread during the knotting process.
Step-by-Step Instructions
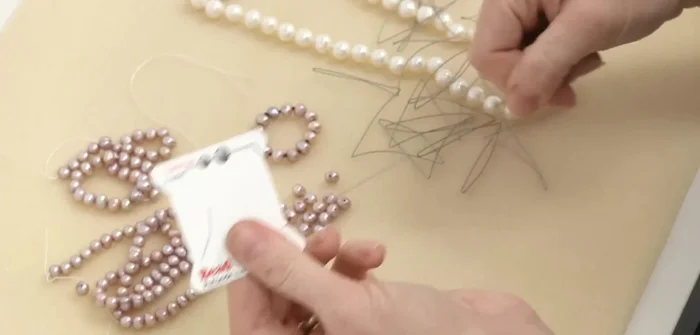
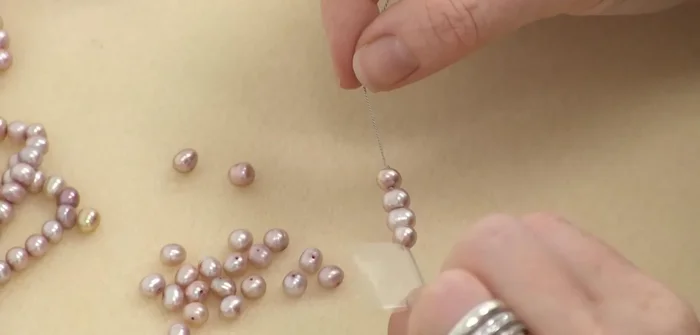
Prepare Materials
- Remove from card, straighten the needle, and pre-stretch the cord.
- Secure a few inches of the silk end with tape to prevent it from slipping.

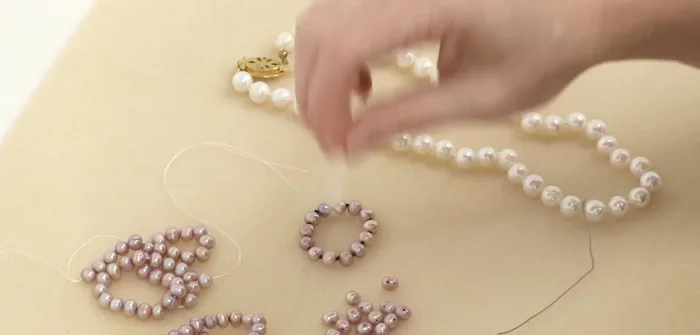
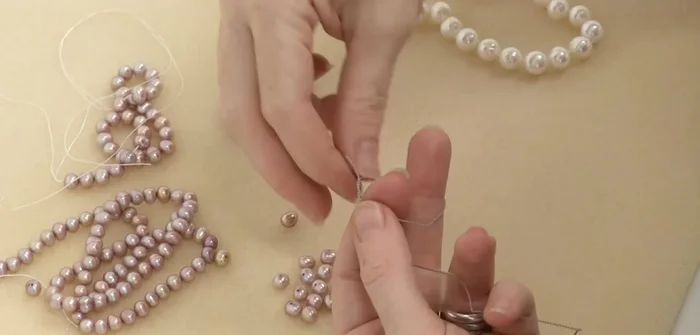
Prepare Materials Prepare the First Bead
- Choose a bead with a large enough hole to pass the silk through twice. This is crucial for the final knotting step.
- Thread the needle through the chosen bead and pass it through a second time to ensure you can pass through twice. Slide it down to the tape.
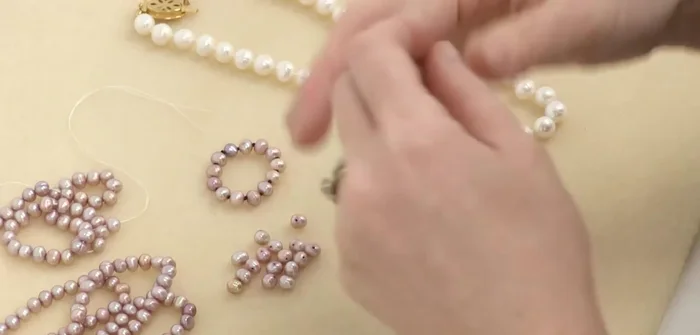
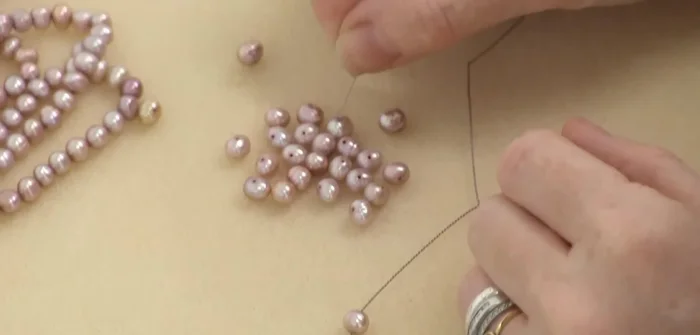
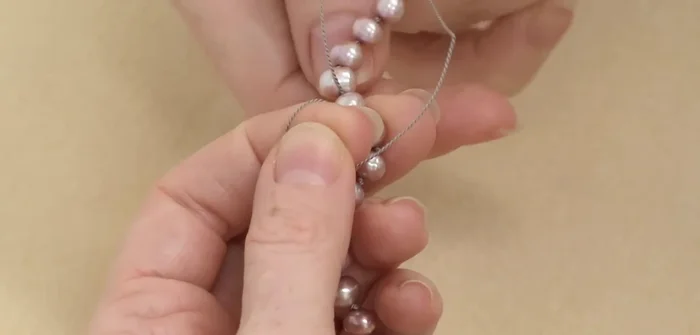
Prepare the First Bead String and Knot the Beads
- String the remaining beads one by one. Create a simple overhand knot after each bead except for the first one.
- Use tweezers to slide each knot down snug against the bead.
- Repeat steps 5 and 6 until all pearls are strung and knotted.
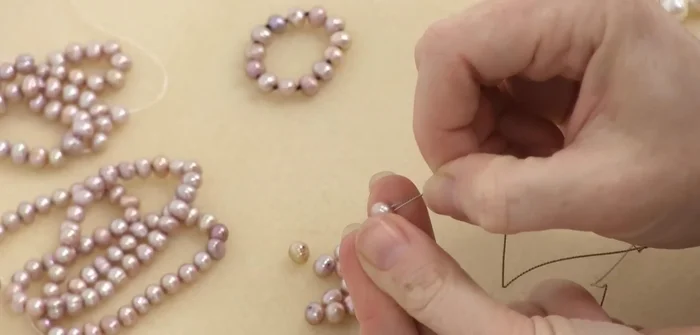
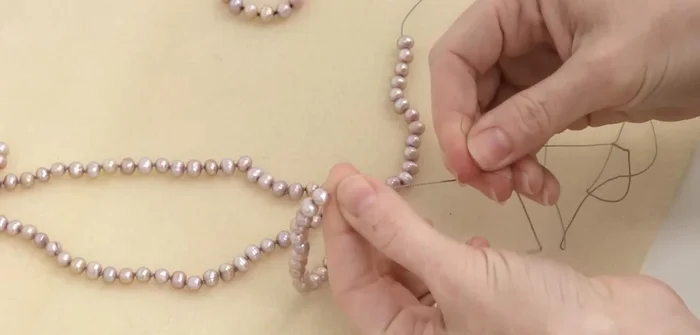
String and Knot the Beads Close the Necklace
- Remove the tape. Thread the needle back through the first bead a second time.
- Cross the two silk ends and make a knot between the last three beads (including the first bead).
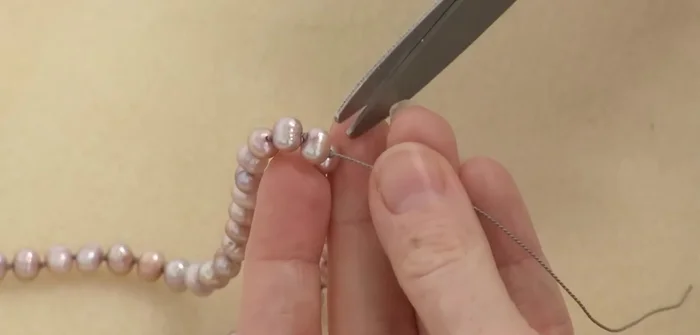
Close the Necklace Finish and Secure
- Trim the excess silk and apply a small amount of GS hypo cement to the knots to prevent unraveling.
Finish and Secure
Read more: DIY Tiered Tassel Earrings: A Quick & Easy Jewelry Tutorial
Tips
- Ensure your silk is thin enough to pass through the bead twice for the final knot.
- Use a decorative bead for the first bead if your pearls have small holes to make it easier to pass the thread through twice.
- If you are making a necklace without a clasp, make sure the length is sufficient to slip over your head (at least 26-28 inches).