Transform your space with a burst of vibrant color and playful texture using this easy confetti wall hanging tutorial! Forget expensive, store-bought decor – this DIY project is surprisingly simple and allows for complete customization to perfectly match your personal style and existing home aesthetic. Imagine a stunning, handmade piece that adds a touch of whimsy and personality to any room, from a child's bedroom to a sophisticated living area. The possibilities are endless, and the impact is undeniably impressive.
This confetti wall hanging requires minimal materials and even less crafting experience, making it the perfect project for beginners and seasoned DIY enthusiasts alike. Get ready to unleash your creativity and add a unique statement piece to your home with this fun and rewarding project. Let’s dive into the step-by-step process to create your own breathtaking confetti wall hanging!
Preparation and Safety Guidelines
- Bamboo skewer or dowel rod
- Hook
- Yarn
- Always supervise young children around confetti and the finished wall hanging to prevent accidental ingestion or choking hazards.
- Use a strong adhesive suitable for your wall type to ensure the wall hanging stays securely in place and doesn't fall, causing damage or injury.
- Avoid using excessively heavy amounts of confetti, as this could strain the adhesive and cause the hanging to sag or detach.
Step-by-Step Instructions
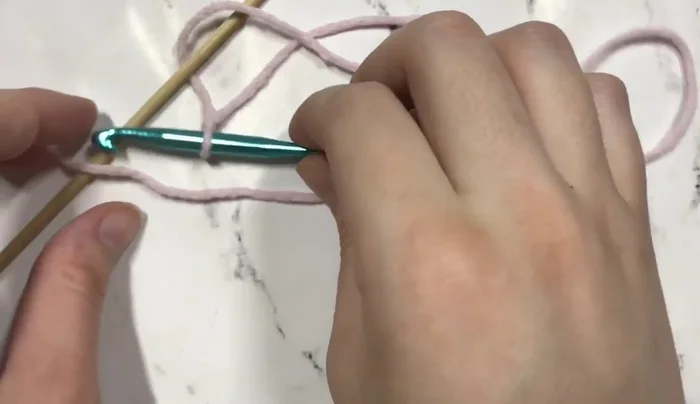
Prepare the Foundation
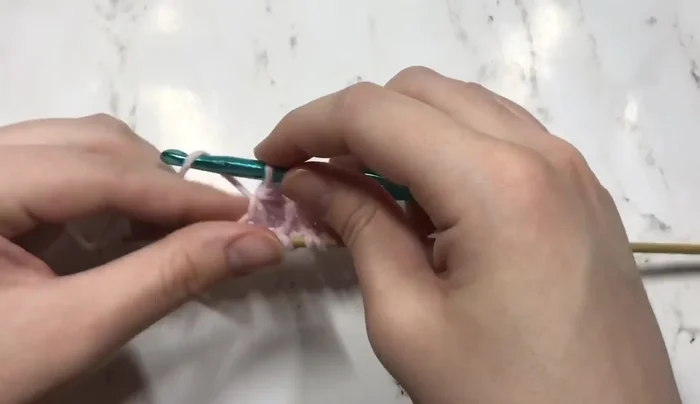
- Attach yarn to the rod using a slipknot.

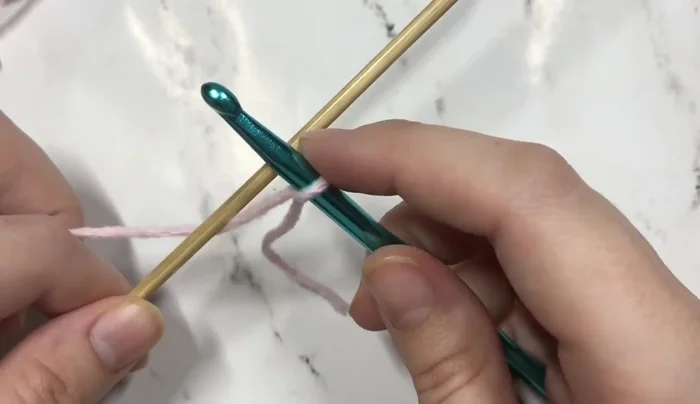
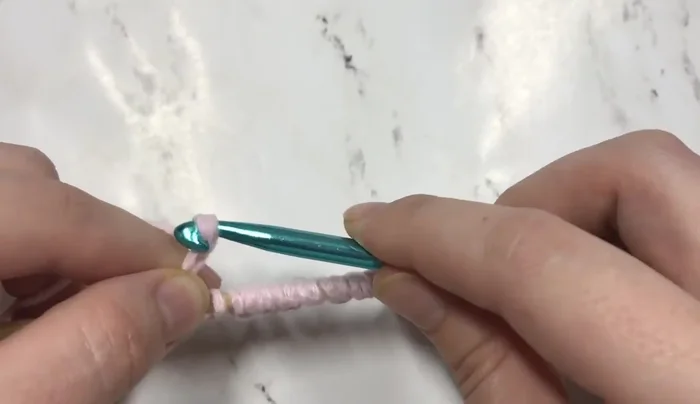
Prepare the Foundation Create the Main Body
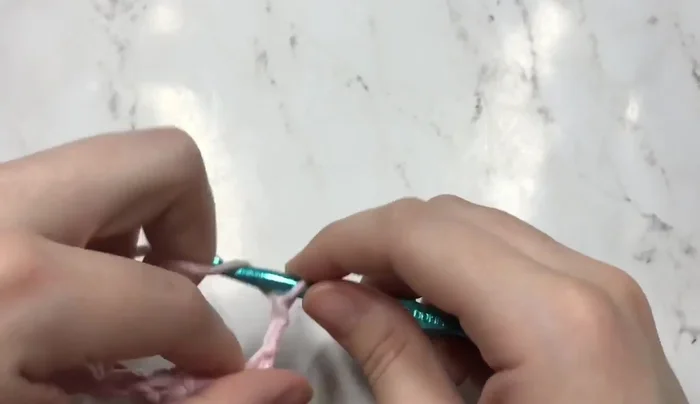
- Work in multiples of two. Using single crochet, create stitches around the rod.
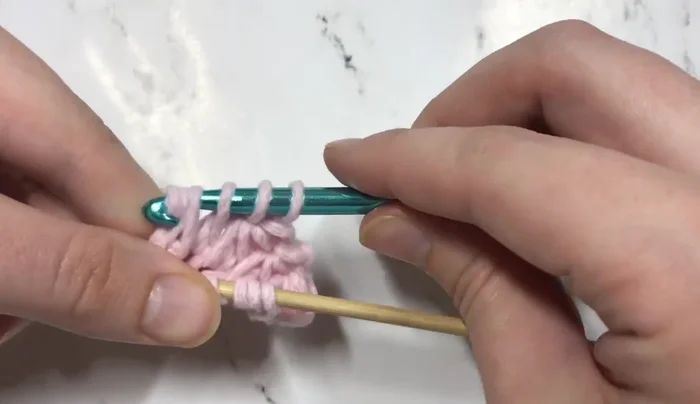
- Chain up 3, turn your work, and create star stitches across the row.
- Repeat steps 2 and 3 until you reach your desired length.
Create the Main Body Finish the Top
- Chain one, and finish the last row with a double crochet in the final stitch.
Finish the Top Add a Bottom Rod (Optional)
- Add another rod at the bottom and single crochet across it.
Add a Bottom Rod (Optional) Add Fringe
- Add fringe to the bottom of the wall hanging by threading yarn pieces through the spaces between the double crochets.
Add Fringe
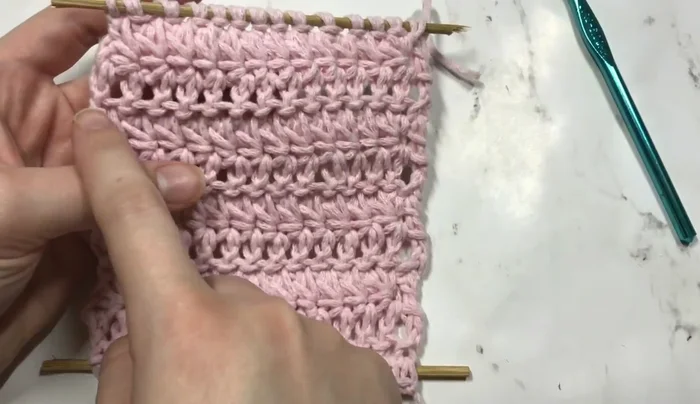
Read more: Easy Color Block Crochet Blanket Tutorial for Beginners
Tips
- Double-check your stitch count to ensure accuracy.
- The yarn might twist as you work; be prepared for this.
- Holding the rod might feel unusual at first; adjust your grip as needed for comfort.
- For the fringe, use a length that allows the star stitches to be visible.
- Don't worry about perfectly even fringe lengths; you can trim them later.