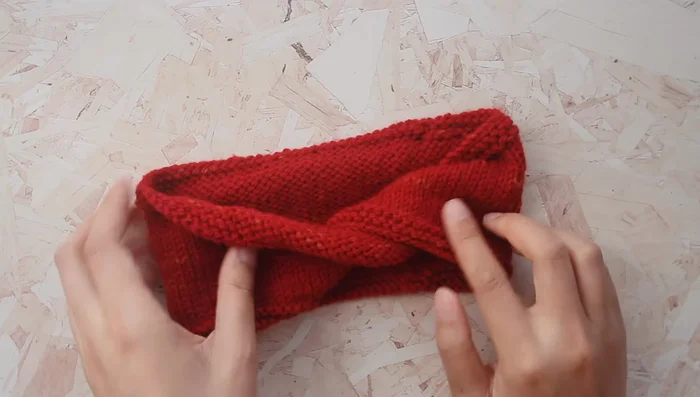
Knitting in the round is a magical process that transforms flat knitting into seamless tubes and cylinders, perfect for everything from hats and socks to sweaters and toys. Unlike traditional knitting back and forth on straight needles, circular needles allow you to knit continuously, creating a beautiful, uninterrupted fabric without the need for seaming. This technique can seem daunting at first, but with a little guidance, it’s surprisingly easy to master. The satisfying rhythm and consistent stitch work are rewards in themselves.
This beginner's guide will demystify the art of seamless knitting in the round using circular needles. We'll cover everything you need to know, from choosing the right needles and yarn to understanding the basics of casting on and working your first round. Get ready to ditch those pesky seams and discover the joy of effortless, circular knitting; let’s dive into the step-by-step instructions below!
Preparation and Safety Guidelines
- Circular needles
- Yarn
- Stitch markers
- Always check your needle size and yarn weight match the pattern instructions. Using the wrong combination can lead to uneven tension and a poorly fitting garment.
- Avoid twisting your yarn as you knit. Twisted yarn creates uneven stitches and can affect the overall look and drape of your project. Keep your yarn flowing smoothly from the ball or cake.
- When joining in the round, make sure your first round is closed and you don't have any extra stitches or gaps. A carefully joined round prevents errors that can be difficult to correct later.
Step-by-Step Instructions
Casting On
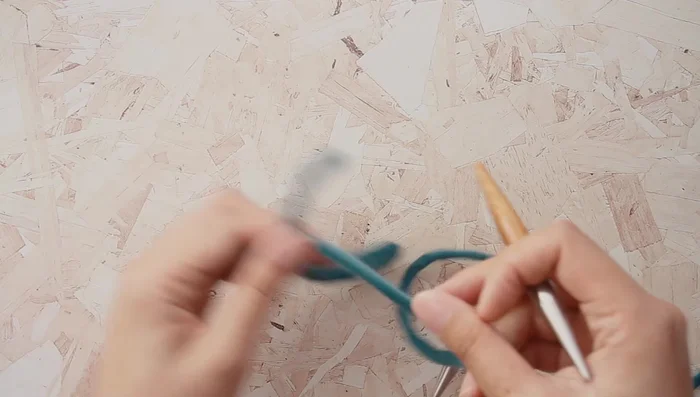
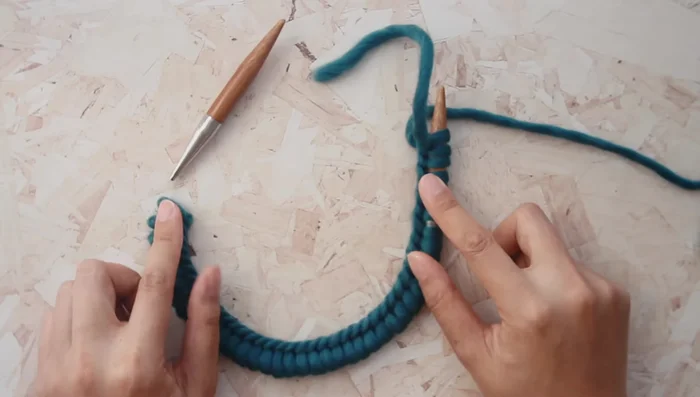
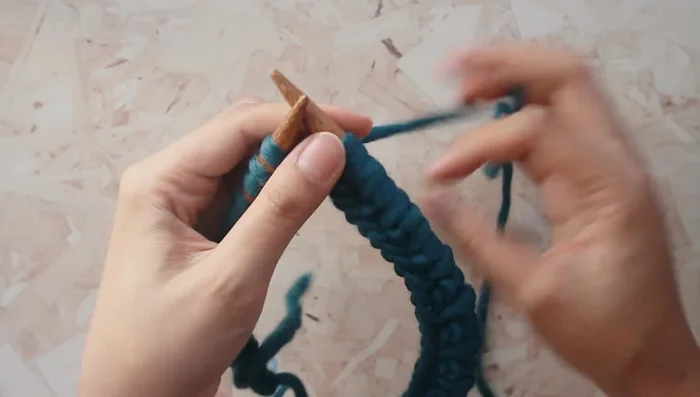
- Cast on stitches onto your circular needle. Use any cast-on method you prefer.
- Ensure your cast-on stitches are not twisted. The raised ridge should face the same direction (usually inward). Untwist if necessary.
- Stretch your cast-on stitches to nearly reach the needle tips.

Casting On Joining in the Round
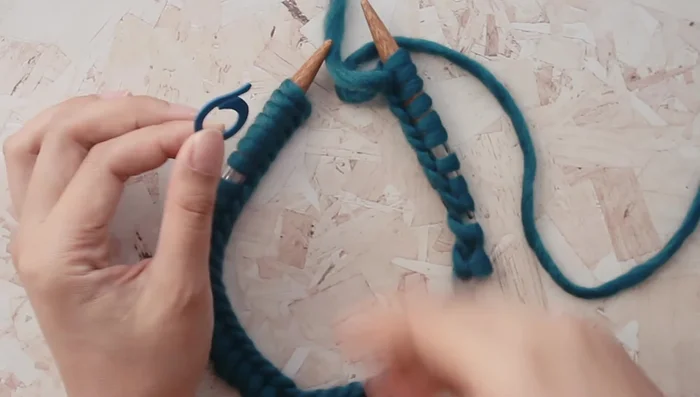
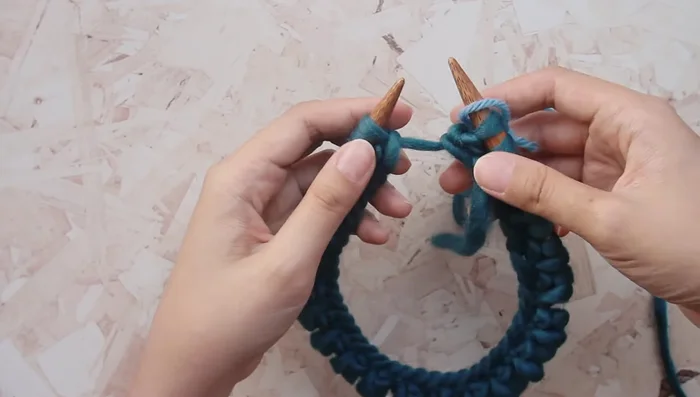
- Knit into the first stitch on your left needle.
- Place a stitch marker to indicate the beginning/end of the round.
Joining in the Round Knitting the First Round
- Continue knitting around, pushing stitches up onto the left needle as needed, until you reach the stitch marker.
- Remove the stitch marker from the left needle and place it on the right needle. Continue knitting.
Knitting the First Round
Read more: Knitting a Reversible Basketweave Blanket: A Customizable Guide
Tips
- If your working yarn is coming from the left needle, simply turn your needle over to correct it.
- Remember that you are always working on the right side when knitting in the round. Stitch patterns will differ from flat knitting instructions.
- For a super seamless join, cast on one extra stitch. After joining, use a knit-over-purl technique to combine the last two stitches, then transfer the extra stitch back to the left needle.
- Use circular needles that are smaller than your finished project to avoid stretching and maintain gauge. If your knitting is straining, choose smaller needles or switch to double-pointed needles.