Embrace the cozy charm of handmade with this easy-to-follow guide on creating your own chunky knit sweater using crochet! Forget complicated knitting needles and intricate patterns; this project is perfect for beginners who are eager to experience the joy of crafting a warm and stylish garment. The satisfyingly quick process of working with super bulky yarn makes this sweater a surprisingly fast project, even for those new to crochet. You'll be amazed at how quickly you can transform simple stitches into a statement piece you'll love to wear.
This DIY chunky knit sweater utilizes a straightforward crochet pattern designed for absolute beginners, requiring minimal prior experience. We'll guide you through each step with clear instructions and helpful images, ensuring you build confidence and create a beautiful, unique sweater. Ready to get started on your cozy creation? Let's dive into the step-by-step instructions below.
Preparation and Safety Guidelines
- Yarn
- Crochet hook
- Measuring tape
- Stitch markers
- Use sharp scissors to avoid accidental cuts. Always keep your fingers away from the hook and scissors while working.
- Choose a yarn weight appropriate for your hook size; using the wrong combination can lead to loose or tight stitches, affecting the final look and potentially harming your hook.
- Take breaks to avoid fatigue and eye strain. Working on a large project like a chunky knit sweater can take a while; prioritize your well-being to prevent mistakes and injuries.
Step-by-Step Instructions
Creating the Neckline
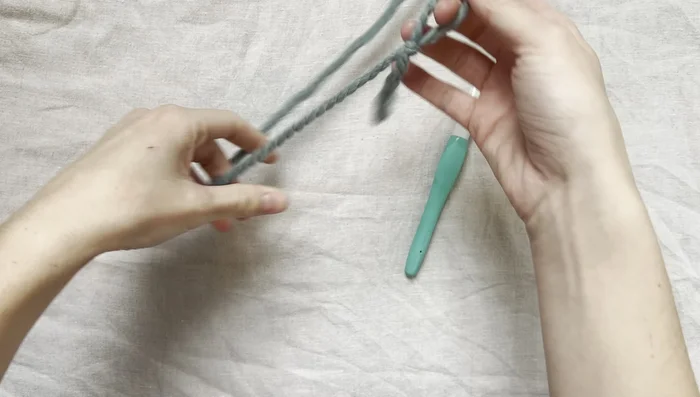
- Create a slip knot and chain the desired length for the neckline (adjust for desired size).
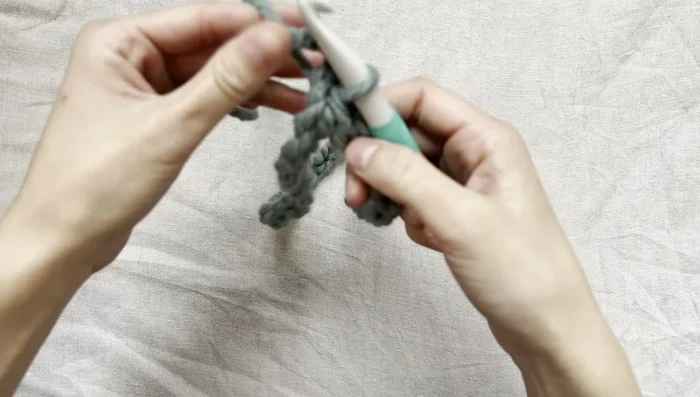
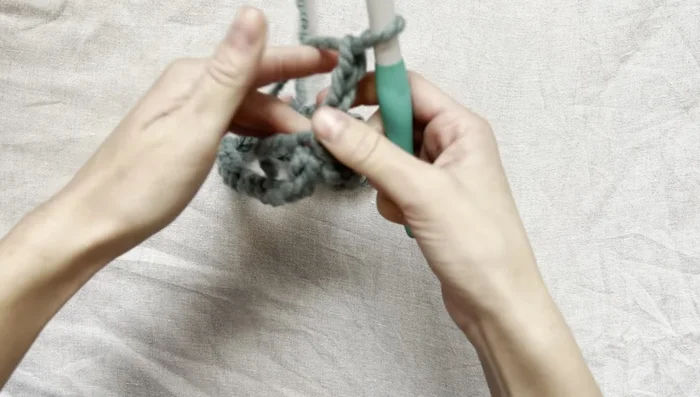
- Slip stitch to join the chain, forming a loop.

Creating the Neckline Working the Top of the Sweater Body
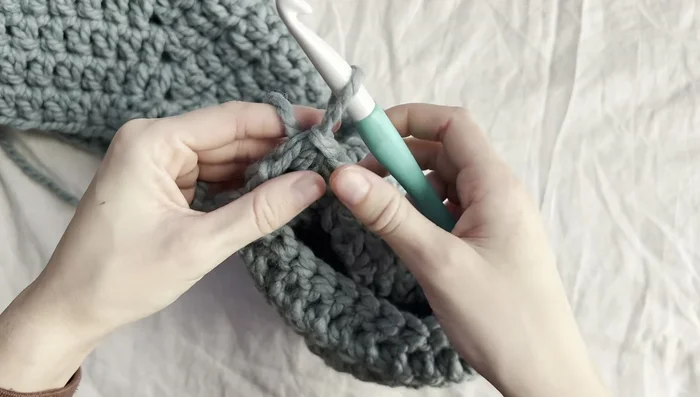
- Chain three (counts as first double crochet), then double crochet in each stitch around the loop.
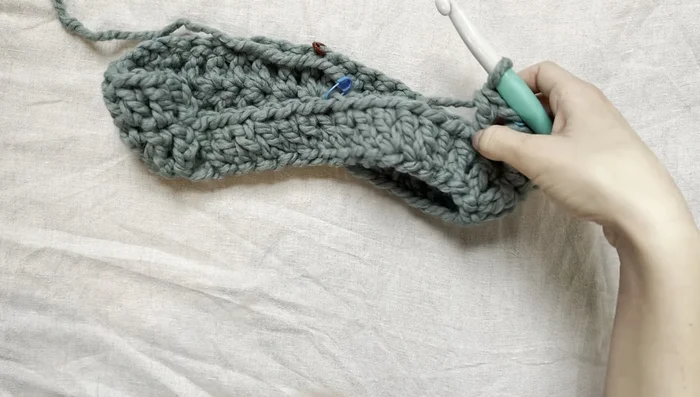
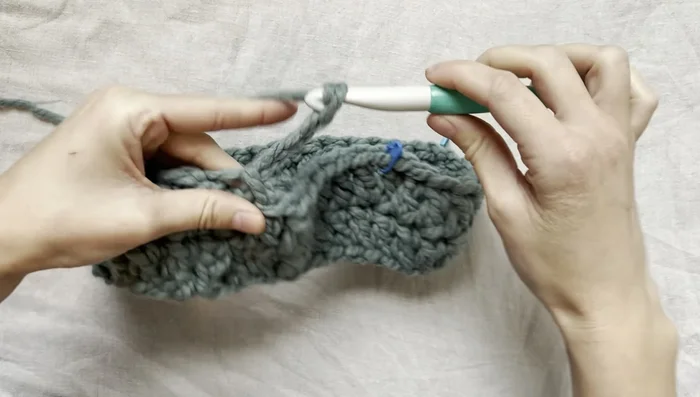
- Measure 2 inches from each corner and place stitch markers. Place markers in the stitches directly across from the initial markers.
- Chain three, then double crochet in each stitch until reaching a stitch marker. Remove the marker, and work (double crochet, chain one, double crochet) in the same space. Replace the marker in the chain-one space. Repeat for all stitch markers.
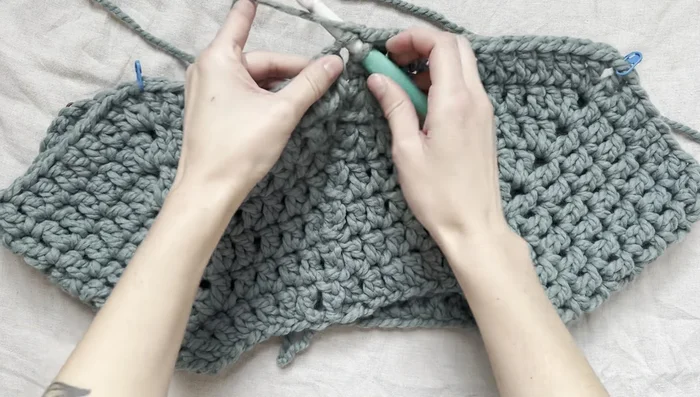
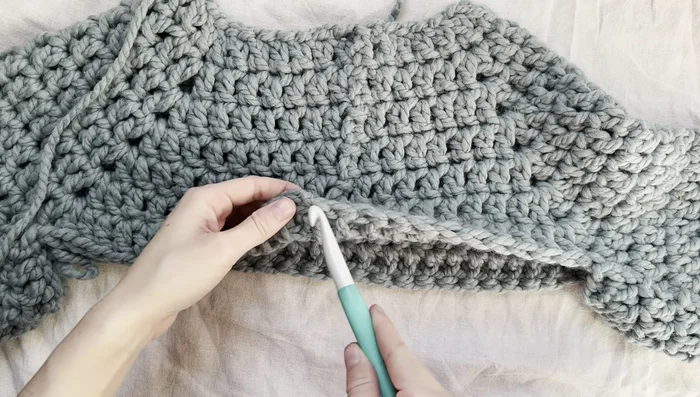
- Continue this pattern (double crochet in each space, (double crochet, chain one, double crochet) in marker spaces) until the desired length for the top of the sweater is reached (approximately to the armpits).
Working the Top of the Sweater Body - Slip stitch to join the round. Chain three, then double crochet in each stitch around, repeating the (double crochet, chain one, double crochet) pattern at the stitch marker spaces.
- Continue this pattern until desired length is reached.
Working the Top of the Sweater Body Finishing the Sweater Body
- Slip stitch, tie off, and weave in ends.
Finishing the Sweater Body Creating the Sleeves
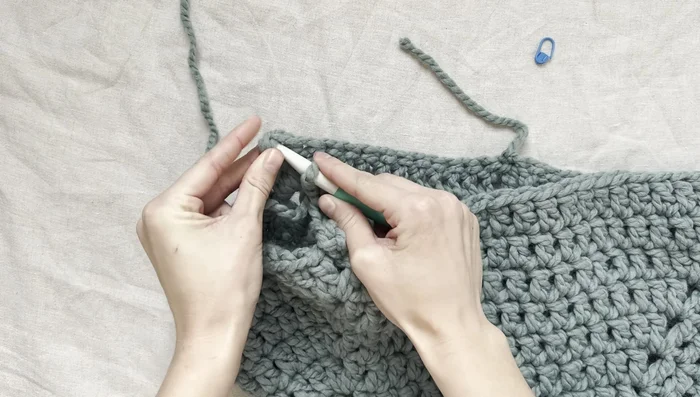
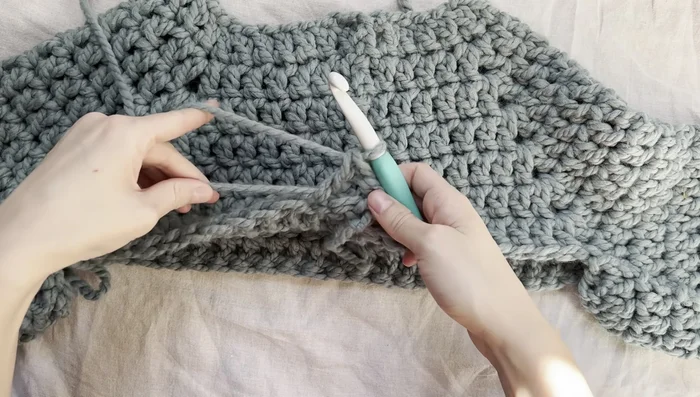
- For the sleeves, remove a stitch marker, insert hook into the chain-one space, make a slip knot, and chain the desired length for the sleeve opening.
- Slip stitch to join the chain. Pull up a loop to avoid losing it and try it on to ensure the size is correct.
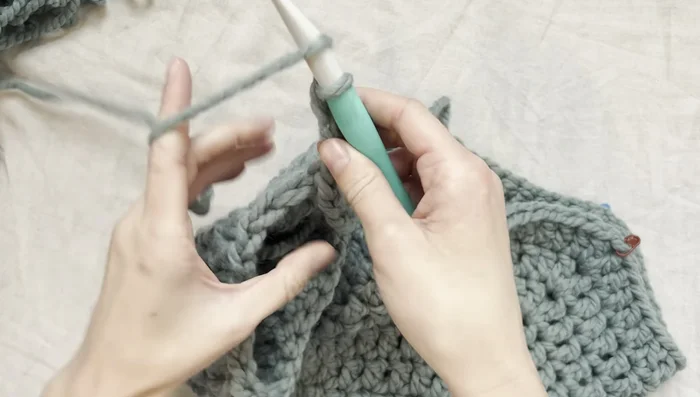
- Chain three, then work a double crochet in each stitch around to create the sleeve length. Repeat until the desired sleeve length is reached (approximately to above the wrist).
- Slip stitch, tie off, and weave in ends. Repeat for the second sleeve.
Creating the Sleeves Creating the Sweater Body (Alternative Method)
- For the body, insert hook into a back stitch, make a slip knot, chain three, and tuck in the tail.
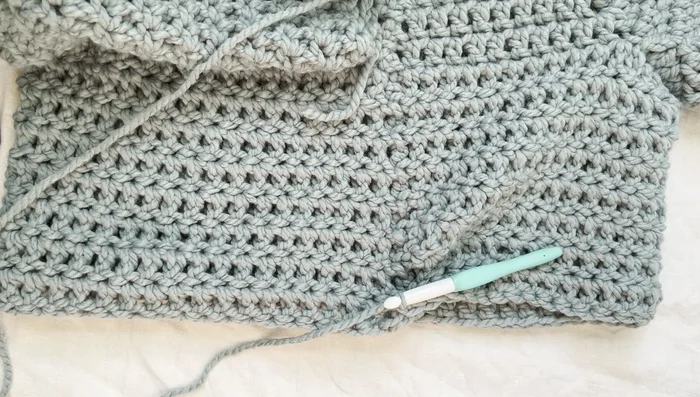
- Work double crochets in each stitch around, continuing until desired sweater length is reached.
- Slip stitch, tie off, and weave in ends. Optionally, add a single crochet border.
Creating the Sweater Body (Alternative Method)


Read more: Easy Color Block Crochet Blanket Tutorial for Beginners
Tips
- Adjust the initial chain length to control neckline size.
- Ensure the neckline is comfortable to wear.
- Adjust the sleeve chain length for desired sleeve size.