Wrap yourself in warmth and style with this super speedy and cozy chunky cardigan! Forget complicated knitting patterns and hours of tedious work; this project is designed for even the most beginner knitters. Using a simple yet stunning vertical stitch pattern, you'll be amazed at how quickly this beautiful garment comes together. Imagine the satisfaction of crafting a luxurious, chunky cardigan in a fraction of the time it usually takes, perfect for snuggling up on chilly evenings or adding a touch of effortless chic to your everyday wardrobe. The unique texture created by the vertical stitches is both visually appealing and wonderfully soft against your skin.
This tutorial will guide you through each step of creating your own super speedy and cozy chunky cardigan, from casting on to binding off. Get ready to experience the joy of knitting with this easy-to-follow, step-by-step process that will have you enjoying your new cardigan in no time!
Preparation and Safety Guidelines
- Size 5 bulky weight yarn (approx. 744 yards)
- 9 mm crochet hook
- Scissors
- Yarn needle
- Always use sharp scissors to cut yarn to prevent fraying and ensure clean edges. Dull scissors can snag the yarn and create messy ends.
- Pay close attention to your stitch count at the end of each row. A dropped or added stitch can easily disrupt the pattern and create unevenness in your finished cardigan.
- Before starting the project, wash and dry your yarn according to the manufacturer's instructions. This pre-washing step prevents shrinkage or color bleeding later on.
Step-by-Step Instructions
Create the Back Panel
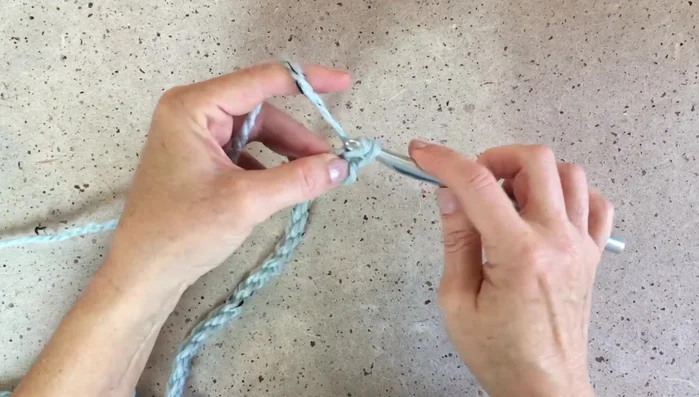
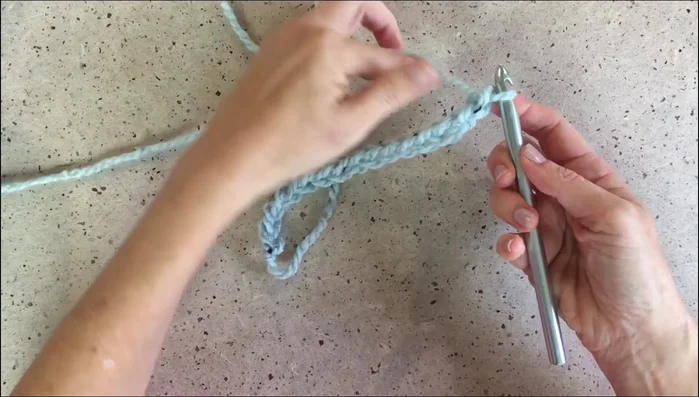
- Chain 53.
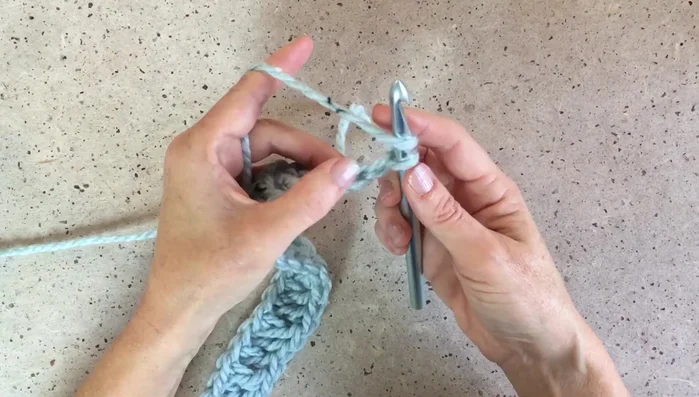
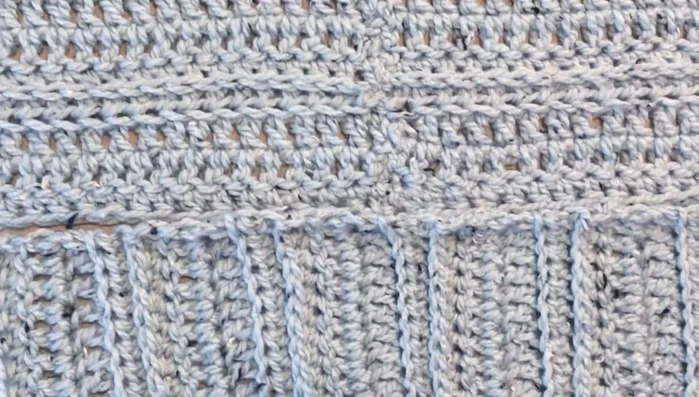
- Chainless double crochet (cdc) across. (cdc is a single crochet followed by another single crochet in the two side loops of the first single crochet.)
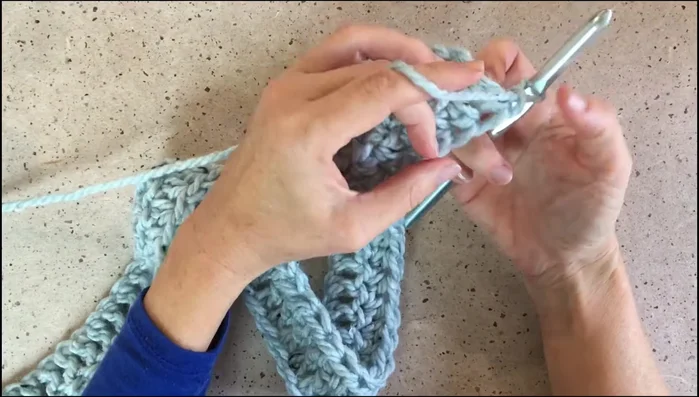
- Chain 1, turn, half double crochet (hdc) across.
- Chain 1, turn, hdc in the front third loop across.

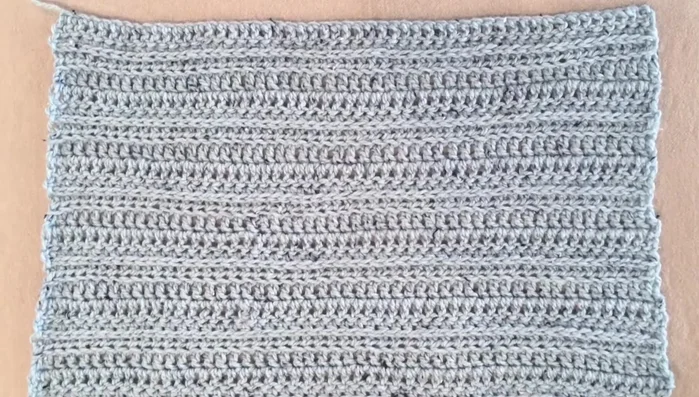
Create the Back Panel - Turn, cdc in the back loop of the first stitch, then double crochet (dc) in the back loop across.
- Repeat rows 1-4 until you reach 22 rows (ending with a row 2).
Create the Back Panel Create the Front Panels
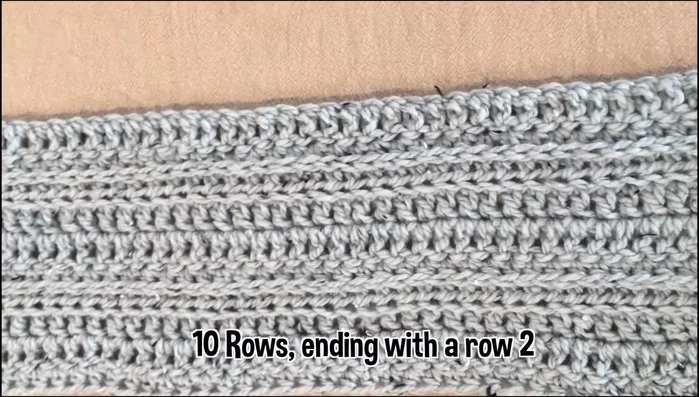
- Chain 35 and repeat steps 2-6 for 10 rows each (adjust if necessary based on back panel width).
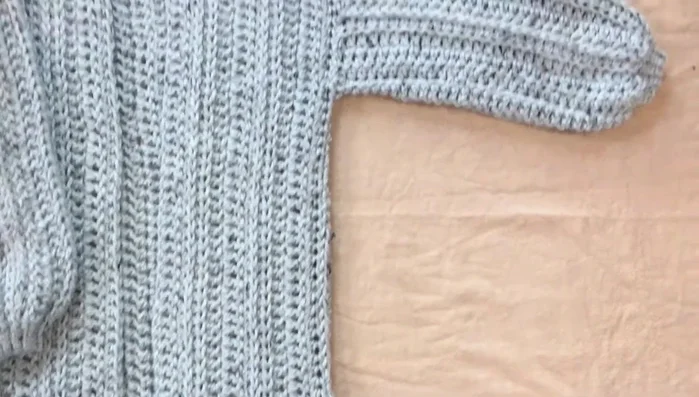
Create the Front Panels Assemble the Cardigan Body
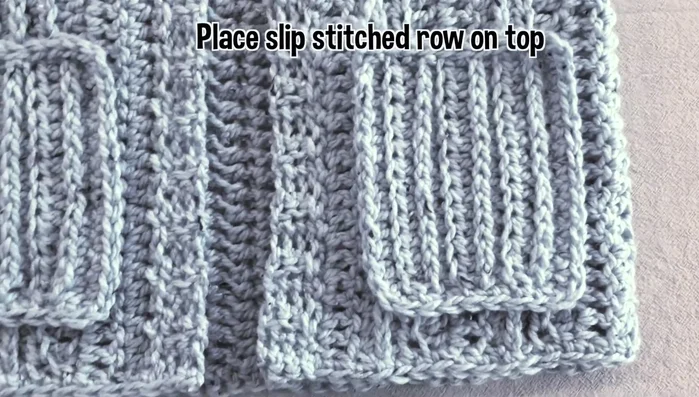
- Sew shoulder seams. Attach sleeves by chaining 35, creating a ribbed cuff using slip stitches, and then following the four-row repeat (rows 2-5) of the body, finishing with 22 rows.
- Sew the sleeve seams to the shoulder seams.
- Sew underarm and side seams.
Assemble the Cardigan Body Finish the Bottom Edge
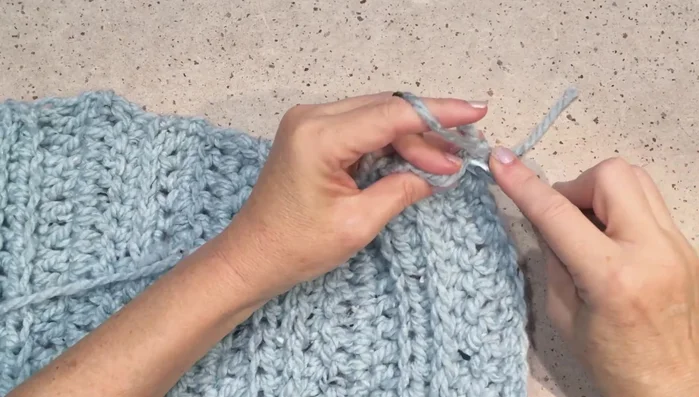
- Single crochet around the bottom edge. Then, create ribbing along the front edges by working single crochets and slip stitches.
Finish the Bottom Edge Create Pockets
- Chain 15, and then work seven rows of half double crochet in the front loop then the back loop, alternating. Single crochet around the bottom and sides; slip stitch around the top.
Create Pockets Attach Pockets
- Attach pockets to the cardigan.
Attach Pockets
Read more: Easy Color Block Crochet Blanket Tutorial for Beginners
Tips
- Keep slip stitches loose for easier stitching later.
- Adjust the number of rows in the back and front panels to customize the size.
- Use a loose tension when creating the chainless double crochets.
- The slip stitch method for the cuffs creates a nice, sturdy cuff.