Celtic knots, with their intricate designs and rich history, have captivated artists and admirers for centuries. Their enduring appeal lies in the mesmerizing patterns, often representing endless cycles and interconnectedness. Translating this timeless symbolism into wearable art offers a unique and rewarding experience, and this guide will show you just how to do it using the beautiful and enduring material of sterling silver. Creating your own Celtic knot wrist chain allows for personalization and the satisfaction of crafting a truly unique piece of jewelry.
This step-by-step guide will walk you through the process of designing, crafting, and finishing a stunning sterling silver Celtic knot wrist chain, from selecting the appropriate gauge of silver wire to the final polishing and securing of the clasp. Get ready to unleash your creativity and learn the techniques needed to transform simple silver wire into a sophisticated and meaningful piece of jewelry.
Preparation and Safety Guidelines
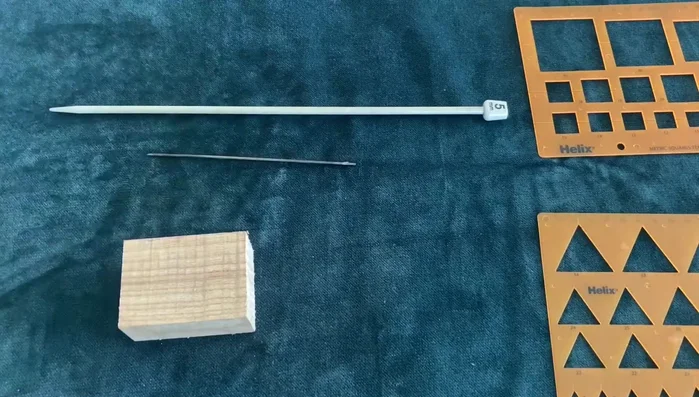
- Hardwood bending jig
- Shape templates
- 5mm aluminum knitting needle
- Sharp point
- Pen
- Copper wire (for practice)
- Sterling silver 1mm round wire
- Side cutters
- Soldering equipment (hard solder paste, medium solder, easy solder paste)
- Soft hammer
- Pliers
- Saw
- 11mm Lobster claw clasp
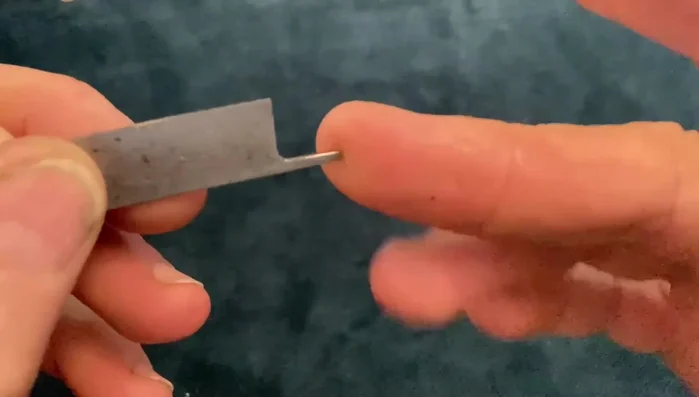
- Steel tool for preventing over-squashing small links (1.3mm thick with 2mm wide peg)
- Always wear safety glasses when working with sterling silver, especially when sawing or filing. Silver particles can easily cause eye irritation.
- Use proper ventilation when soldering or using any chemicals. Soldering fumes can be harmful if inhaled.
- Sterling silver is a relatively soft metal. Avoid excessive force when shaping or bending to prevent breakage or distortion.
Step-by-Step Instructions
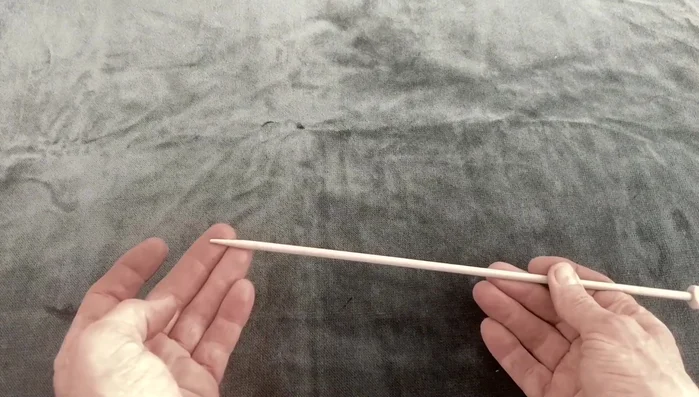
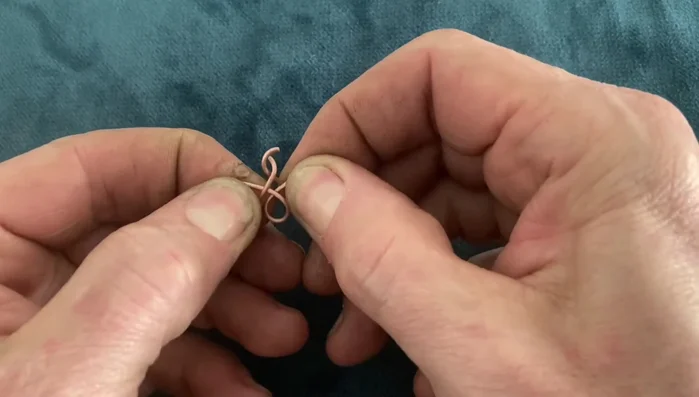
Prepare for Knot Making
- Prepare the bending jig and tools.
- Cut four pegs from the knitting needle, keeping the sharp end for one.
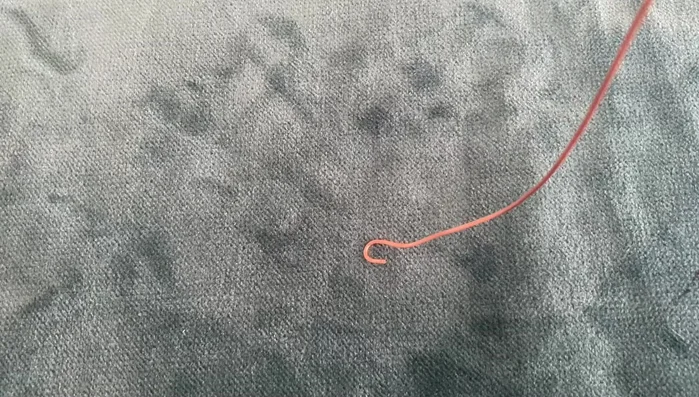
- Practice with copper wire to get the knot-making technique right.

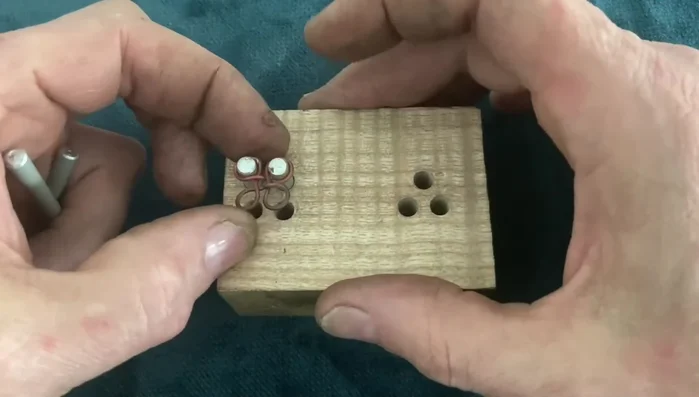
Prepare for Knot Making Create the Celtic Knots
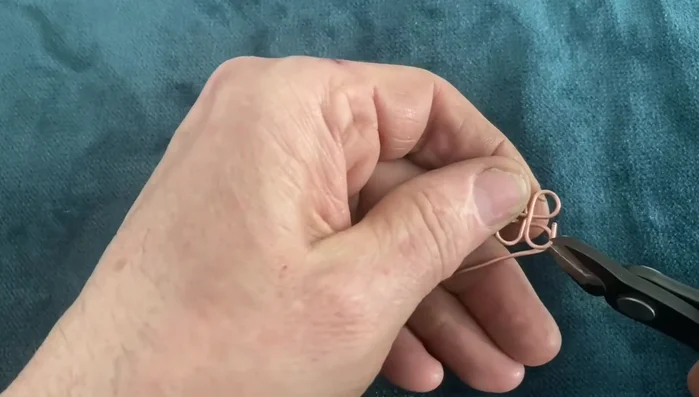
- Cut the sterling silver wire to the desired length and shape the knots using the jig. Make sure the overall length is slightly shorter than needed for later stretching.
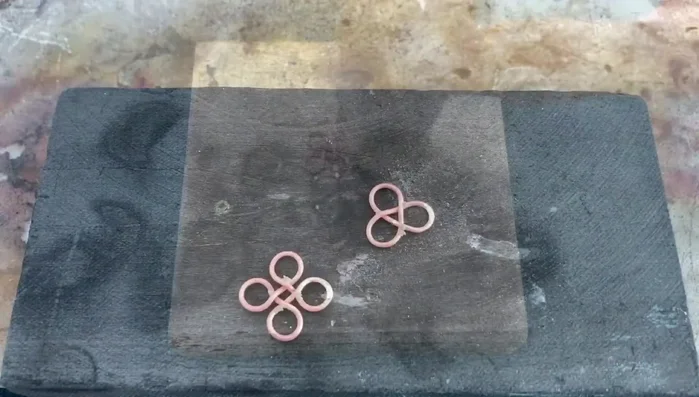
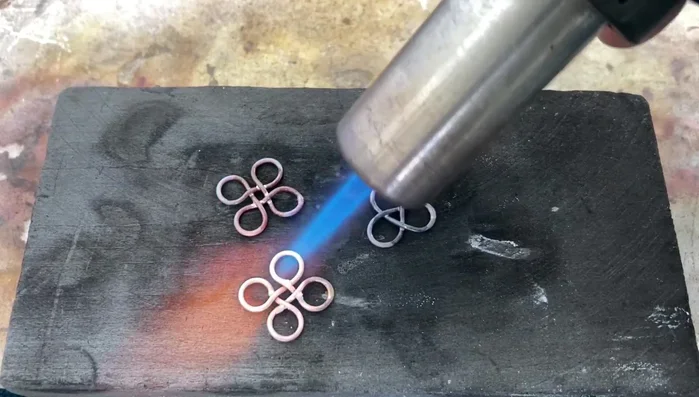
Create the Celtic Knots Solder the Knots
- Solder the links, ensuring the ends meet neatly for an infinite look.
- Use the peg jig to stretch the loops back into shape after soldering.
- Clean and pickle the knot and tap it flat with a soft hammer.
- Solder the inner crossovers using medium solder.
Solder the Knots Create End Knot and Assemble Chain
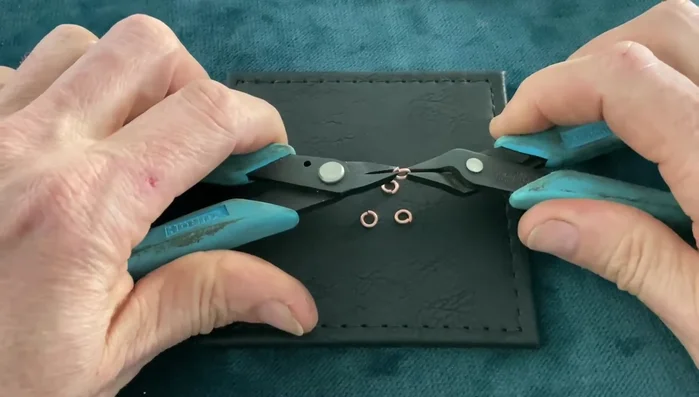
- Make the three-loop end knot similarly to the four-loop knots.
- Assemble the chain, making sure to create flattened, elongated links between the knots.
- Use a specialized tool to prevent over-squashing the small links during flattening.
Create End Knot and Assemble Chain Attach Clasp and Finish
- Attach the lobster claw clasp by cutting the last loop and resoldering it closed.
Attach Clasp and Finish


Read more: DIY Tiered Tassel Earrings: A Quick & Easy Jewelry Tutorial
Tips
- Use shape templates for easy knot making.
- Practice with copper wire before working with sterling silver.
- Use hard solder paste for small items and easy solder paste for the final joint.
- Use a specialized tool to avoid pinching the links when flattening.