Cedar wood, with its natural beauty and inherent resistance to rot and decay, makes an ideal material for crafting long-lasting planter boxes. These elegant additions to any garden or patio not only provide a stylish home for your favorite plants but also add a touch of rustic charm to your outdoor space. Building your own cedar planter boxes is a rewarding project, allowing you to customize the size, shape, and finish to perfectly complement your existing landscaping and personal style. You’ll be surprised how simple it is to transform rough-cut cedar into a functional and beautiful focal point.
Forget expensive, mass-produced planters; this comprehensive guide will walk you through each stage of constructing your own beautiful cedar planter boxes. From choosing the right lumber to the final finishing touches, we’ll provide a detailed, step-by-step process that will empower you to create stunning planters with minimal tools and effort. Let's get started!
Preparation and Safety Guidelines
- Cedar fence pickets (or treated pine)
- Table saw
- Miter saw
- Sandpaper
- Kreg 720 Pro pocket hole jig (or similar)
- 1-inch pocket hole screws
- Exterior wood glue
- Brad nails
- Clamps
- Strap clamps
- Measuring tape
- Drill
- Safety glasses
- Always wear safety glasses and a dust mask when cutting and sanding cedar wood. Cedar dust can be irritating to the eyes and lungs.
- Use caution when operating power tools. Ensure proper ventilation and follow all manufacturer's instructions.
- Treat the cedar wood with a weather-resistant sealant before planting to protect it from rot and extend its lifespan. Allow the sealant to dry completely before adding soil and plants.
Step-by-Step Instructions
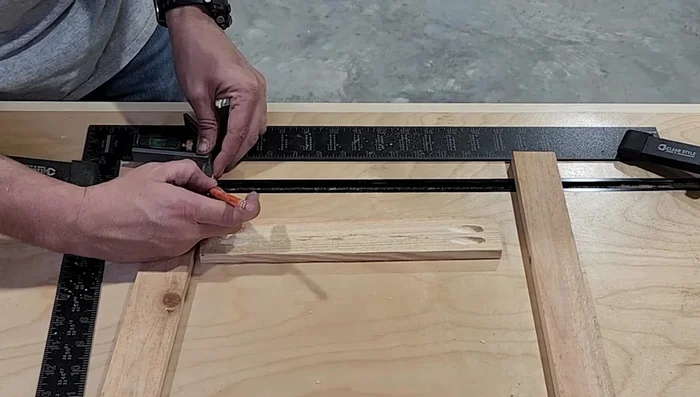
Prepare the Cedar Pickets
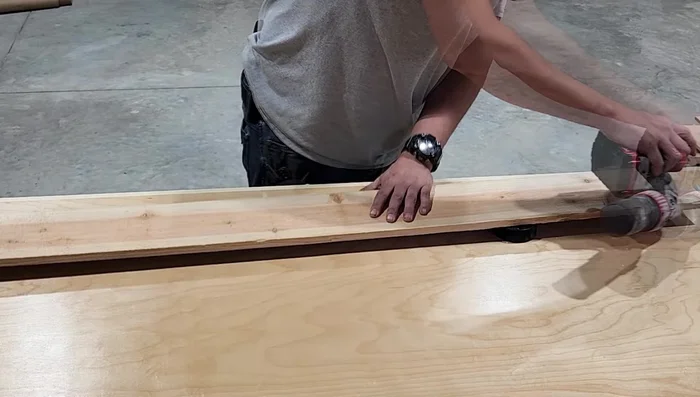
- Sand down the cedar fence pickets to smooth the rough texture.
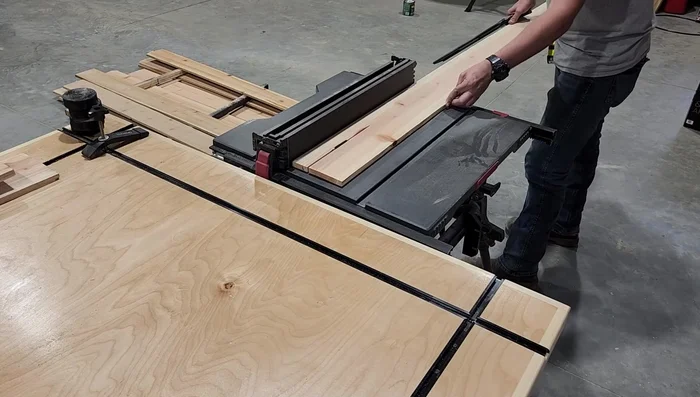
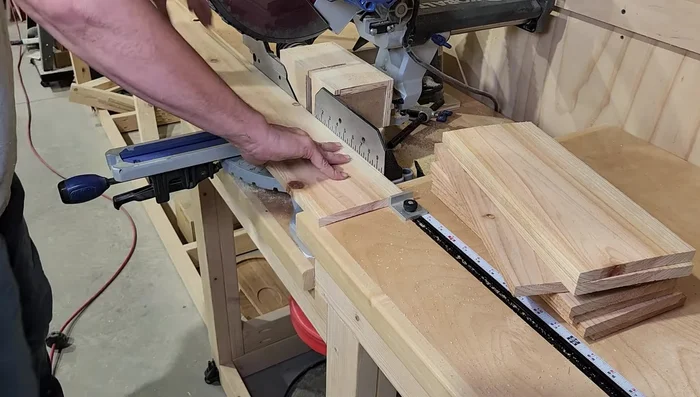
- Rip the fence pickets down to 1 3/4 inch strips using a table saw.
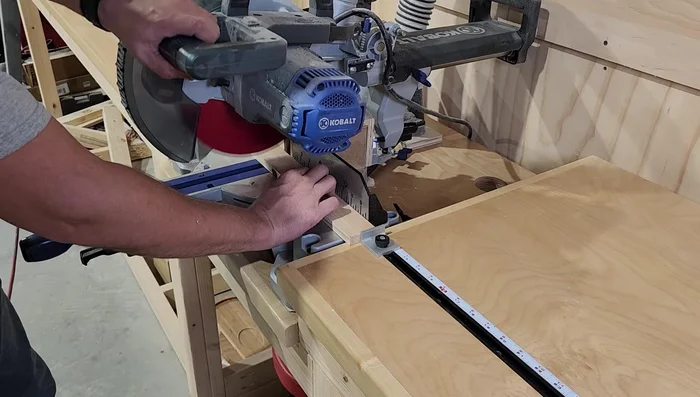
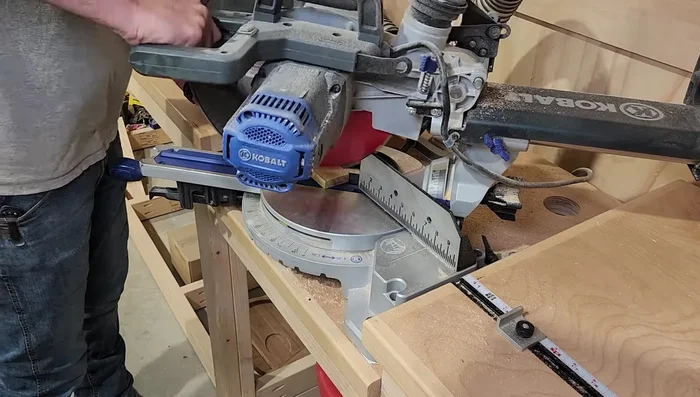
- Cut the strips to the desired lengths using a miter saw (dimensions are provided in the linked plans).

Prepare the Cedar Pickets Prepare the Stretchers
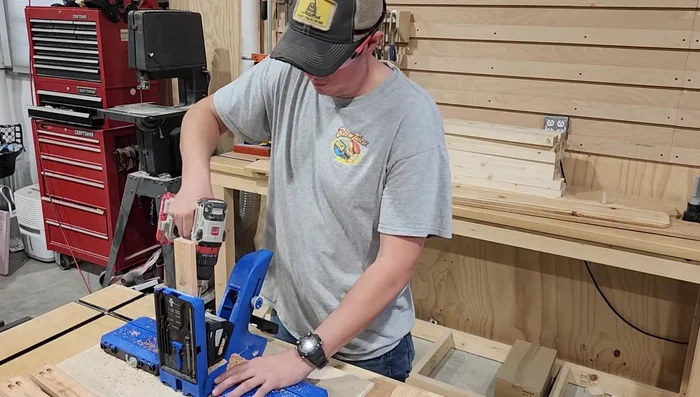
- Drill pocket holes into the stretchers using a pocket hole jig.
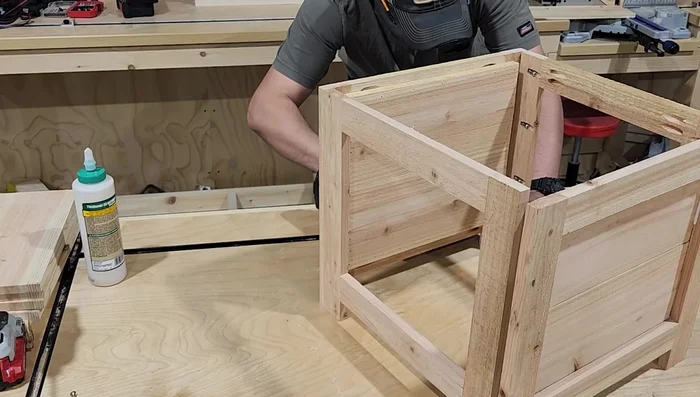
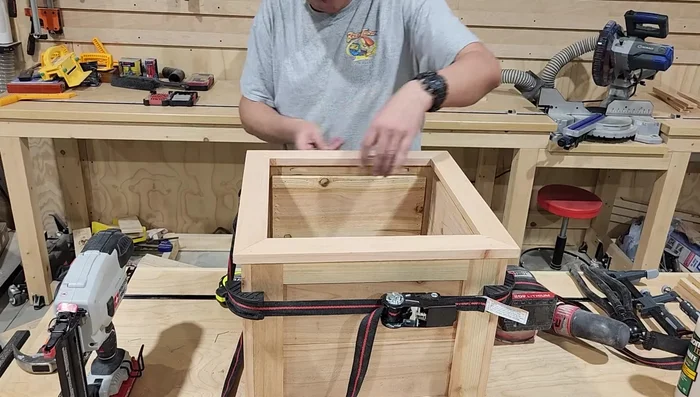
Prepare the Stretchers Assemble the Planter Sides
- Attach two legs and two stretchers for each side using pocket hole screws and wood glue. Measure 1 1/2 inches from the bottom for the bottom stretcher.
- Attach backer pieces to the two larger sides using wood glue, brad nails, and screws, leaving space for the smaller sides.
Assemble the Planter Sides Complete the Planter Box
- Attach the two smaller sides to the larger sides using wood glue and pocket hole screws.
- Add bottom slats for support and plant placement, evenly spaced and fastened with wood glue and screws.
Complete the Planter Box Assemble and Attach the Top Cap
- Cut 45-degree miters on the cap pieces. Assemble the top cap using pocket hole screws, glue, and staples.
- Attach the top cap to the planter using wood glue and brad nails, ensuring even overhang.
Assemble and Attach the Top Cap

Read more: Build a Stunning Black Walnut Coaster Set: The Ultimate Furniture Protector
Tips
- Use a stop block on your miter saw for consistent cuts.
- Be careful not to over-tighten screws when attaching the backer pieces.
- Use clamps to keep everything square during assembly.
- Tack pieces in place with brad nails before using screws for easier assembly.