Cedar's natural resistance to rot and its beautiful, aromatic scent make it the perfect material for a long-lasting garden box. Whether you're a seasoned gardener or a novice just starting out, constructing your own cedar garden box offers a rewarding experience, resulting in a beautiful and functional addition to your outdoor space. Imagine the satisfaction of nurturing your plants in a handcrafted container, knowing you built it yourself with durable, naturally beautiful cedar. You'll be able to customize the size and design to perfectly fit your garden and aesthetic preferences.
Building your own cedar garden box is easier than you might think! This step-by-step guide will walk you through each stage of the process, from selecting the right cedar lumber to assembling and finishing your stunning new garden bed. Let's get started and transform your gardening dreams into a reality.
Preparation and Safety Guidelines
- Chop saw
- Drill
- Pocket hole jig
- C-clamps
- Screws (3-inch and 2-inch)
- Brad nails
- Wood glue
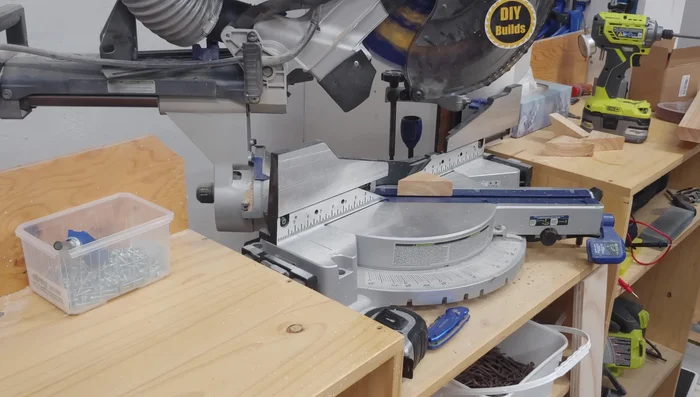
- Miter saw
- Staple gun
- Vapor barrier (or geotextile)
- Patio stones
- Always wear safety glasses and gloves when using power tools and handling cedar wood. Splinters are common.
- Use appropriate fasteners for the size and type of cedar wood. Undersized screws or nails can lead to structural weakness.
- Ensure the garden box is level and stable before adding soil and plants. Uneven weight distribution can cause it to warp or collapse.
Step-by-Step Instructions
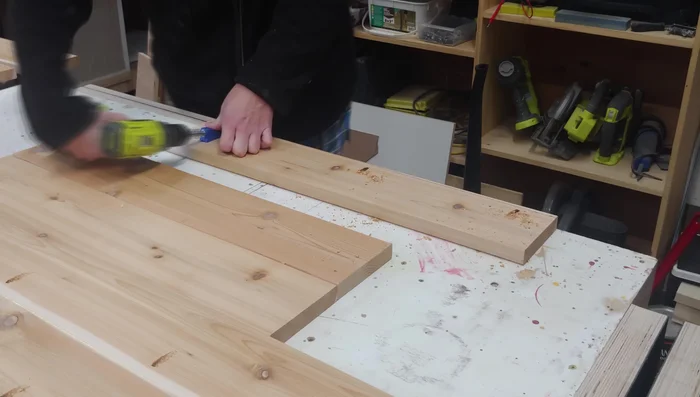
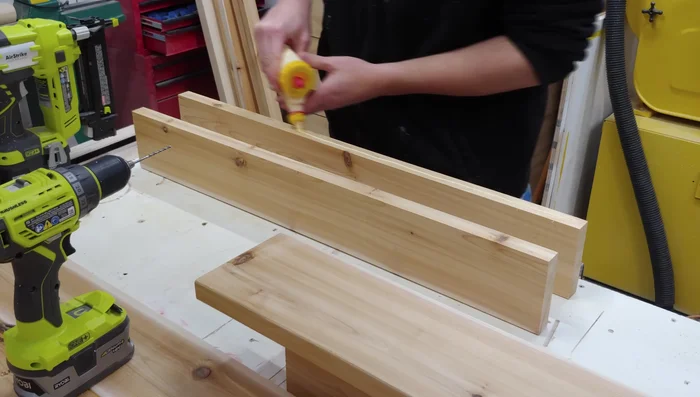
Prepare Long Sides
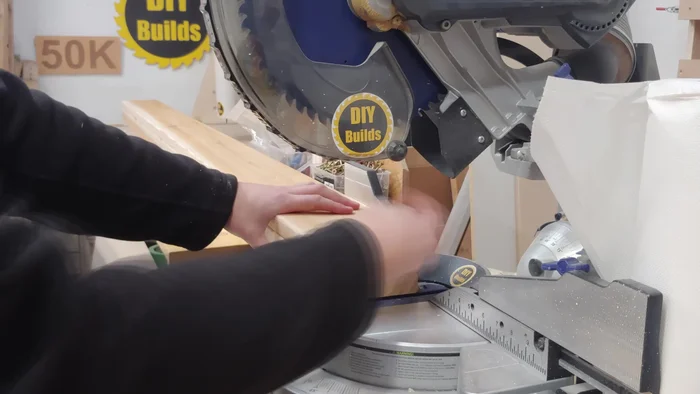
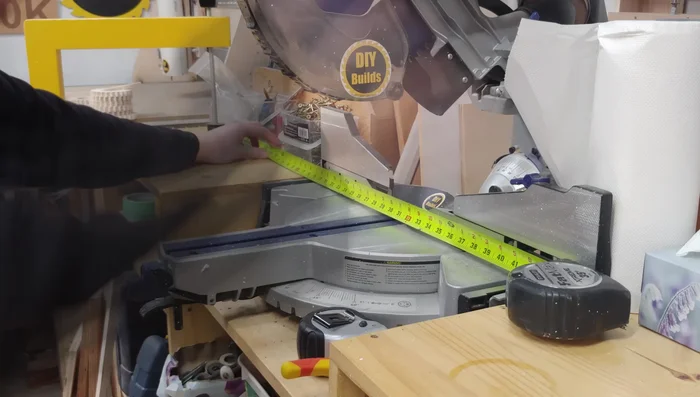
- Cut the long sections of the garden box to final length (approximately 1 foot).
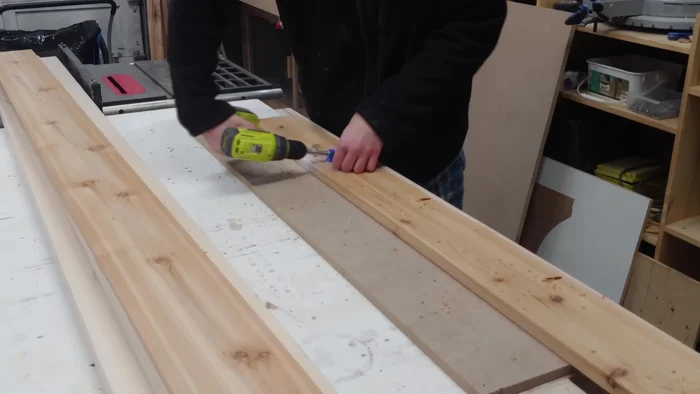
- Drill pocket holes into the long sections.
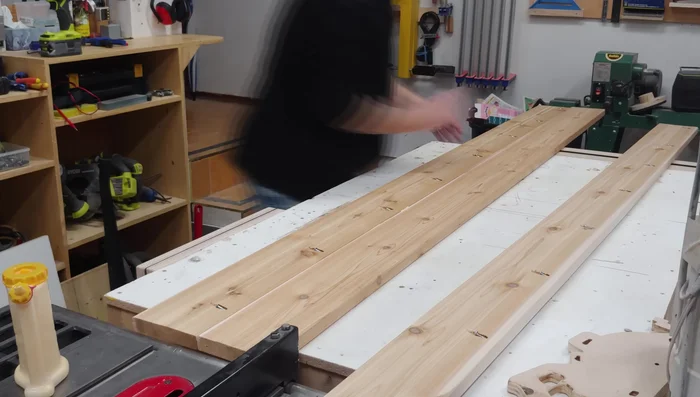
- Apply glue along the back edge of the long sections and assemble them using the pocket holes.

Prepare Long Sides Prepare Short Sides
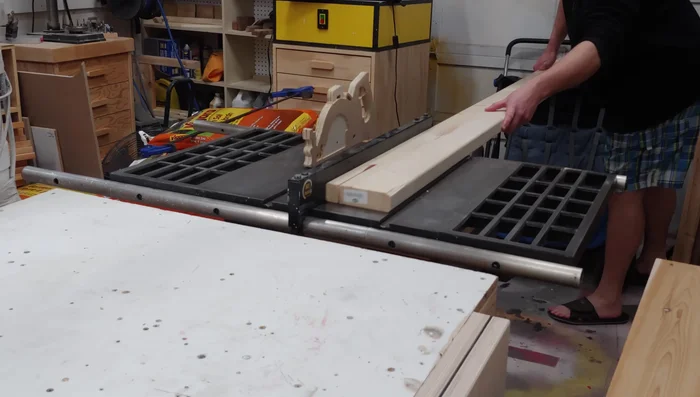
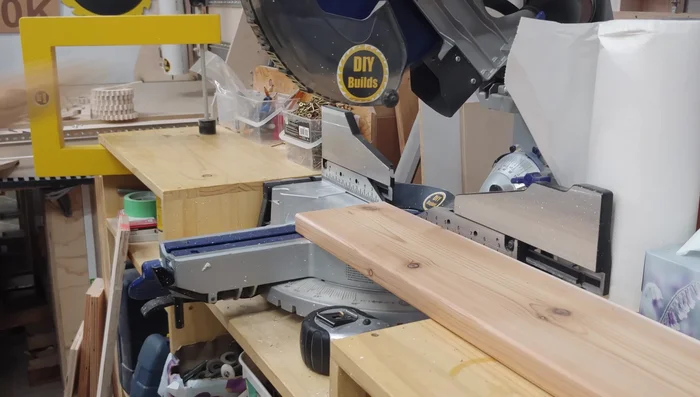
- Cut the short sides to 30 inches using a miter saw and stop block.
- Drill pocket holes (three each) into two of the short boards.
- Assemble the short sides to the long sides using glue and pocket holes. Use a vise to flatten any bowing during glue drying.
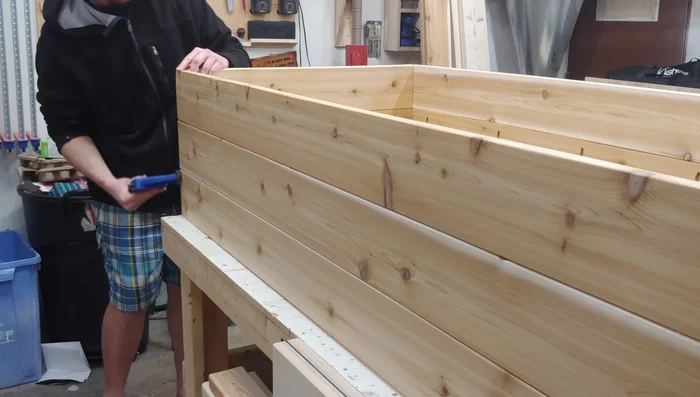
Prepare Short Sides Assemble Box Frame
- align long and short sides, clamp, and drill/drive six 3-inch screws into each corner.
Assemble Box Frame Install Slat Supports
- Cut a 1.25-inch piece of 2x6 pine to create a support for the slats.
- Attach the pine support to the long sides of the box using glue, 2-inch brad nails, and 2-inch construction screws.
Install Slat Supports Assemble Legs
- Assemble the outside corner legs using glue, brad nails, and 3-inch screws.
Assemble Legs Attach Legs to Box
- Attach the legs to the garden box body using glue and 2-inch screws. Pre-drill holes to prevent splitting.
- Install the center leg on each side (single 32-inch board).
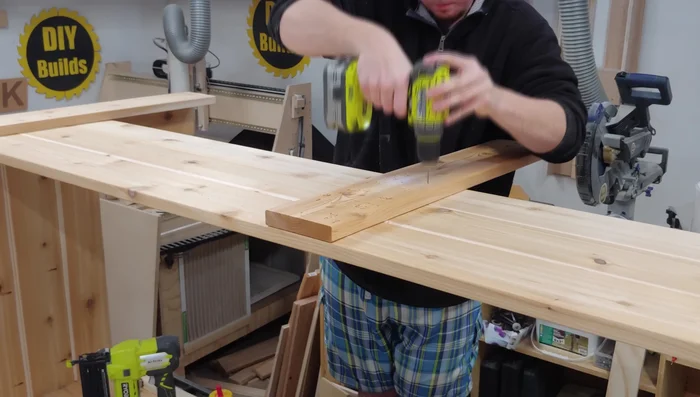
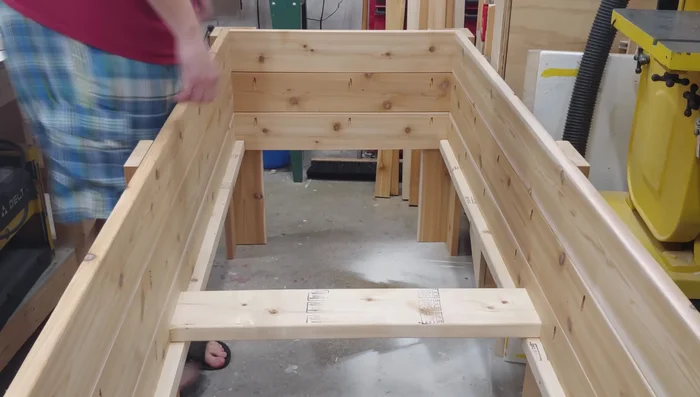
Attach Legs to Box Install Bottom Slats
- Cut the bottom slats to length (slightly under 30 inches for wiggle room).
- Install the bottom slats, starting with the middle one, using 3-inch screws and spacers.
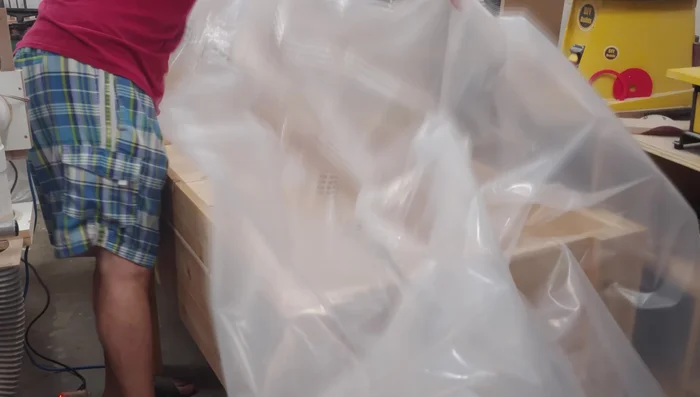
Install Bottom Slats Install Vapor Barrier
- Install the poly vapor barrier using a staple gun (allowing for drainage holes later).
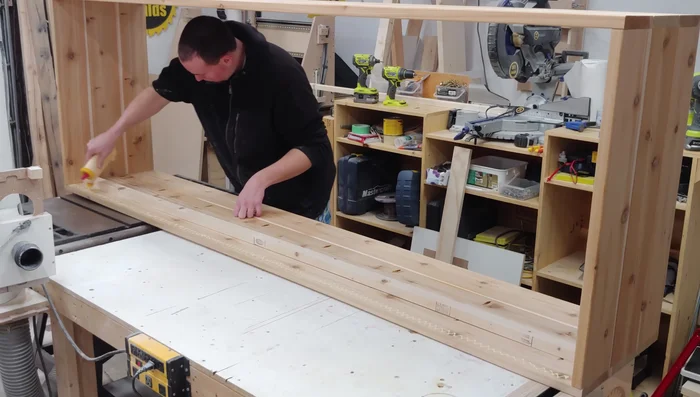
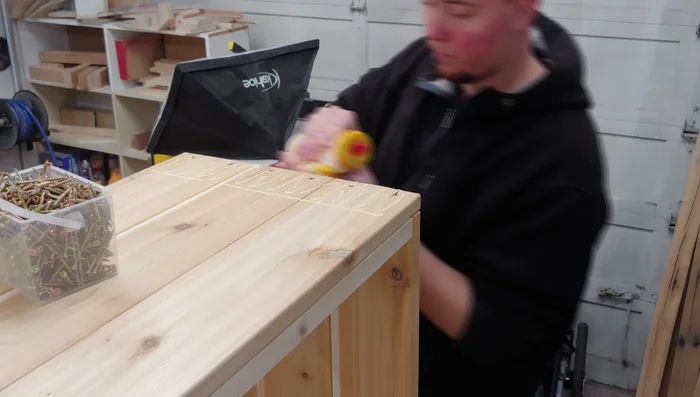
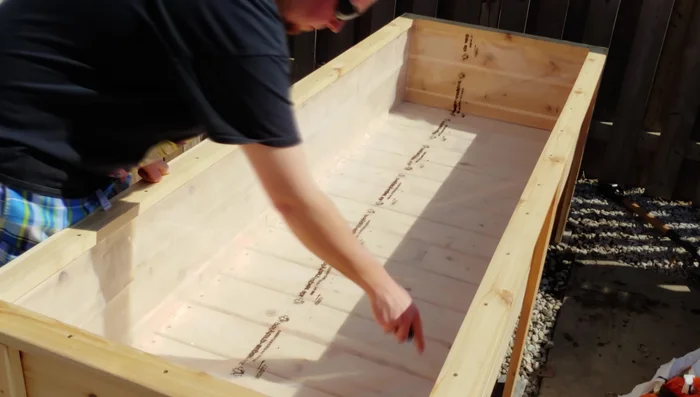
Install Vapor Barrier Install Top Trim
- Cut and install cedar trim along the top edge using glue and 2-inch screws.
Install Top Trim Install Short Rails
- Install short mitered rails using glue and 2-inch screws.
Install Short Rails Final Touches
- Drill drainage holes between slats.
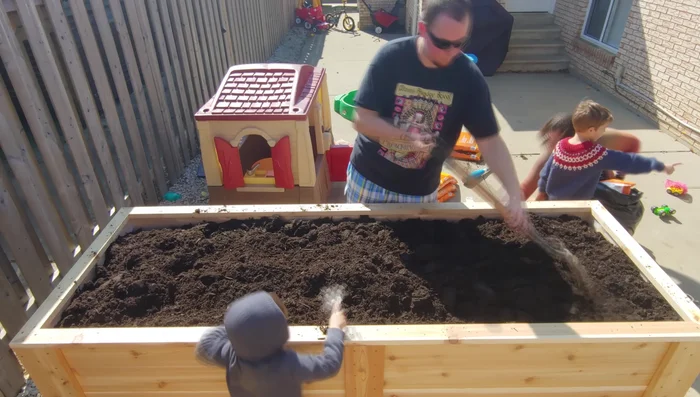
- Install patio stones under the feet for leveling and fill with dirt.
Final Touches


Read more: Build a Stunning Black Walnut Coaster Set: The Ultimate Furniture Protector
Tips
- Use a vise to flatten any bowing in the long sides during glue drying.
- Pre-drill holes to prevent splitting when using screws, especially on thinner cedar.
- Consider using geotextile fabric or black plastic instead of poly vapor barrier for better drainage.
- Install drainage holes after the vapor barrier to prevent waterlogging.