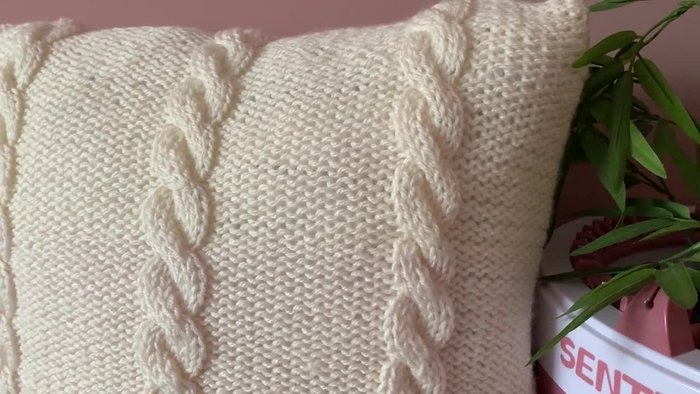
Cabled pillowcases, with their intricate texture and luxurious feel, represent a delightful challenge for knitters seeking to elevate their skills. This seemingly complex project is surprisingly approachable, offering a rewarding experience for both intermediate and advanced knitters. The satisfying rhythm of creating the cables, combined with the ultimate practicality of a handmade pillowcase, makes this pattern a perfect blend of beauty and utility. You'll discover the unique satisfaction of transforming simple yarn into a stunning, personalized piece for your bedroom.
This comprehensive guide will take you through every step of the cabled pillowcase knitting process, from choosing the right yarn and needles to mastering the cable techniques themselves. We'll cover everything you need to know, from understanding cable patterns and avoiding common pitfalls, to finishing techniques that ensure a professional-looking result. Let's dive into the step-by-step instructions and begin knitting your own exquisite cabled pillowcase!
Preparation and Safety Guidelines
- Knitting machine
- Needles
- Yarn (iron weight)
- Extenders
- Tape
- Roll counter
- Darning needle
- Scrap yarn
- Crochet hook (optional)
- Hair clip (optional)
- Stitch markers
- Use appropriate needle size for your chosen yarn weight. Using needles too small can lead to tight, uncomfortable knitting and potential strain on your hands. Using needles too large can result in a loose, floppy fabric.
- Be mindful of your tension. Consistent tension throughout the knitting process is crucial for achieving a neat and even finished product. Inconsistent tension can lead to uneven cable patterning and a less professional look.
- Always check your work regularly for dropped stitches. Dropped stitches in cabled work can quickly become difficult to fix and may significantly alter the cable pattern.
Step-by-Step Instructions
Planning and Preparation
- Measure pillow and calculate knitting rows and needles.
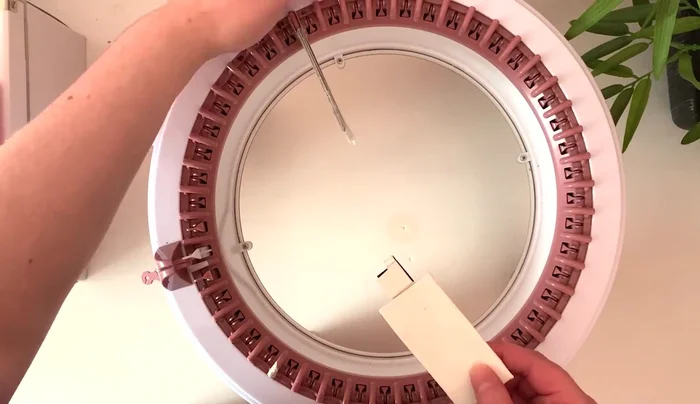
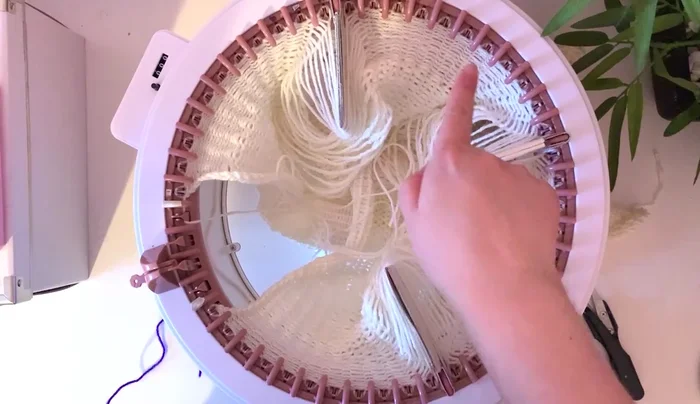
- Prepare the knitting machine by adding extenders.

Planning and Preparation Initial Knitting
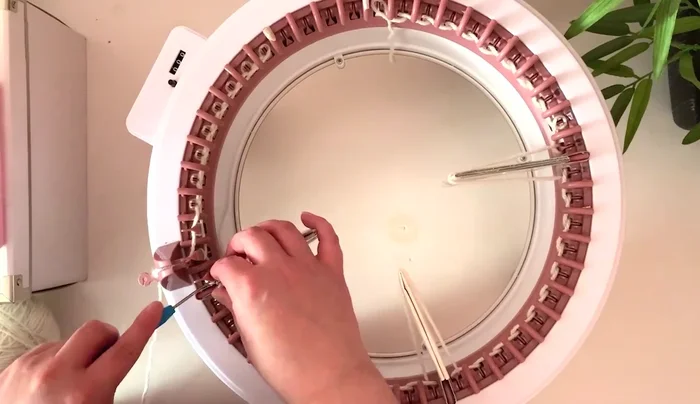
- Cast on using the e-wrap method.
- Knit the first row manually, paying attention to extenders.
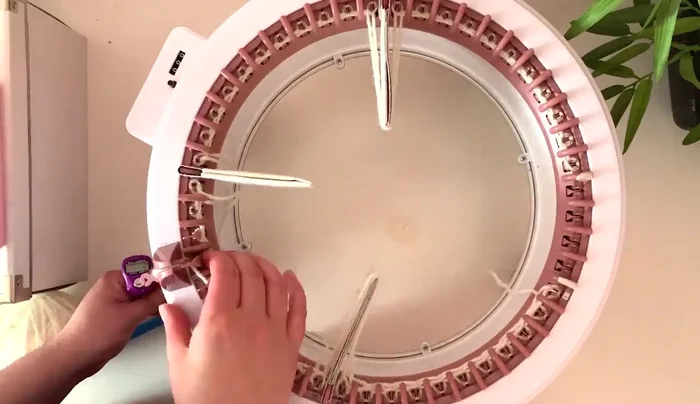
- Knit 180 rows using the roll counter, handling extenders carefully.
Initial Knitting Finishing the Knitted Panel
- Cast off using a darning needle and scrap yarn.
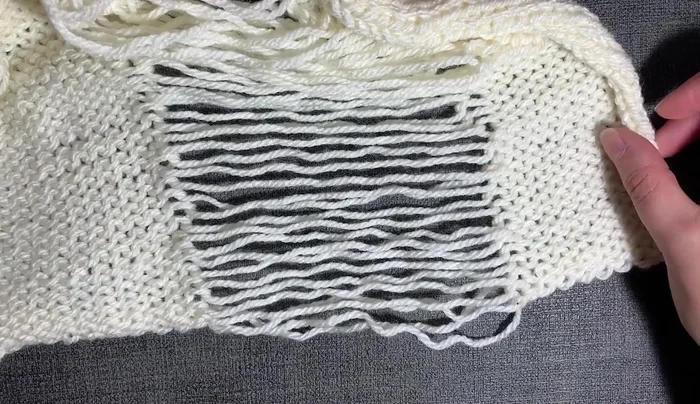
- Prepare for cabling by separating strands and tightening edge stitches.
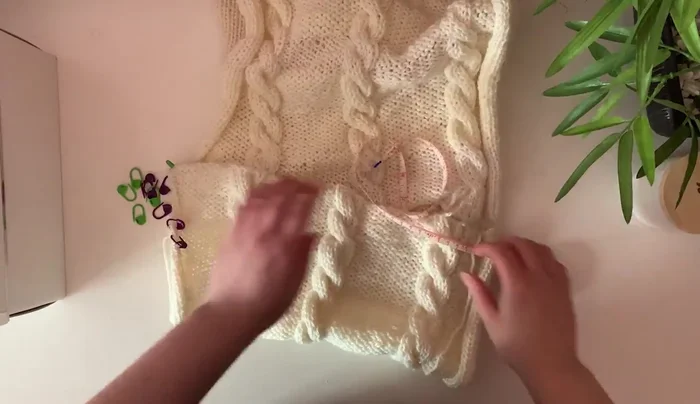
Finishing the Knitted Panel Creating the Cable Pattern
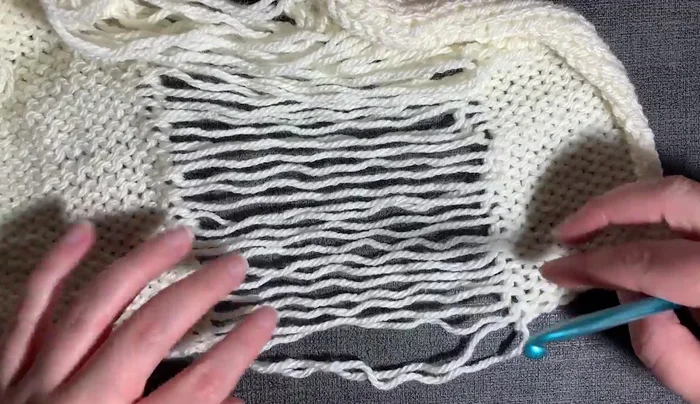
- Create the cable pattern using a knitting technique (or crochet, as shown in a linked video).
- Repeat the cable pattern for the desired length.
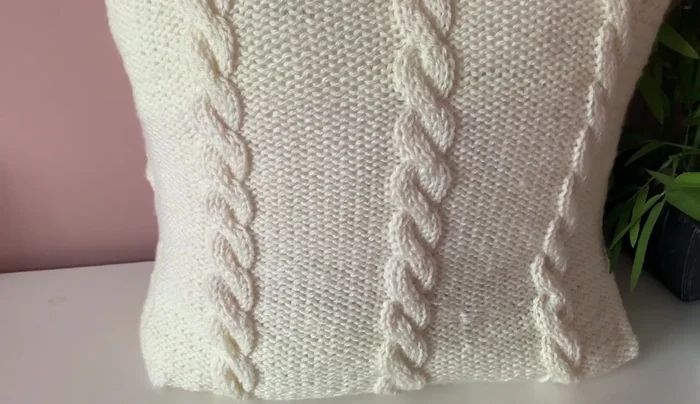
Creating the Cable Pattern Edge Finishing
- Finish the edges (cast-on and cast-off) with the desired technique (tightening and single crochet are suggested).
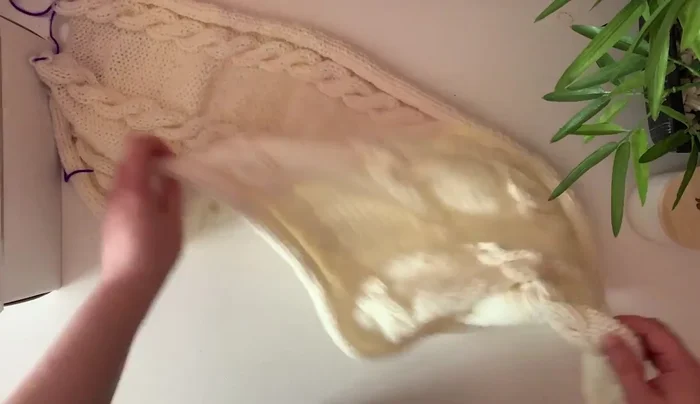
Edge Finishing Seaming and Completion
- Seam up the sides using the reverse mattress stitch.
- Insert the pillow.
Seaming and Completion


Read more: Knitting a Reversible Basketweave Blanket: A Customizable Guide
Tips
- Don't cast on too tightly or the machine won't spin.
- Reinforce extenders with card to prevent breakage.
- Use a rhythmic verbal cue (e.g., 'drop, drop, wrap, and hold') to maintain consistency.
- Maintain even tension while cabling.
- Work the cable stitches in order and ensure you have six stitches in each section.