Cozy up on the couch with a handmade cable knit blanket – a project that's surprisingly easier than you think! Cable knits often seem intimidating, reserved for experienced knitters, but with the right guidance, even beginners can master this classic technique. This timeless design adds a touch of elegance and warmth to any home, and the satisfying texture is incredibly rewarding to create. Forget fussy patterns and complicated stitches; this tutorial simplifies the process, breaking down each step into manageable chunks.
This easy cable knit blanket tutorial provides a beginner-friendly guide to crafting your own beautiful throw. We'll walk you through choosing the right yarn, understanding basic cable techniques, and assembling your blanket with confidence. Ready to transform simple yarn into a luxurious, handmade treasure? Let's dive into the step-by-step process now, and create your very own cozy cable knit masterpiece.
Preparation and Safety Guidelines
- Size 4 (6 mm) knitting needles
- Size 5.5 (5 mm) crochet hook
- Rosetti Montana Export yarn (approx. 4 balls)
- Always use sharp scissors to cut yarn to prevent fraying and ensure clean edges. Dull scissors can snag the yarn and cause uneven stitches.
- Be mindful of your tension throughout the project. Inconsistent tension can lead to an uneven blanket and make it difficult to follow the pattern.
- Take breaks to avoid fatigue and eye strain, especially when working with larger projects. Stopping and resting will help you maintain accuracy and prevent mistakes.
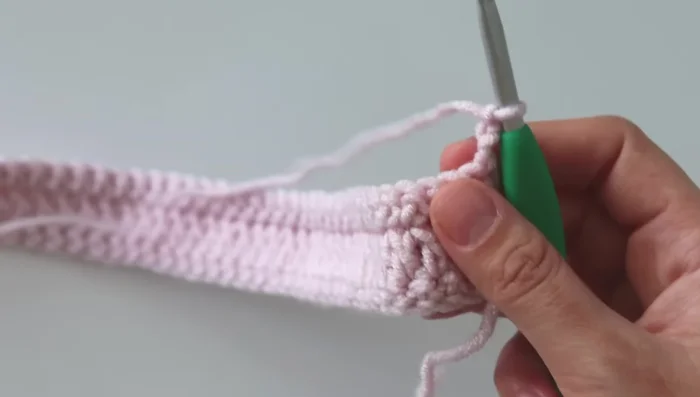
Step-by-Step Instructions
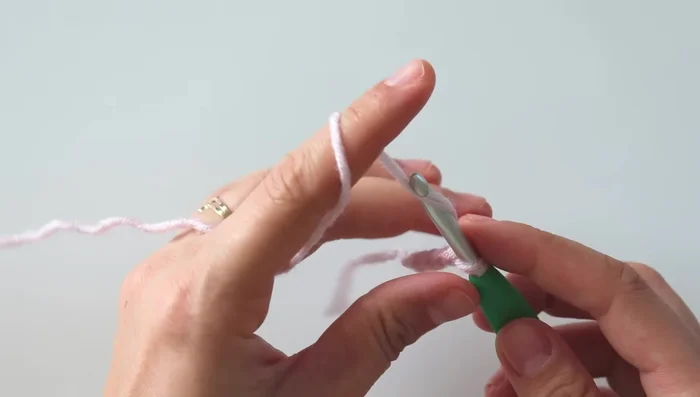
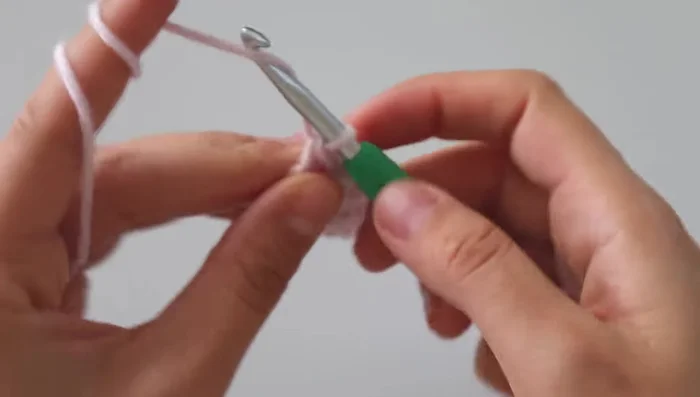
Foundation Chain
- Cast on 100 chains. Skip the first chain and starting from the second, single crochet across.

Foundation Chain Initial Row
- Chain 3 (counts as first double crochet), then double crochet across (99 double crochets).
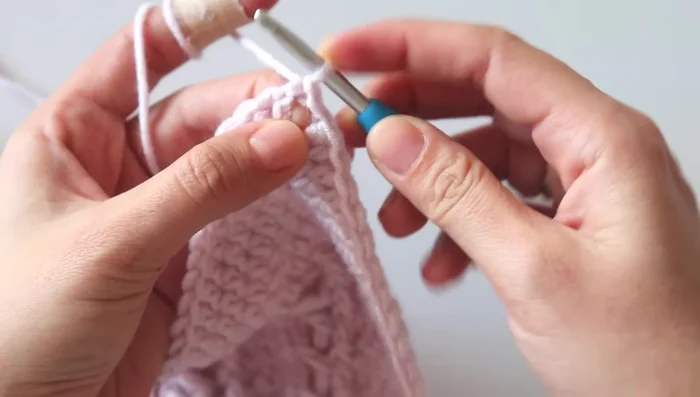
Repeating Cable Pattern Row
- Chain 1, turn, and single crochet across.
- Repeat steps 2 & 3 until you reach the desired length, creating the cable pattern. The cable pattern involves making 3 double crochets, then a front post double crochet, followed by skipping a stitch and making 2 treble crochets, and repeating this sequence across the row.
Repeating Cable Pattern Row Half Double Crochet Border
- For the border, switch to a 5mm crochet hook. Chain 2, and work half double crochets around the entire blanket. At the corners, work two half double crochets, chain 2, then two more half double crochets.
Half Double Crochet Border Crab Stitch Border
- Finish with a crab stitch border for added texture and detail.
Crab Stitch Border

Read more: Easy Color Block Crochet Blanket Tutorial for Beginners
Tips
- Use multiples of eight plus four chains for the initial chain.
- The cable pattern is repeated throughout the blanket, creating a visually appealing texture.
- Adjust the number of rows to achieve your desired blanket length.
- The crab stitch adds a nice finishing touch to the blanket’s border.