Learning to knit can feel daunting, with a myriad of techniques and terms to master. But conquering even the seemingly small details can unlock a whole world of knitting possibilities. One such detail, often overlooked but crucial for beautiful and professional-looking projects, is the cable cast-on. This method creates a firm, even edge that’s perfect for garments and accessories where a neat finish is essential – and it’s far easier to learn than you might think! Forget those wobbly, uneven edges created by less refined cast-on methods.
The cable cast-on is surprisingly straightforward, resulting in a strong and aesthetically pleasing beginning to your knitting. It's a valuable technique for any knitter, regardless of skill level, and will instantly elevate the quality of your work. Ready to learn this invaluable skill and create perfectly finished projects? Let's dive into the step-by-step instructions below.
Preparation and Safety Guidelines
- Circular knitting needles
- Yarn (Double Knit Merino Wool yarn or Uno Essential yarn)
- Ensure your needle size is appropriate for your yarn. Using too small a needle can make the cast-on tight and difficult to work with, while too large a needle can result in a loose and floppy cast-on.
- Maintain consistent tension throughout the cast-on. Uneven tension will lead to an uneven fabric and can affect the overall look of your finished project.
- Practice on scrap yarn before starting your main project. This allows you to get comfortable with the technique without wasting your precious yarn.
Step-by-Step Instructions
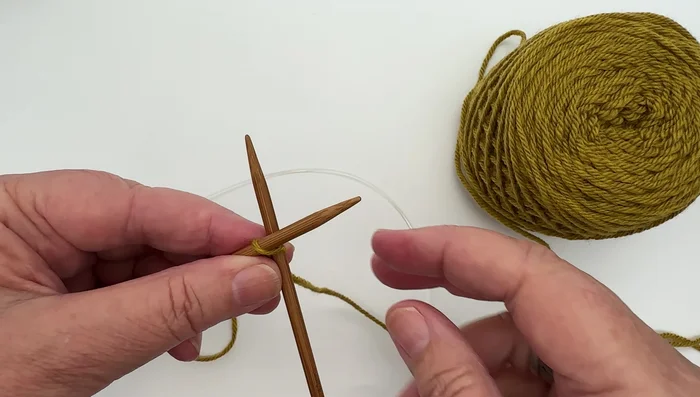
Creating the Slip Knot
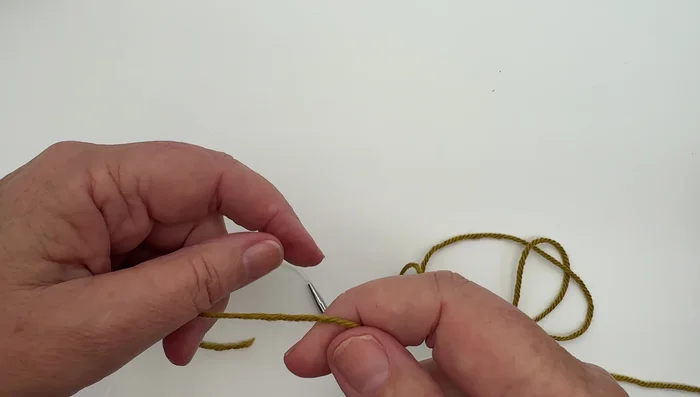
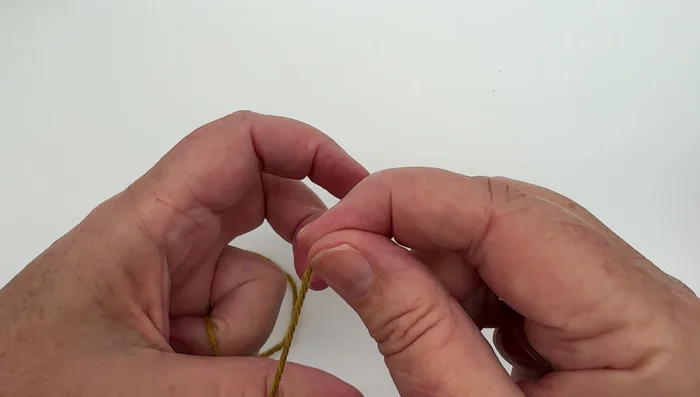
- Make a slip knot.
- Wrap yarn around thumb, loop it underneath, and take the loop off, folding it over and pulling through to create a slip knot.
- Insert needle tip through the slip knot and pull the working yarn (attached to the ball) to close the slip knot.

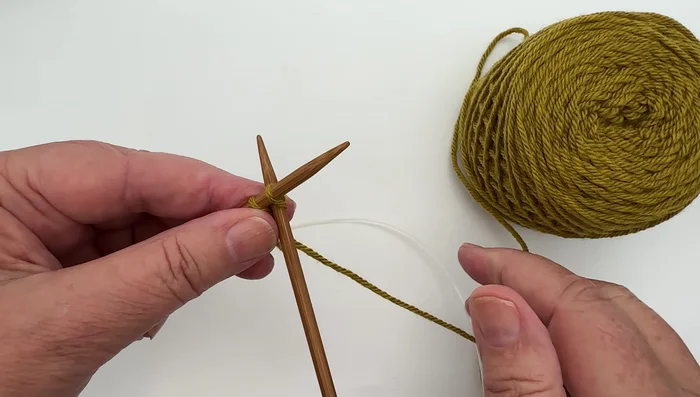
Creating the Slip Knot First Cast On Stitch
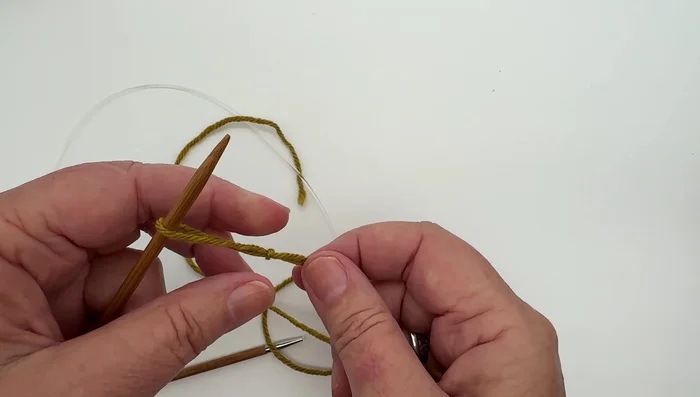
- Pass the right-hand needle tip through the stitch on the left-hand needle.
- Cross the right-hand needle underneath the left-hand needle. Wrap the working yarn over the top of the right-hand needle and pull it through to create a loop.
- Slide the loop onto the left-hand needle.
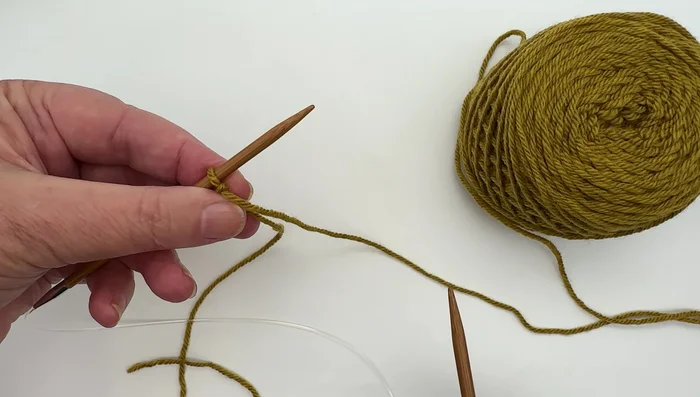
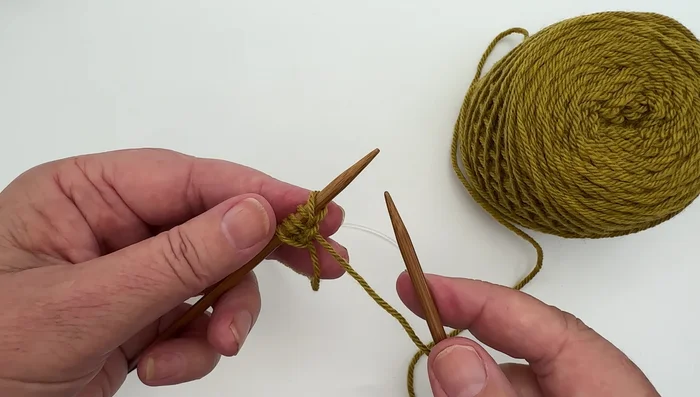
First Cast On Stitch Subsequent Cast On Stitches
- Insert the right-hand needle between the previous stitch and the newly cast-on stitch. Wrap the working yarn over the right-hand needle, pull it through to create a loop, and slide the loop onto the left-hand needle. Repeat.
Subsequent Cast On Stitches Finishing the Cast On
- Continue casting on until you reach the desired number of stitches (e.g., 30 for practice, 170 for the blanket).
Finishing the Cast On

Read more: Knitting a Reversible Basketweave Blanket: A Customizable Guide
Tips
- Don't pull the yarn too tight during the cast-on process. Maintain a firm but not overly tight tension.
- Practice casting on a smaller number of stitches (e.g., 30) to get comfortable with the technique before tackling a larger project.
- For the Essential Blanket, the exact number of stitches isn't critical. Being within approximately 170 stitches is sufficient.