Bohemian style is all about effortless chic, a relaxed vibe that speaks volumes without saying a word. And what better way to capture that spirit than with jewelry that's as individual as you are? Forget rigid rules and predictable pairings; boho jewelry is a celebration of texture, color, and eclectic charm, allowing you to express your unique personality through a carefully curated collection. Think layered necklaces, chunky bracelets, and statement earrings that whisper tales of faraway lands and sun-drenched adventures.
This article will guide you through ten stunning boho jewelry designs, each showcasing the versatility and beauty of this timeless style. We’ll explore various materials, from natural stones and delicate chains to vibrant beads and intricate metals, offering inspiration for creating your perfect bohemian look. Ready to transform your jewelry box into a vibrant tapestry of style? Let's dive into our step-by-step guide to mixing and matching these ten gorgeous designs in minutes!
Preparation and Safety Guidelines
- Beads (various types and colors)
- Cording
- Wire (silver and copper)
- Leather straps
- Jump rings
- Pliers
- Needle tool
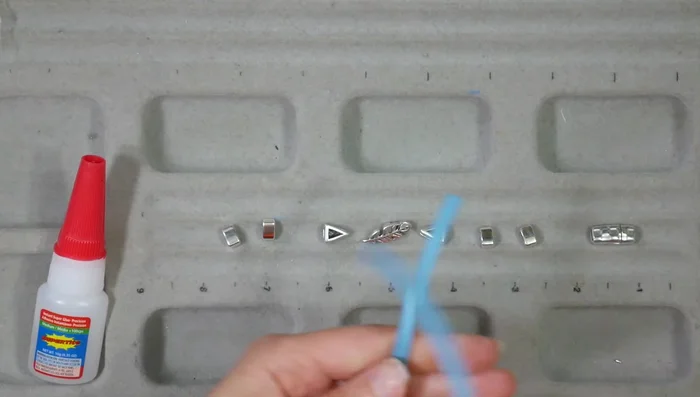
- Super glue
- Magnetic clasps
- Slider beads
- Ear wires
- Clasps (lobster claw)
- Chain (various types)
- Avoid contact with water, perfumes, and lotions. These can damage the materials and cause discoloration or tarnishing, especially with delicate metals or stones.
- Store your boho jewelry separately in a soft pouch or fabric-lined box to prevent scratching and tangling. This keeps them organized and protected.
- Be mindful of sharp or fragile elements. Some boho designs incorporate delicate components that can break easily if mishandled or subjected to impacts.
Step-by-Step Instructions
Bracelet Making Techniques
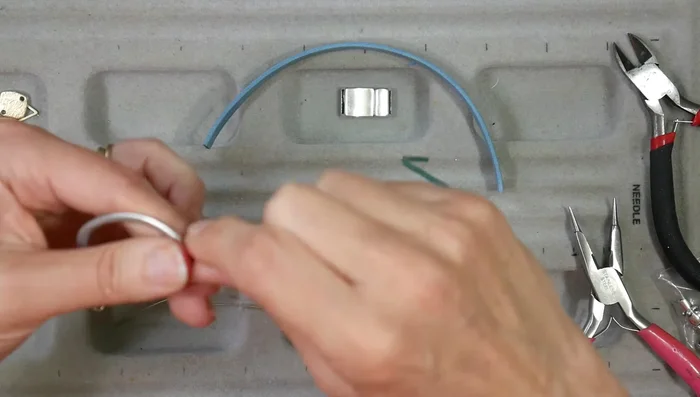
- Thread cording through a ring, tie an overhand knot, and attach decorative elements using wire loops.
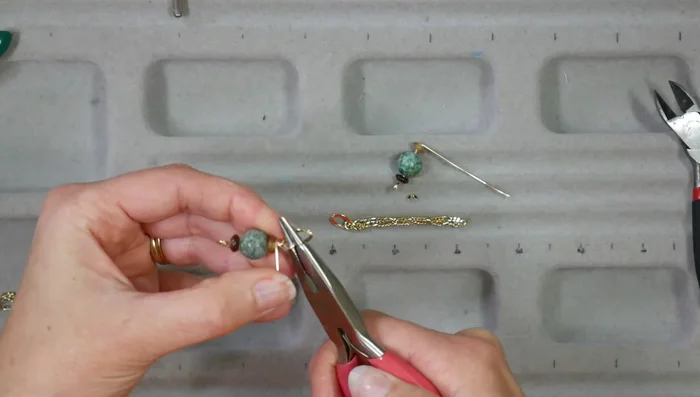
- Thread wire through a bead, bend it at a right angle, and create wrapped loops using pliers for strength.
- Thread leather through the ring frame, then through the bead loops, and back through the frame.
- Use a similar technique as step 1 and 2 to attach the natural stone to an oval frame.

Bracelet Making Techniques - Use a leather strap as a base and poke holes to attach elements with wire, creating a decorative and stable bracelet.
- Use leftover chain and attach a clasp for a dainty bracelet.
- Use slider beads and cords to create a floating bead effect on a leather strap.
- Braid three cords together, adding beads, and glue to magnetic clasps.
Bracelet Making Techniques - Glue a magnetic clasp to one end of a leather strap, slide on beads, and glue the other end.
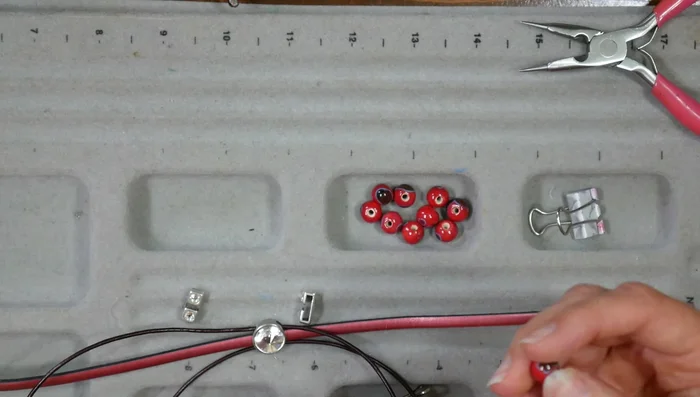
- String beads onto stretch cord, tie three square knots, hide the knot within a spacer bead, and trim.
Bracelet Making Techniques Necklace Creation
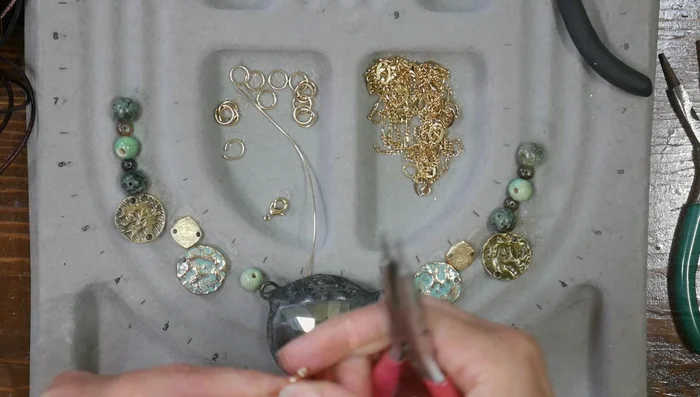
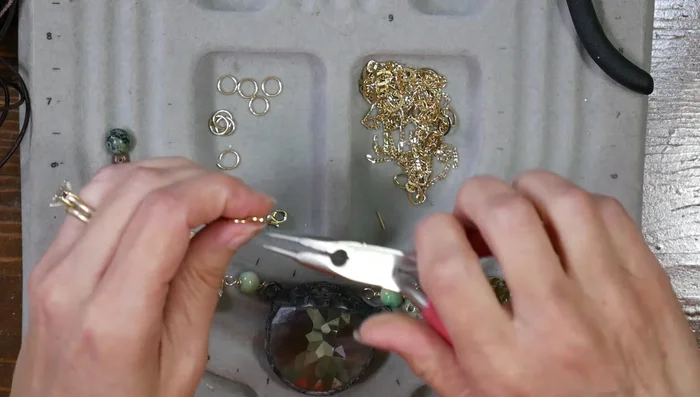
- Attach faceted pendants using gold jump rings and wire, creating double-wrapped loops.
- Attach beads and copper disks using jump rings for movement and a flat fit.
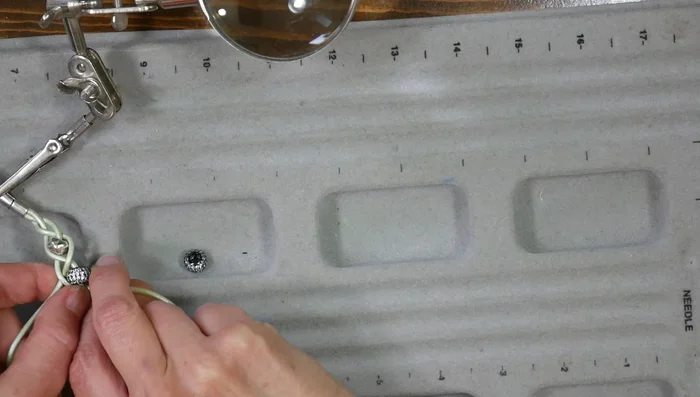
- Use a row of beads on either side of the pendant for weight and stability.
- Use jump rings to attach a multi-strand chain with a lobster claw clasp.
Necklace Creation Earring Assembly
- String beads, create a wrapped loop, attach chain, and add to ear wires.
Earring Assembly


Read more: DIY Tiered Tassel Earrings: A Quick & Easy Jewelry Tutorial
Tips
- Use a bead board or similar surface to prevent beads from rolling away.
- Use a thicker, flexible glue like E6000 for bracelets that flex.
- Reinforce glued items with binder clips while drying.
- Use jump rings to create movement and a flat fit.
- Use leftover chain pieces for earrings.