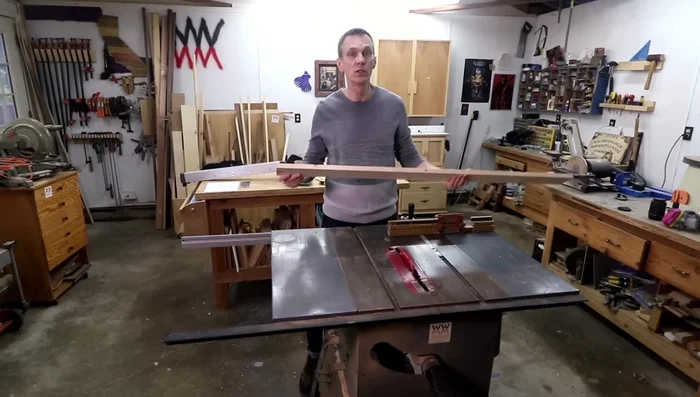
Building your first woodworking project can be incredibly rewarding, and there's no better starting point than a simple yet elegant rabbet joint box. This project offers a fantastic introduction to fundamental joinery techniques without overwhelming a beginner. You'll learn to cut precise rabbets, a crucial skill applicable to countless future projects, and the satisfaction of constructing a functional and attractive box from scratch will inspire you to explore the world of woodworking further. Rabbet joints, while seemingly complex, are surprisingly straightforward when approached methodically. This box is perfect for storing small items, and its clean lines make it a beautiful addition to any home.
This guide focuses on creating the easiest possible version of this project, prioritizing simplicity and clarity. We'll break down each step into manageable chunks, using easily accessible tools and readily available materials. Ready to get started on your first woodworking triumph? Let's dive into the step-by-step process of building your own rabbet joint box.
Preparation and Safety Guidelines
- Table Saw
- Rip Fence
- Miter Gauge (for end rabbets only)
- Clamps (various sizes)
- Glue
- Sacrificial Fence
- Sandpaper
- Measuring Tape
- Pencil
- Always wear safety glasses to protect your eyes from flying debris.
- Use clamps to secure your workpiece firmly to prevent kickback and ensure accurate cuts.
- Keep your fingers clear of the blade at all times, especially when using power tools. Use push sticks for added safety.
Step-by-Step Instructions
Prepare the Lumber
- Crosscut the lumber for the four sides and the lid pieces.
- Rip all sides to the same width, cleaning up one side first before flipping.
- Glue up the lid pieces, applying gentle clamping pressure to avoid buckling.

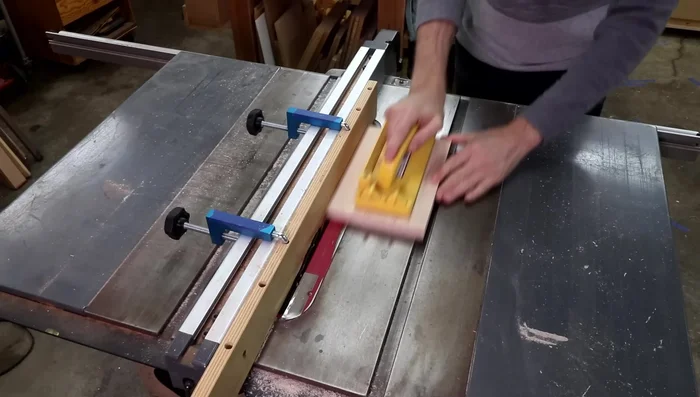
Prepare the Lumber Set up for Rabbet Cuts
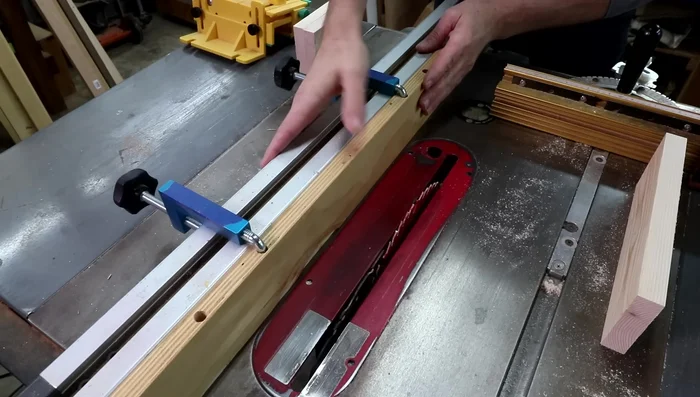
- Clamp a sacrificial fence to your rip fence for safe rabbet cuts.
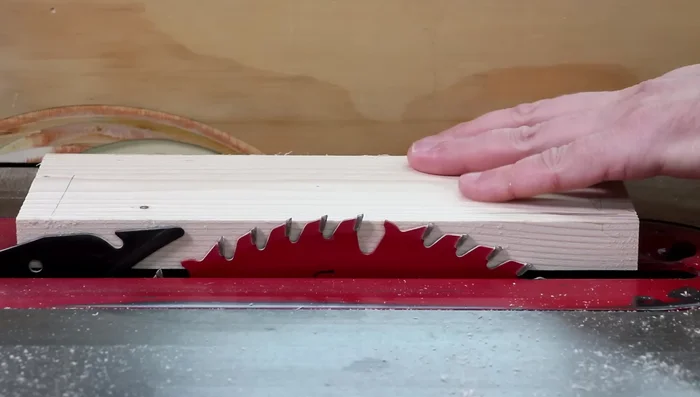
- Lower the table saw blade to half the thickness of the board.
Set up for Rabbet Cuts Cut the Rabbets
- Cut the rabbets on the ends of the two longer pieces using the miter gauge and rip fence (for end rabbets only). Multiple passes are made to reach the desired depth.
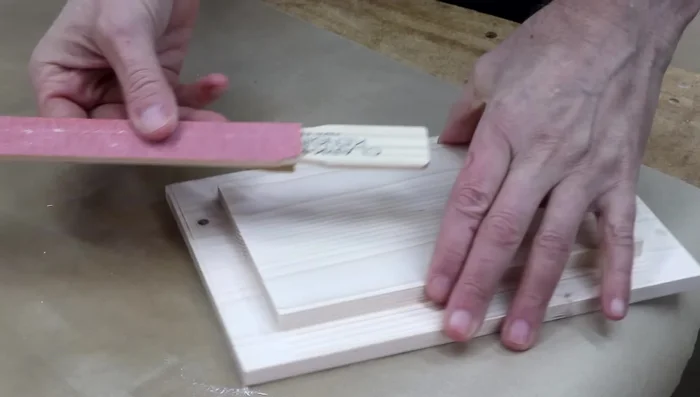
- Cut the long rabbets along one long edge of each piece to hold the bottom panel, using the sacrificial fence but not the miter gauge. Make multiple passes, testing fit frequently.
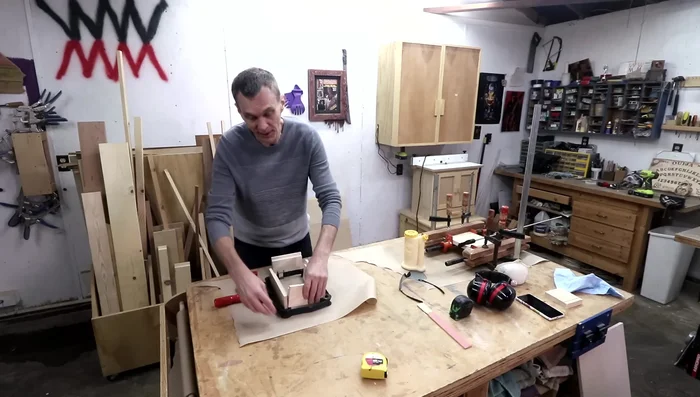
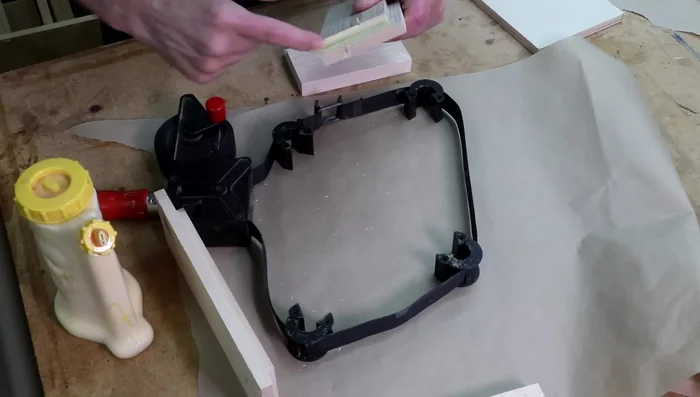
Cut the Rabbets Assemble the Box
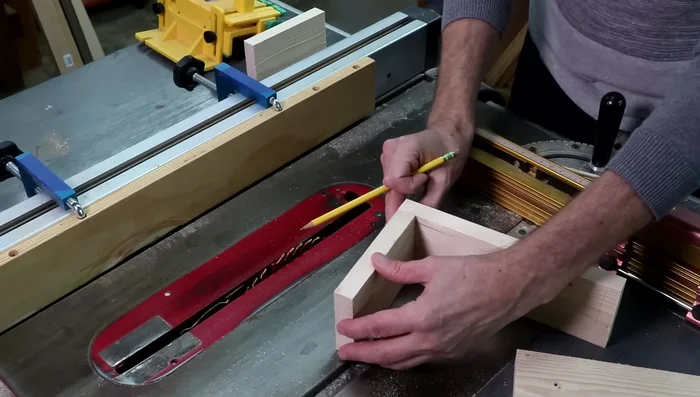
- Dry-fit the side pieces to determine the final size of the bottom panel, then cut it to size.
- Glue the sides and bottom together simultaneously, ensuring glue coverage on all surfaces. (excluding the bottom rabbet until later.)
Assemble the Box Finish the Lid
- Once the box is dry, cut the lid to its final size, ensuring a small lip overhangs the edges.
- Glue and clamp the lid to the box.
Finish the Lid Sand and Refine
- Sand the rabbets smooth.
Sand and Refine
Read more: Build a Stunning Black Walnut Coaster Set: The Ultimate Furniture Protector
Tips
- Gentle clamping pressure prevents warping when gluing boards.
- Using a sacrificial fence prevents damaging your saw's rip fence.
- For rabbet cuts, test fit frequently to avoid overcutting.
- A strap clamp makes assembly easier.
- Maximize glue surface area for stronger joints.