As the leaves change color and a crispness fills the air, there's nothing quite like snuggling up in a warm, hand-knitted sweater. This fall, ditch the store-bought and embrace the satisfying craft of creating your own cozy masterpiece! This beginner-friendly tutorial will guide you through the process of knitting a delightful fall sweater, perfect for adding a touch of handmade warmth to your autumn wardrobe. No prior knitting experience is needed; we'll break down every step, ensuring even the most novice knitters can achieve a beautiful and wearable result.
Forget complicated patterns and frustrating instructions! This tutorial focuses on a simple, yet stylish design that’s easy to follow, even for absolute beginners. We'll cover everything from casting on and basic stitches to shaping and finishing techniques, providing clear explanations and helpful visuals along the way. Ready to transform simple yarn into a cozy fall essential? Let's dive into the step-by-step knitting process!
Preparation and Safety Guidelines
- 3.5 mm needles
- Yarn of your choice
- Use sharp scissors to avoid accidental cuts. Keep them away from your face and body while cutting yarn.
- Always be mindful of your needle size. Using the wrong size can affect gauge and the final fit of your sweater. Double-check your pattern instructions.
- Take breaks to avoid eye strain and repetitive strain injuries (RSI). Knitting for extended periods can be tiring. Listen to your body and rest when needed.
Step-by-Step Instructions
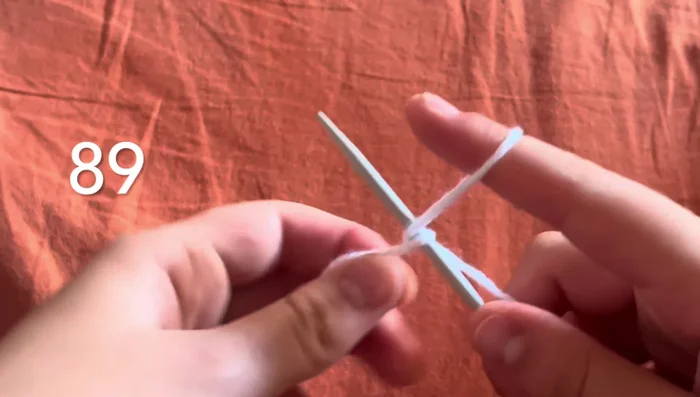
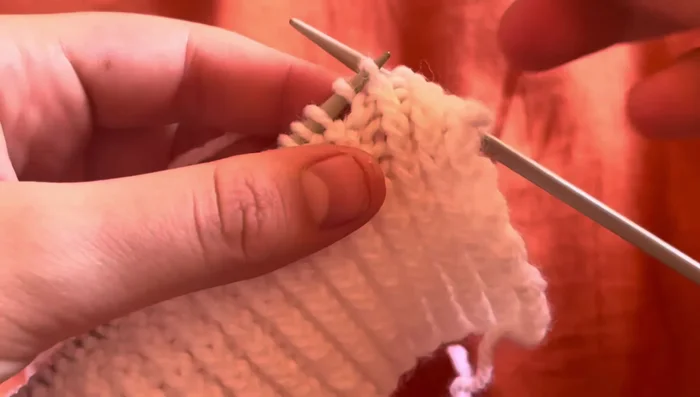
Casting On
- Cast on 89 stitches using your preferred method.

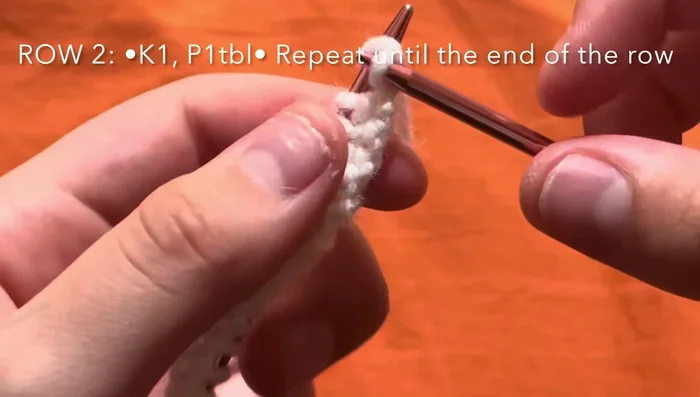
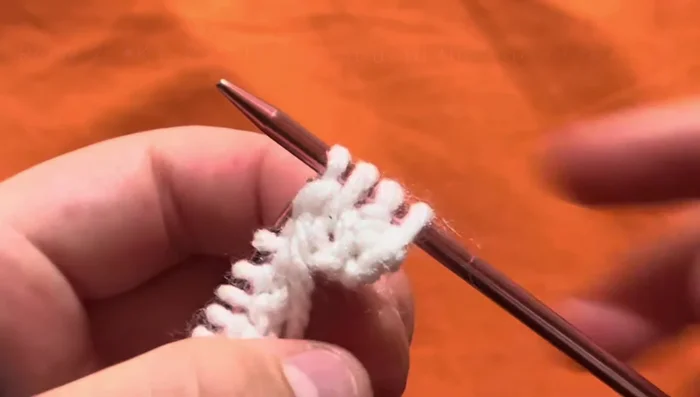
Casting On Establishing the Base Fabric
- Knit stitch through the back loop, then a purl stitch, repeating until the end of the row.
- Knit stitch, then purl stitch through the back loop, repeating until the end of the row.
- Repeat rows 1 and 2 until you reach 16 rows.
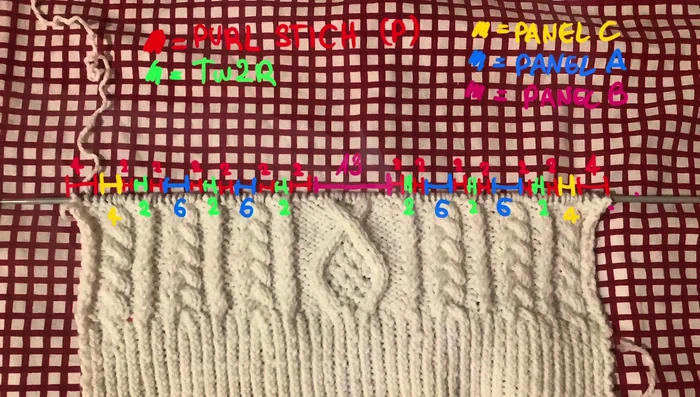
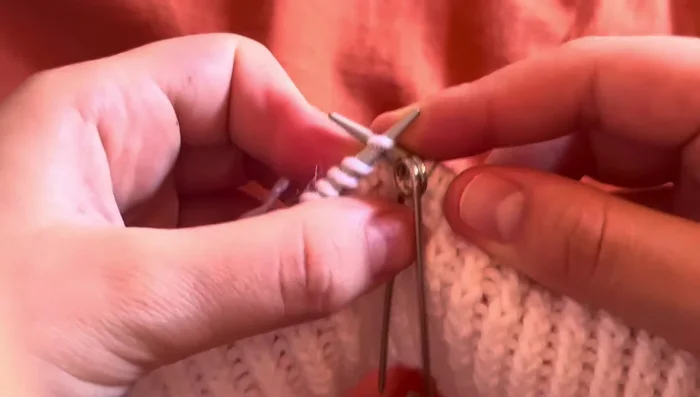
Establishing the Base Fabric Introducing the Pattern (Sleeve)
- Four Purl stitches, then Panel A, then repeat.
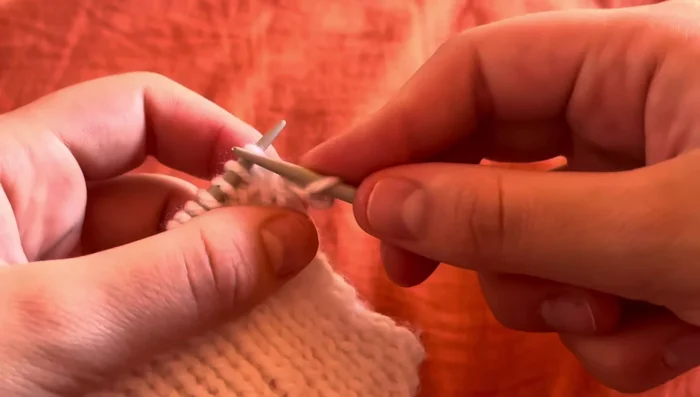
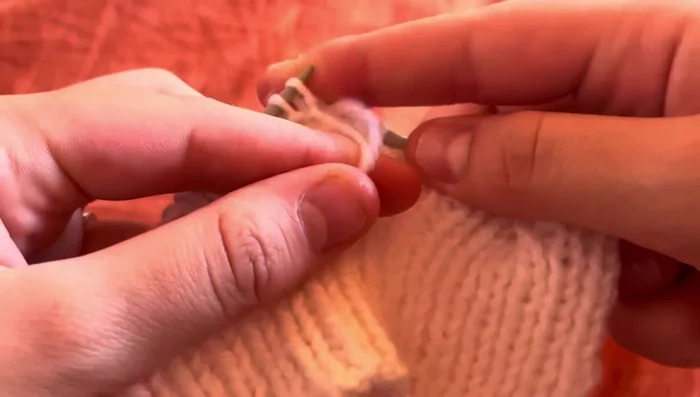
- Place two stitches on a stitch holder, knit next two, place the held stitches back on the needle, knit next two.
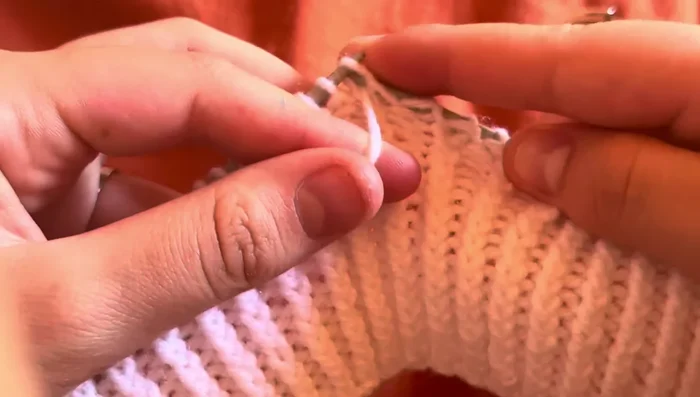
- Repeat Panel A (row 1) until the panel is complete. Then, repeat panel B and C following the diagram.
- Purl three stitches, slip one stitch to the back of the work, knit two, slip stitch back, purl, knit one, slip two stitches to the front of the work, purl next stitch, place two stitches back on the needle, knit, then purl three stitches again.
Introducing the Pattern (Sleeve) - Repeat panels A, B, and C according to the row counts in the video. (A separate video detailing each row is referenced).
- Knit all knit stitches and purl all purl stitches.
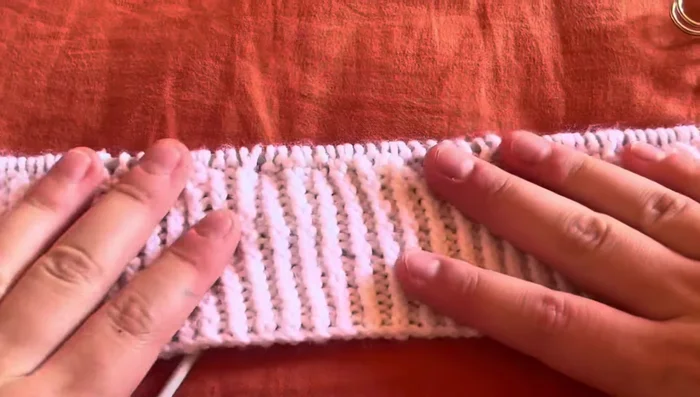
Introducing the Pattern (Sleeve) Completing the Sleeves
- Repeat the pattern until the sleeve is complete. Make two sleeves. (Instructions for the front, back, and assembly are in a future video).
Completing the Sleeves

Read more: Knitting a Reversible Basketweave Blanket: A Customizable Guide
Tips
- N/A