The cozy warmth of hand-knitted mittens on a chilly day is a feeling unmatched by anything else. Learning to knit your own mittens might seem daunting, conjuring images of complex patterns and endless rows of stitches. But the truth is, creating a simple pair of mittens is entirely achievable, even for absolute beginners! With the right guidance and a little patience, you’ll be surprised at how quickly you can master the basic techniques and craft a pair of wonderfully warm, personalized mittens.
This step-by-step guide will walk you through the entire process, from casting on the initial stitches to weaving in the final ends. We'll cover everything you need to know, from choosing the right yarn and needles to understanding essential knitting techniques like knitting, purling, and decreasing. Get ready to embark on your knitting journey and discover the joy of creating something beautiful and practical with your own two hands!
Preparation and Safety Guidelines
- 4mm and 5mm knitting needles
- 30 grams of worsted weight yarn
- Use sharp scissors to avoid accidentally cutting your yarn or fingers. Keep scissors pointed away from you when cutting.
- Always be mindful of your needle size. Using needles too small can lead to tight, uncomfortable mittens and potential injury to your hands. Using needles too large can result in loose, ill-fitting mittens.
- Take breaks to avoid hand fatigue and potential repetitive strain injuries. Stop if you experience any pain.
Step-by-Step Instructions
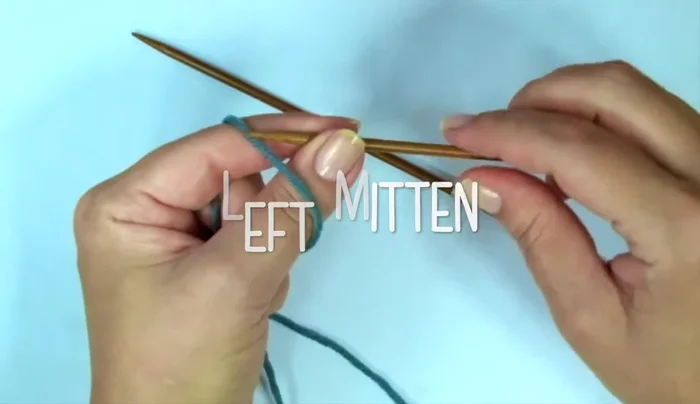
Casting On and Cuff
- Cast on 30 stitches using 4mm needles.
- alternate purl 1, knit 1 until 13 rows are complete.

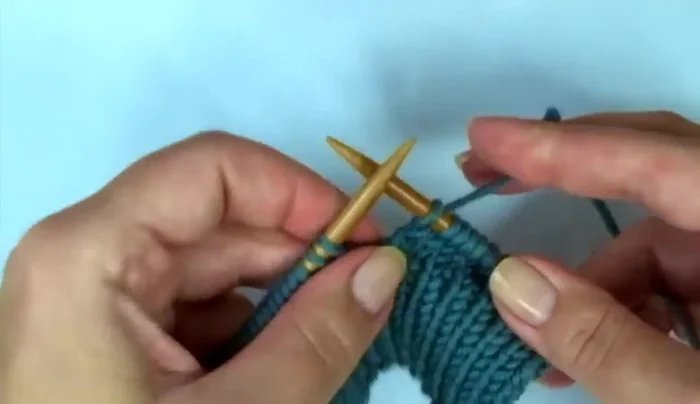
Casting On and Cuff Changing Needle Size and Thumb Shaping
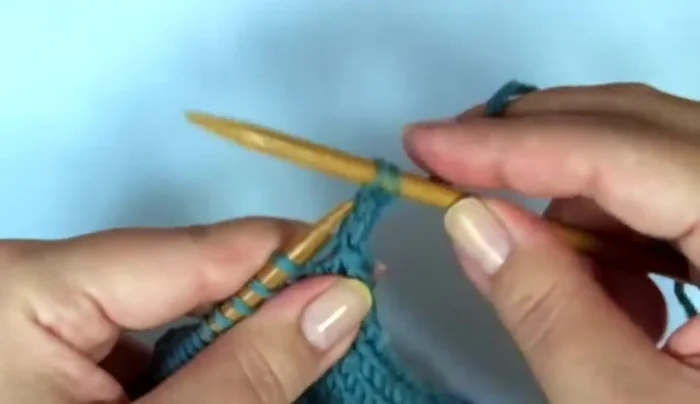
- Change to 5mm needles and knit across.
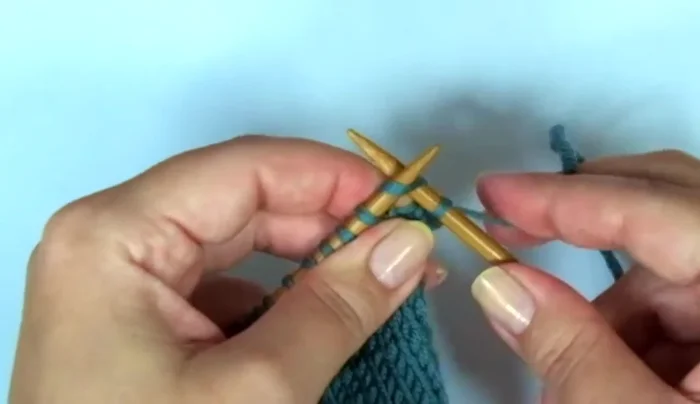
- Knit 13 stitches, increase (right-leaning increase), knit following stitch, increase (left-leaning increase), knit to end of row. Repeat increases every other row.
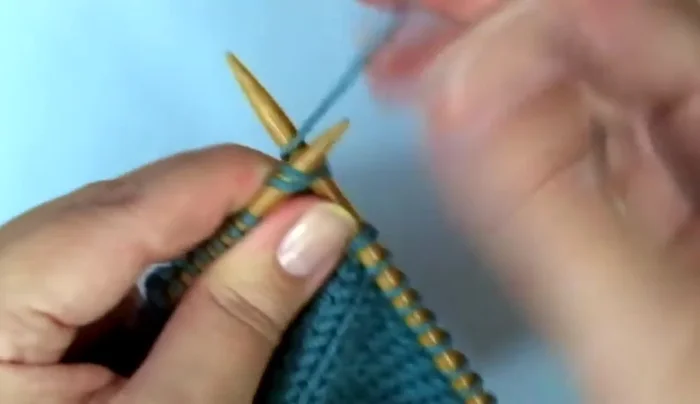
Changing Needle Size and Thumb Shaping Knitting the Thumb
- Knit 22 stitches, turn, purl, turn, knit 9, turn, purl 9, repeat until desired thumb length. Knit two together four times, knit the last stitch. Cut yarn, leaving a tail.
Knitting the Thumb Closing the Thumb
- Using a tapestry needle, weave the yarn through the stitches to close the thumb.
- Attach yarn at the base of the thumb; pick up and knit one stitch on each side of the base of the thumb.
Closing the Thumb Body of the Mitten
- Knit nine rows in stockinette stitch (knit one row, purl one row).
Body of the Mitten Shaping the Mitten Top
- Knit 1 SSK (slip, slip, knit together), knit 10, knit 2 together. Repeat until end of row. Repeat shaping decreases until desired mitten length.
Shaping the Mitten Top Binding Off and Finishing
- Knit first stitch, knit second stitch, pass second stitch over first stitch. Repeat until last stitch.
- Weave in ends.
Binding Off and Finishing


Read more: Knitting a Reversible Basketweave Blanket: A Customizable Guide
Tips
- Find detailed instructions and measurements on my website.
- Knit the first row through the back loop to avoid a big loop.