Knitting a hat can seem daunting, especially for beginners, but this project promises a cozy and rewarding experience. This easy knit hat pattern with ear flaps is designed specifically for those just starting their knitting journey, utilizing simple stitches and a straightforward construction. Forget complicated cables or intricate decreases; this pattern focuses on building confidence and mastering fundamental techniques. The adorable ear flaps add a charming touch, transforming this simple hat into a truly delightful accessory perfect for keeping warm during chilly days. You’ll be amazed at how quickly you can create this warm and stylish hat.
Ready to transform your yarn into a snug and stylish winter warmer? This step-by-step guide will walk you through each stage of creating your own easy knit hat with ear flaps, from casting on to binding off, ensuring a successful and enjoyable knitting project even for absolute beginners. Let's get started!
Preparation and Safety Guidelines
- Circular needles
- Chunky yarn
- Scissors
- Yarn needle (optional)
- Cardboard
- Pencil or other circular object for tracing
- Use blunt-ended needles to avoid accidental pricks. Keep your needles and yarn out of reach of children and pets.
- Ensure your yarn is securely fastened to prevent dropped stitches and unraveling. Check your tension regularly to maintain even stitchwork.
- Take breaks if you feel hand or wrist strain. Knitting should be enjoyable; stop if it becomes painful.
Step-by-Step Instructions
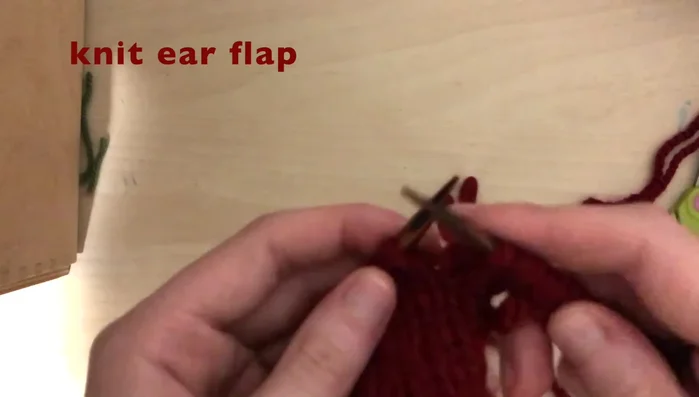
Create Ear Flaps
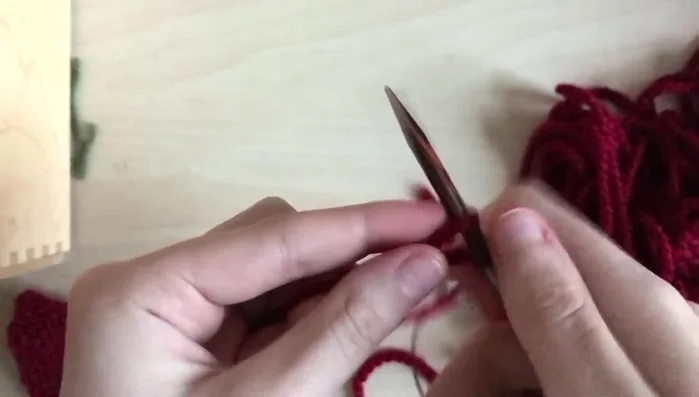
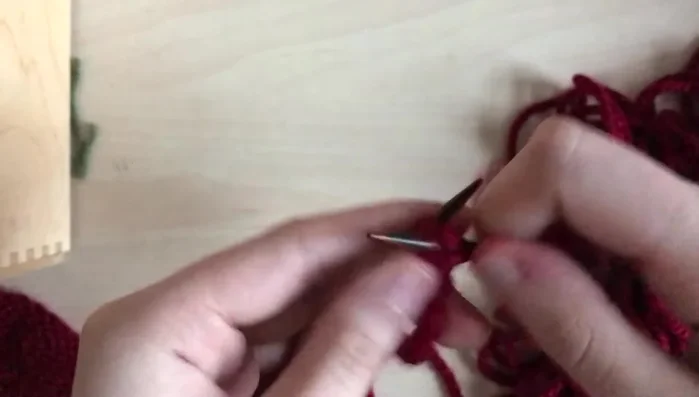
- Make a slip knot with a long tail and cast on 7 stitches.
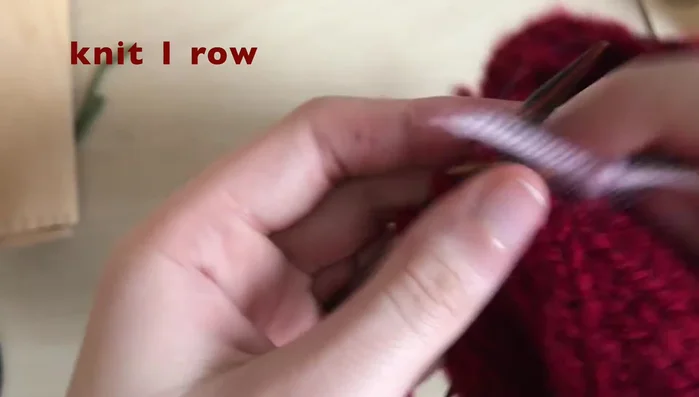
- Purl one row.
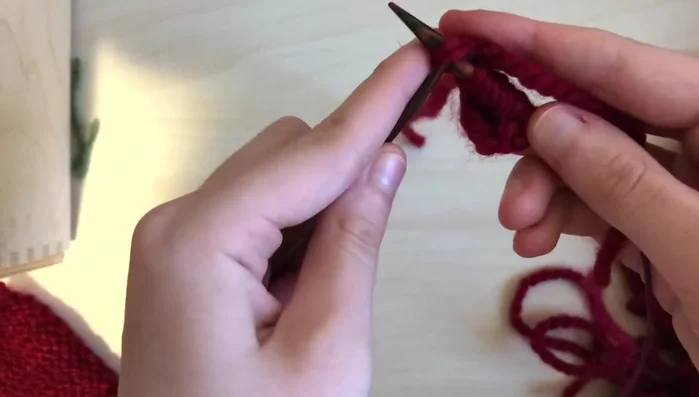
- Knit one row, increasing a stitch by picking up one stitch between the first and second stitch and knitting it. Repeat the process on the other end of the row before knitting the last stitch.
- Continue increasing two stitches every front side row until there are 15 stitches on the needle.

Create Ear Flaps - Knit until the ear flap measures 3 inches long.
- Repeat steps 3-5 to create the second ear flap.
Create Ear Flaps Knit Hat Crown
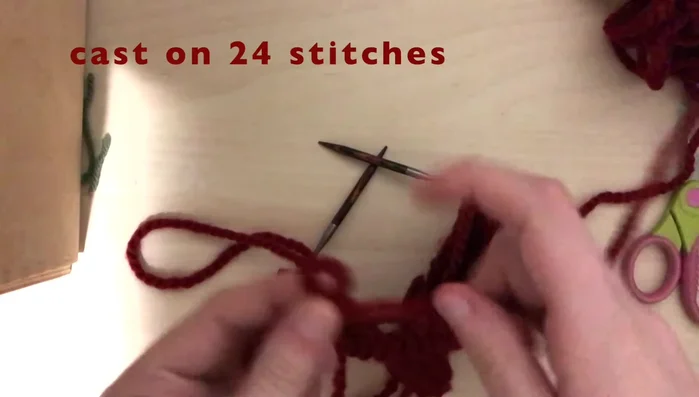
- Cast on 24 stitches (27 for extra-large head).
- Knit the ear flaps together with the newly cast-on stitches.
- Cast on 18 stitches (20 for extra-large head).
- Knit in the round for 5 inches.
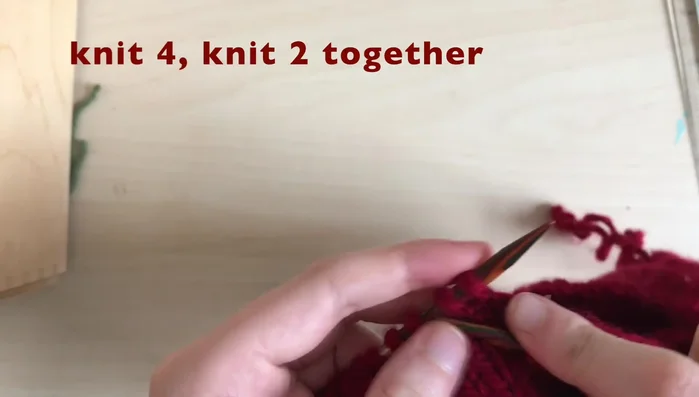
Knit Hat Crown Decrease and Close Crown
- Knit a row, decreasing stitches by knitting four stitches, then two together. Repeat until the end of the row.
- Knit the next row straight.
- Repeat steps 11 and 12, adjusting the decreasing pattern to knit three, then two together; then two, then two together; then one, then two together; then two together only, until there are half as many stitches as at the beginning of the decreasing process.
- Knit one row.
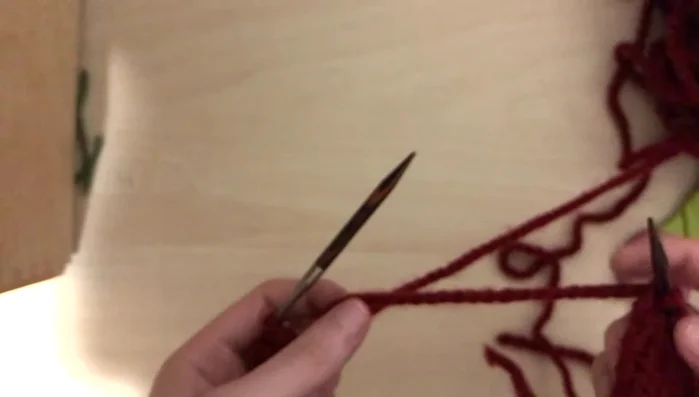
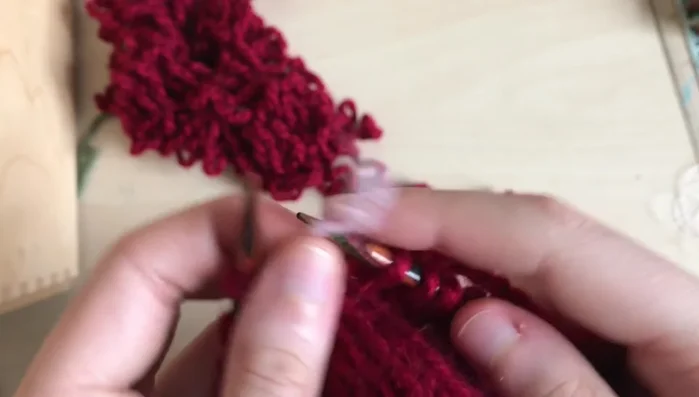
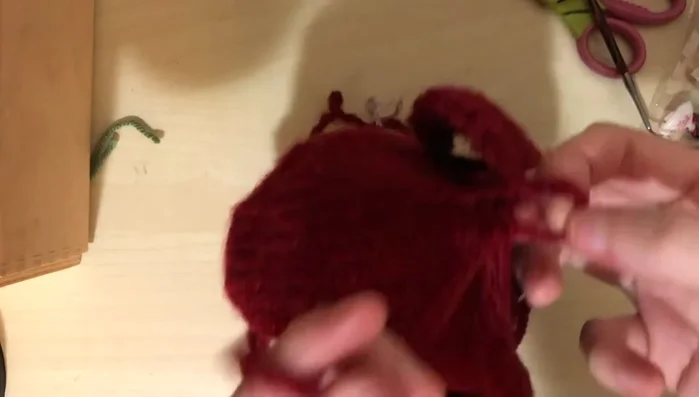
Decrease and Close Crown - Cast off using a yarn needle to remove stitches from needles.
Decrease and Close Crown Finishing Touches
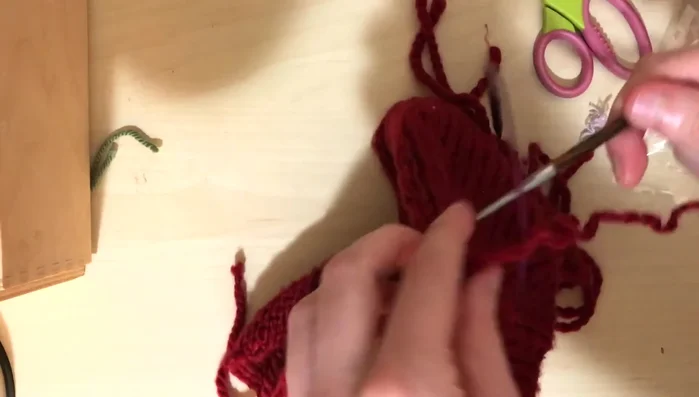
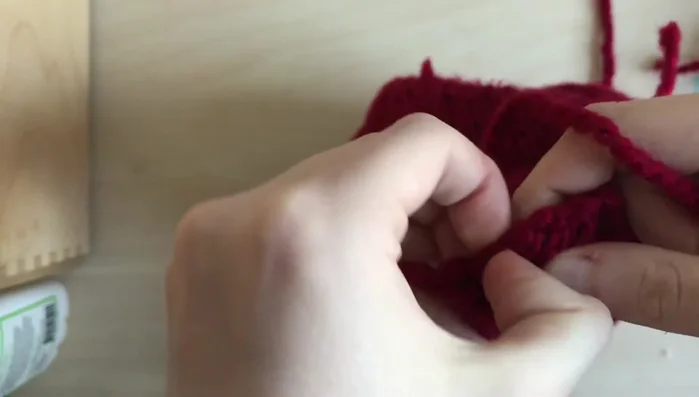
- Close gaps between ear flaps and the front part of the hat, using yarn needle to pull the yarn through.
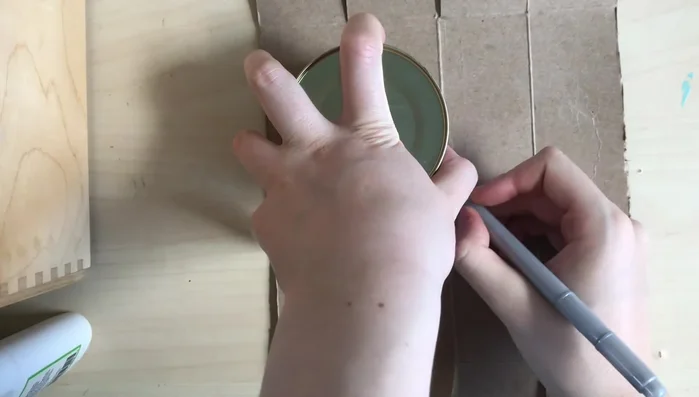
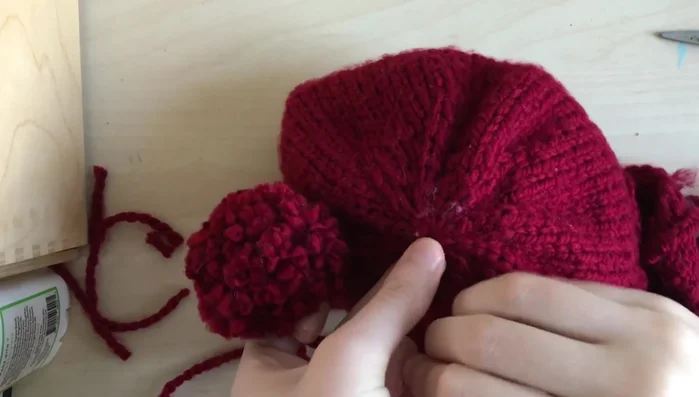
- Make pom-poms using cardboard templates. Create two large and two smaller pom-poms.
- Attach the smaller pom-poms to the ear flaps by braiding three strands of yarn and tying securely.
- Attach the large pom-pom to the top of the hat, tying securely and weaving in loose ends.
Finishing Touches


Read more: Knitting a Reversible Basketweave Blanket: A Customizable Guide
Tips
- Use affiliate links provided in the description to purchase yarn and needles.
- Consider using sustainable yarn sources.
- For extra-large heads, cast on five extra stitches at relevant steps.