Learning to knit can feel daunting, but the reward of creating cozy, handmade items is well worth the effort. This easy knit scarf project is the perfect introduction to the wonderful world of knitting, even if you've never held a pair of needles before. We'll be focusing on the simple yet elegant garter stitch, a foundational technique that's incredibly forgiving for beginners, making it ideal for building confidence and mastering basic knitting skills. The addition of a charming eyelet edging adds a touch of sophistication without increasing the complexity.
This project uses readily available materials and requires minimal prior knitting knowledge. The straightforward instructions, coupled with clear visuals, will guide you through each step, ensuring a successful and satisfying knitting experience. Ready to get started creating your own beautiful, handmade scarf? Let's dive into the step-by-step process!
Preparation and Safety Guidelines
- Size 9 or 10 knitting needles
- Worsted weight yarn
- Always use sharp scissors to cut yarn. Dull scissors can cause frayed edges and make it harder to weave in ends.
- Ensure your needle size is appropriate for your chosen yarn weight. Using the wrong size can result in a scarf that is too loose or too tight.
- Take breaks to avoid hand fatigue. Knitting for extended periods without breaks can lead to strain and discomfort.
Step-by-Step Instructions
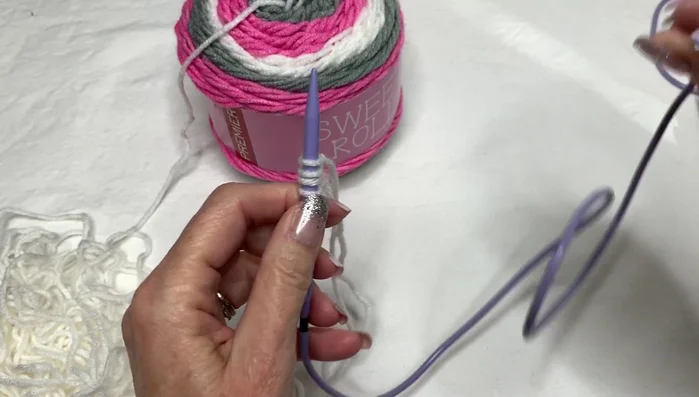
Casting On
- Cast on 4 stitches.

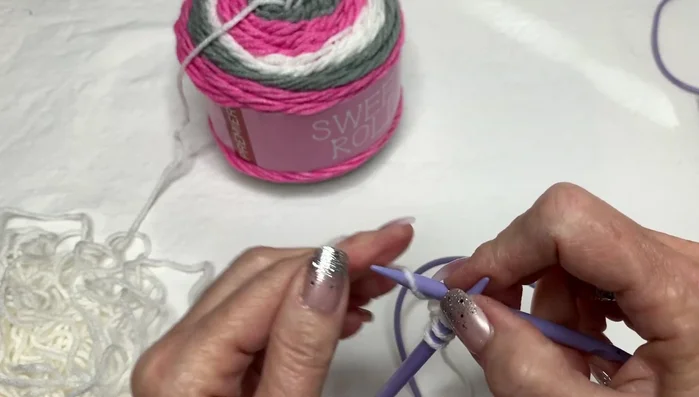
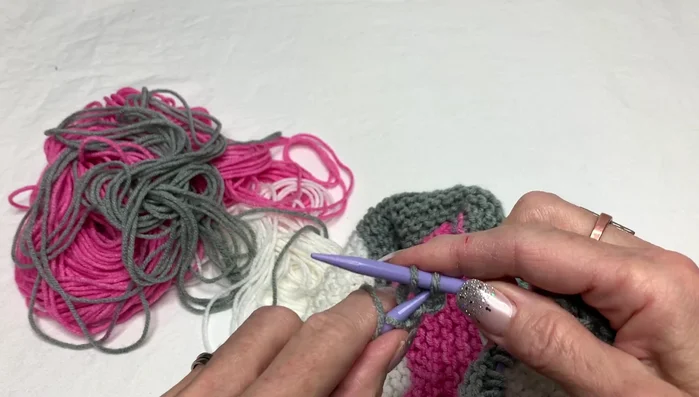
Casting On Knitting the Scarf Body
- Knit across all 4 stitches.
- Continue knitting in the garter stitch (knit every row), repeating the eyelet edging at the beginning of each row until desired scarf length is reached.
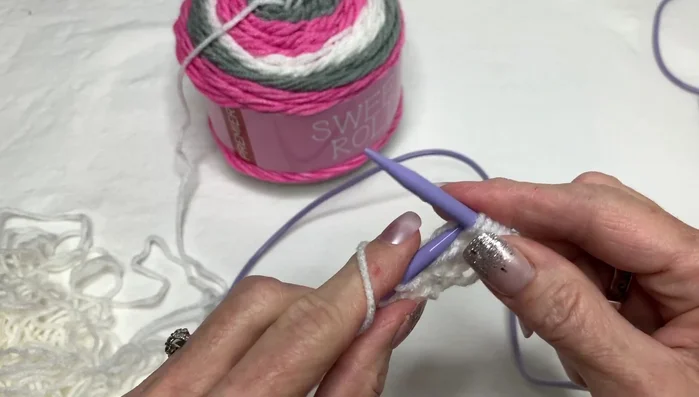
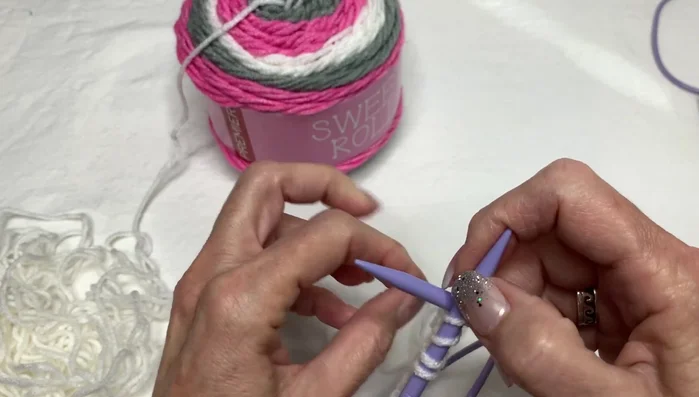
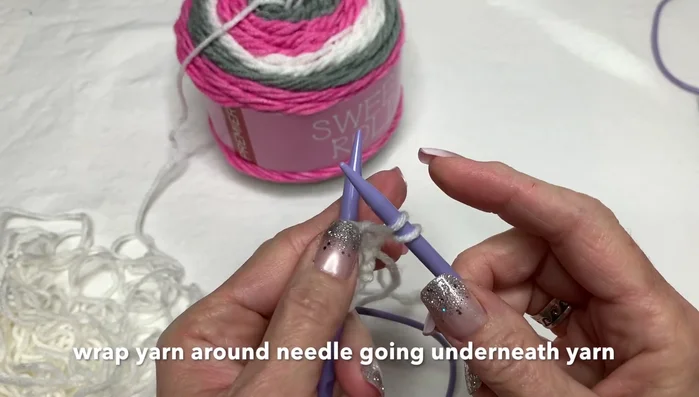
Knitting the Scarf Body Creating Eyelet Edging
- Yarn over, knit 2, yarn over, knit 2.
- The yarn overs at the beginning of each row create the eyelet holes.
Creating Eyelet Edging Binding Off
- Knit 2 stitches, pass the first stitch over the second, knit the next stitch and repeat until all stitches are bound off.
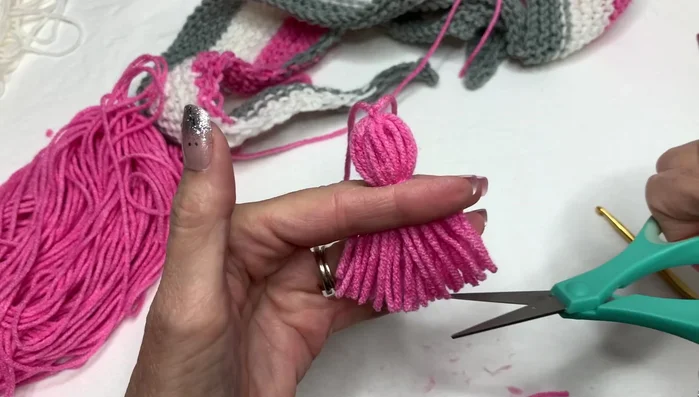
Binding Off Adding Tassels (Optional)
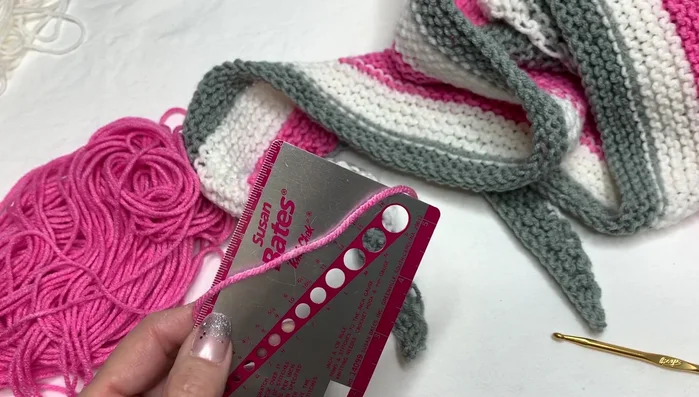
- Wrap yarn around a card approximately 2.5 inches wide 20 times. Cut the loops, tie a separate piece of yarn around the center, and trim to desired length.
- Attach tassels to the ends of the scarf by weaving the yarn through the edge stitches and securing.
Adding Tassels (Optional)
Read more: Knitting a Reversible Basketweave Blanket: A Customizable Guide
Tips
- Use the long yarn from the yarn ball, not the tail, when starting.
- Keep your tension consistent for a neat finish.
- For the tricky last stitch in the eyelet edging, make sure to go under the wrapped loop before knitting.
- Leave extra yarn at the end of the last row to make tassels and to avoid color changes mid-row.