Are you ready to create a stunning, cozy wrap that's as beautiful as it is simple to make? Then get ready to dive into the world of crochet with our easy ripple wrap pattern! Perfect for beginners, this project utilizes a classic ripple stitch, creating a mesmerizing textured effect that’s surprisingly straightforward to achieve. No prior crochet experience is necessary – we'll guide you through each step with clear instructions and helpful images, making this project enjoyable even for complete novices. You'll be amazed at how quickly you can whip up this versatile accessory, ideal for snuggling up on the couch or adding a touch of elegance to any outfit.
This delightful ripple wrap is the perfect project to build your crochet confidence and expand your skills. The repetitive nature of the ripple stitch creates a meditative experience while producing a gorgeous finished product. For a complete, step-by-step guide to crafting your own easy crochet ripple wrap, continue reading below.
Preparation and Safety Guidelines
- Lion Brand Scarfy Yarn (two skeins)
- 6.5 mm crochet hook
- Scissors
- Yarn needle
- Always use sharp scissors to cut your yarn. Dull scissors can snag the yarn, creating loose ends and affecting the neatness of your project.
- Maintain consistent tension throughout your crocheting. Inconsistent tension will result in an uneven ripple pattern and a less aesthetically pleasing wrap.
- Before starting the project, check your gauge by crocheting a small swatch using the specified yarn and hook size. This will help ensure your finished wrap matches the intended dimensions.
Step-by-Step Instructions
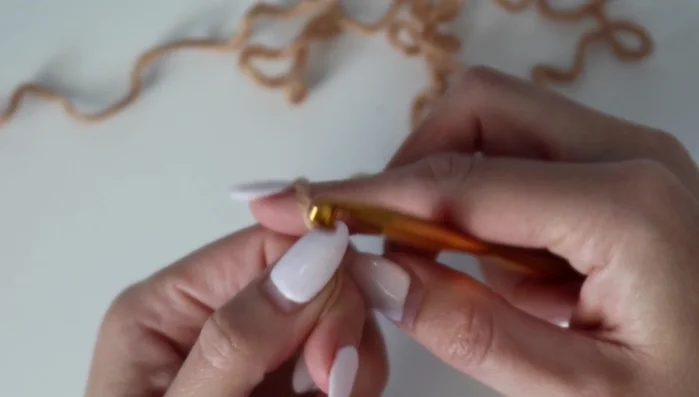
Starting Chain
- Make a slip knot and chain 101 (or a multiple of 16 plus 5 for desired size).

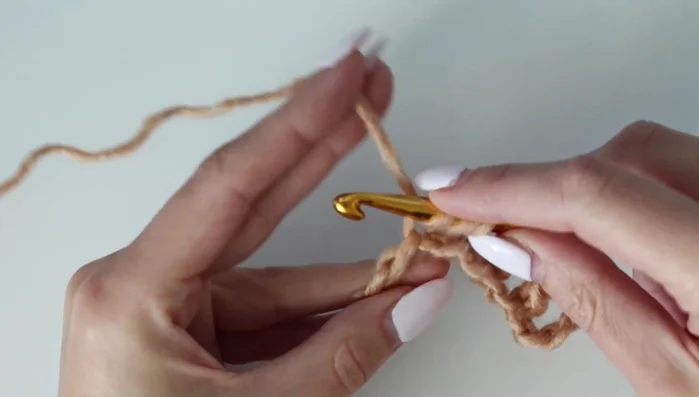
Starting Chain Row 1: Establishing the Ripple
- Double crochet in the 5th chain from the hook. Chain 1, skip next chain, double crochet in the next. Repeat chain 1, skip, double crochet sequence across.
- When you reach the end, perform a decrease (double crochet two together) by skipping three chains between the two double crochets.
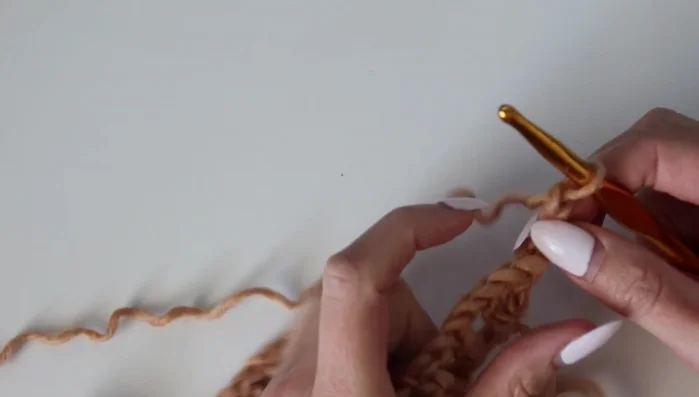
Row 1: Establishing the Ripple Row 2: Solid Ripple Row
- Chain 3, turn. Work 2 double crochets in the same stitch as the last double crochet of the previous row. Continue with double crochet in the chain 1 space, double crochet in the next stitch. Repeat across, performing decreases at the bottom of each ripple.
Row 2: Solid Ripple Row Row 3: Open Ripple Row
- Chain 4 (counts as dc + ch-1), turn. Work 1 double crochet in the same stitch. Repeat chain 1, skip, double crochet sequence. Perform decreases at the bottom of each ripple. At the peak of each ripple, chain 3 and work 2 double crochets into the same stitch.
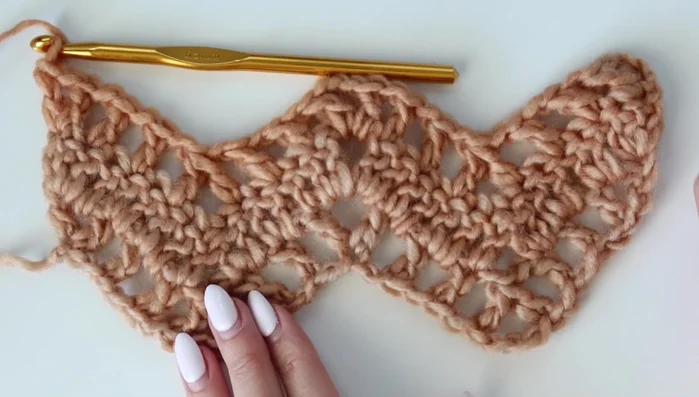
Row 3: Open Ripple Row Repeating Rows 2 & 3
- Repeat Rows 2 and 3 for a total of 61 rows (or desired length).
Repeating Rows 2 & 3 Finishing
- Fasten off, weave in ends.
Finishing


Read more: Easy Color Block Crochet Blanket Tutorial for Beginners
Tips
- Adjust starting chain to create a wider or narrower wrap. Use multiples of 16 plus 5.
- Remember to chain 1 between your double crochets in Row 1.
- When decreasing, always skip over three stitches from the row below (one chain, one decrease, one chain).
- Use a felting needle to secure loose ends.