Are you dreaming of a cozy, handmade blanket but intimidated by complex knitting patterns? Fear not! This easy checkerboard knitted blanket is the perfect project for beginners, offering a satisfyingly simple design with a surprisingly impactful result. The classic checkerboard pattern, created using just two basic stitches, is incredibly forgiving, making it ideal for those new to knitting or looking for a relaxing project to unwind with. You'll be amazed at how quickly this blanket comes together, and the beautiful, textured fabric will be a wonderful addition to any room.
This tutorial will guide you through each step of the process, from casting on to binding off, ensuring you create a beautiful and perfectly sized blanket. Get ready to experience the joy of creating something beautiful with your own two hands, and let’s dive into the simple, satisfying world of checkerboard knitting! Follow the easy step-by-step instructions below to begin your knitting journey.
Preparation and Safety Guidelines
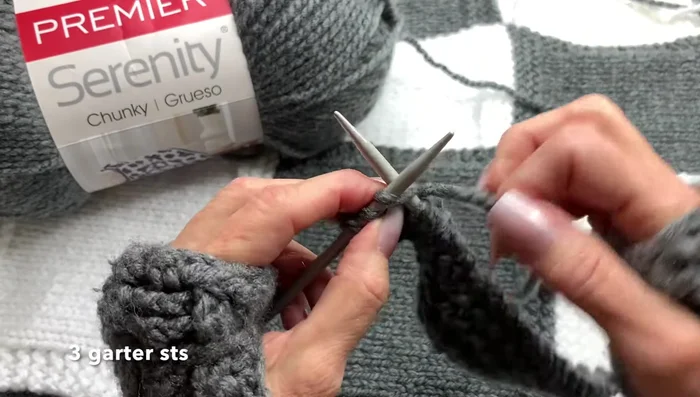
- Premier Serenity Chunky Yarn
- Size 9 circular needles (or size 11 as an alternative)
- Use sharp scissors to cut yarn ends to prevent snags and ensure a clean finish. Avoid pulling yarn too tightly, which can distort the fabric.
- Always check your gauge (stitches and rows per inch) before beginning the project to ensure your blanket will be the desired size. A gauge swatch helps avoid unexpected sizing issues.
- If using a new yarn, pre-wash and dry it before knitting to avoid shrinkage or color bleeding in the finished blanket.
Step-by-Step Instructions
Casting On and Garter Stitch
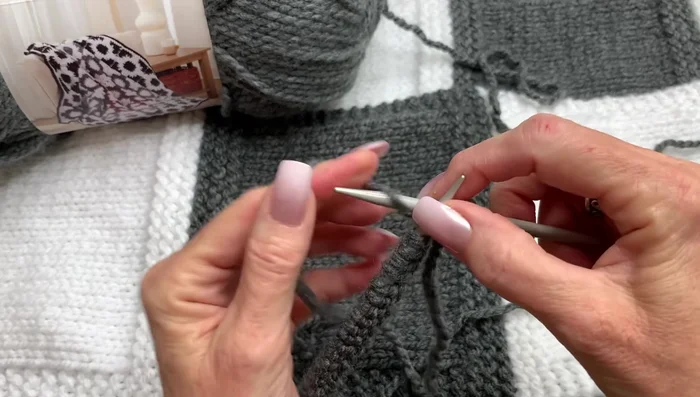
- Cast on 25 stitches using your preferred method. A long-tail cast-on is suggested for ease.
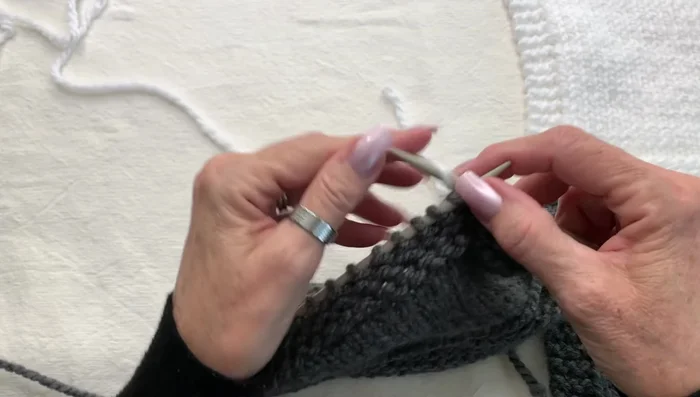
- Knit across all 25 stitches for six rows (garter stitch).

Casting On and Garter Stitch Creating the First Panel
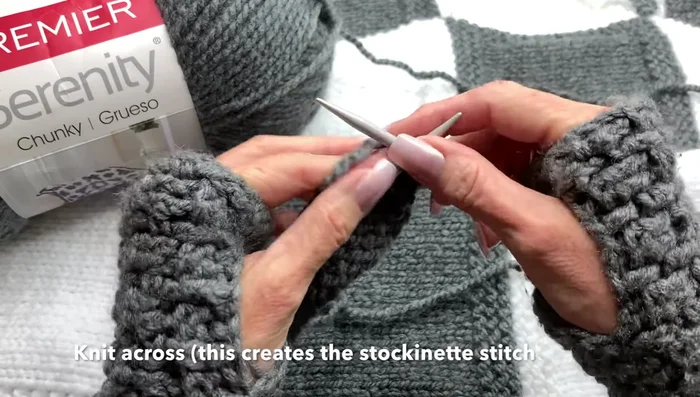
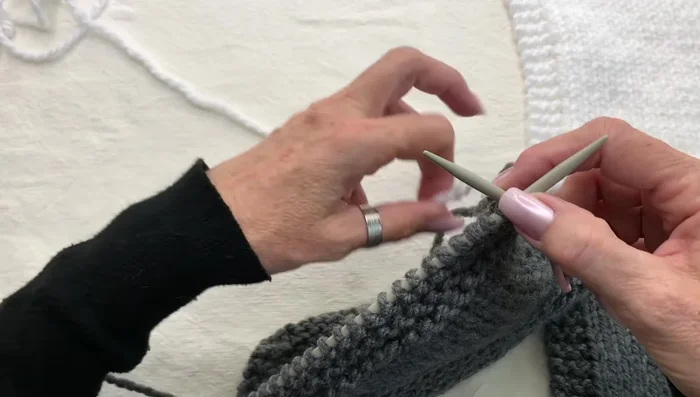
- Knit across the entire row. This begins the first purl row on the back.
- Purl across the entire row (excluding three stitches on each end, which are knit).
- Continue alternating knit and purl rows (knit three, purl nineteen, knit three) for 13 rows to create a stockinette stitch panel with garter stitch borders.
Creating the First Panel Adding More Panels
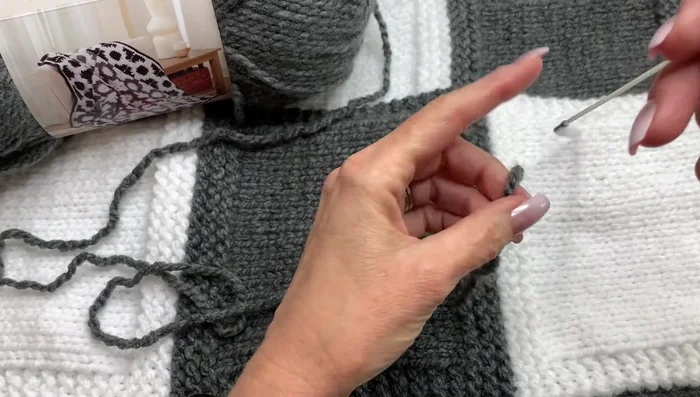
- Join new color yarn at the edge of the panel by creating a continuous join and knitting with the new color.
- Repeat steps 3-6, alternating colors (e.g., gray, white) to create multiple panels. The number of panels determines the size of the blanket.
Adding More Panels Weaving in Ends
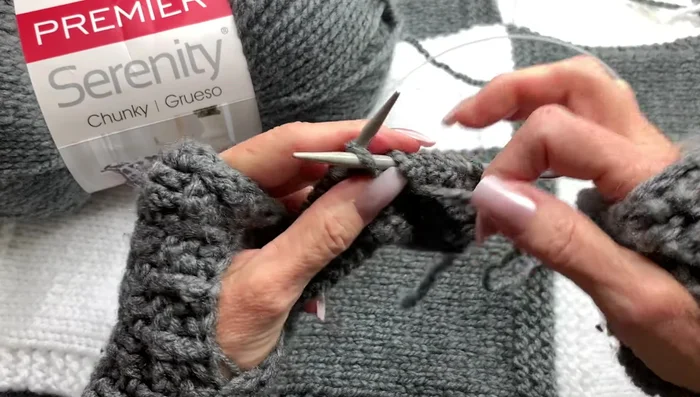
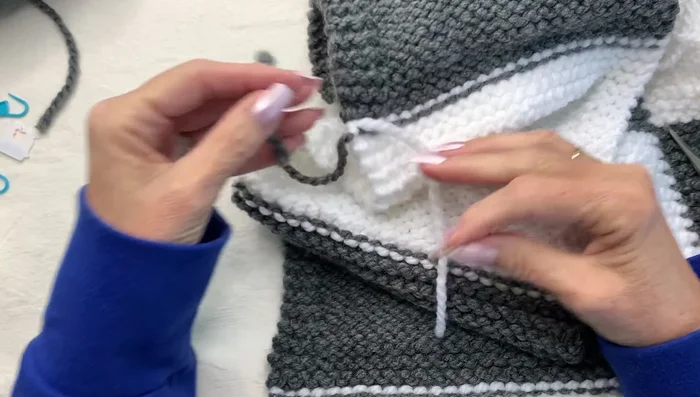
- Weave in ends using the mattress stitch method to seamlessly join panels.
Weaving in Ends Sewing Panels Together
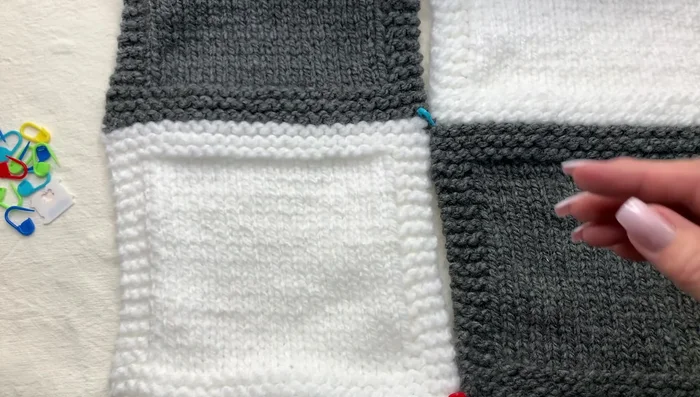
- Sew the panels together, creating a checkerboard pattern.
Sewing Panels Together
Read more: Knitting a Reversible Basketweave Blanket: A Customizable Guide
Tips
- Use a long-tail cast-on method for easier casting on.
- When joining a new color, do so from the edge for easier weaving in.
- To avoid a crooked blanket, use stitch markers to guide the seam placement.
- For easy weaving in ends, use a yarn needle and the mattress stitch technique, described in the video.